

How To Draw With Markers
Drawing with Markers
Since their invention, markers have been considered a tool for writing or for quick sketching and concept art. Compared to other art mediums that have a rich history of use, markers are relatively new on the scene. They weren't even commercially available until the 1950's.
Yet in contempo years, the marker has become a viable medium for cartoon. Inks accept get more permanent and surfaces have been developed specifically for employ with markers. Manufacturers take now developed markers that are capable of producing quality art.
(Some of the post-obit links are affiliate links which ways we earn a small commission if y'all purchase at no additional price to you.)
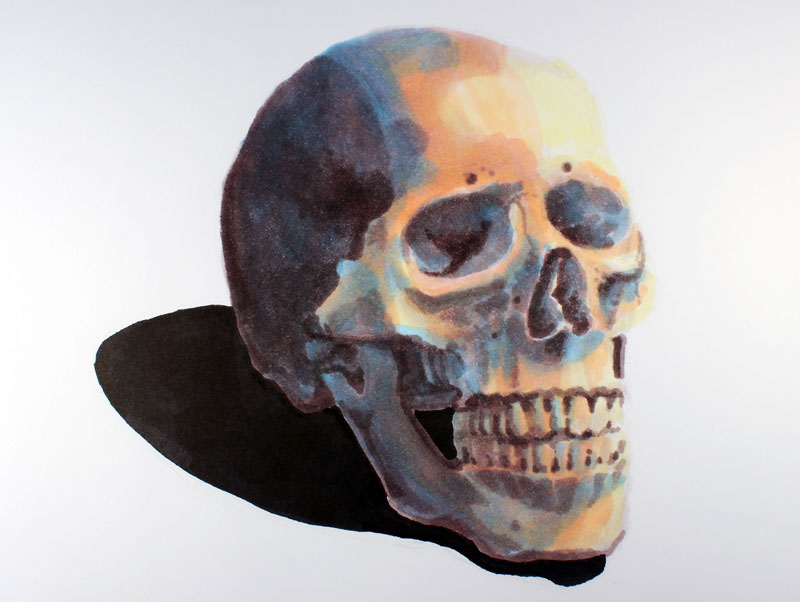
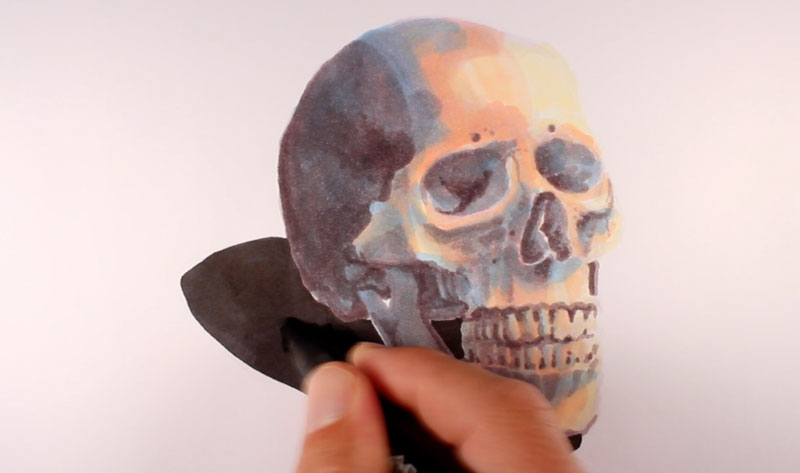
The following video demonstrates how to draw a colorful skull with Prismacolor Premier markers. An underpainting of neutral tones is created kickoff before applying "washes" of color over the height. (More on this lesson can be institute under the video, further down the page.)
Characteristics of Markers and Surfaces
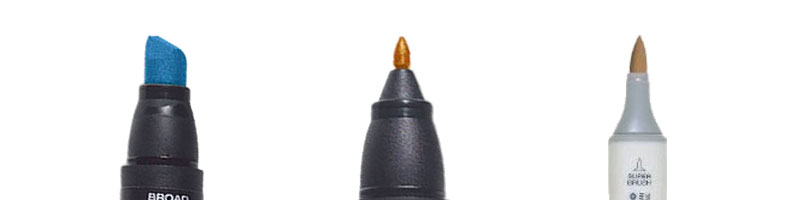
Professional person markers characteristic dye-based inks that are delivered through a porous tip. Tips are chiseled, pointed, or fashioned as a brush. The solvent used is alcohol-based which is a safer alternative to earlier versions of the mark in which harmful chemicals were used.
The surface in which markers are practical profoundly influence the marks that are made. Markers have a tendency to bleed on traditional drawing papers. This feature can be a benefit or a hindrance depending on the effect that you lot are looking for.
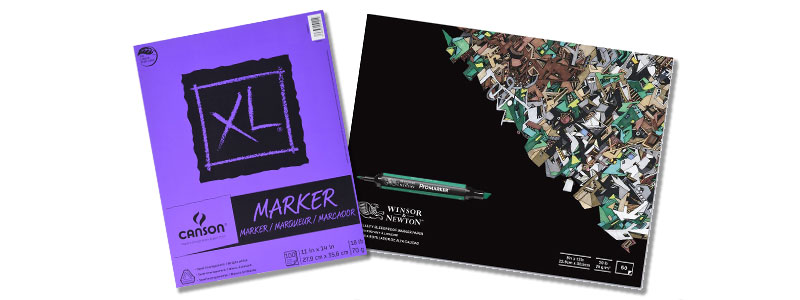
For cleaner shapes of color and value, papers specially designed for employ with markers may exist a meliorate pick. These papers are very smooth, thin, and some are semi-transparent.
The intensity of the colour delivered tin vary according to manufacturer. Higher quality markers, such as Prismacolor Premier or Copic produce even applications of colour with consistent stroking. Additional layers of color can practical over the superlative of applications darkening the value or altering the colour.
Blending and Mixing Markers
Although mixing doesn't happen on a palette, it can occur on the surface. Past layering a blueish over an surface area of yellow for example, the resulting color may appear green. This type of mixing is ordinarily referred to equally optical colour mixing.
Once colors have dried on the surface, it is difficult to change them. Notwithstanding, by working chop-chop, blending can occur. If marks are made earlier the solvent has stale, transitions of value and color tin exist developed. Blending markers, which lack pigment, are also available. Blending markers can exist practical over applications to ease transitions of color and value.
Creating an Underpainting
The term underpainting generally refers to a preliminary painting of values in which colored applications are made over the top. The values developed in the underpainting evidence through and influence the colors that are applied during the final steps. Working in this manner allows the artist to concentrate on merely the values in one footstep of the process and then the color development in another.
See also: Underpainting and Glazing with Acrylics
With markers, creating an underpainting is especially helpful since mixing is heavily dependent on how the colors are layered. Since markers are semi-transparent, colors and values can be developed in stages producing additional complexity in the color.
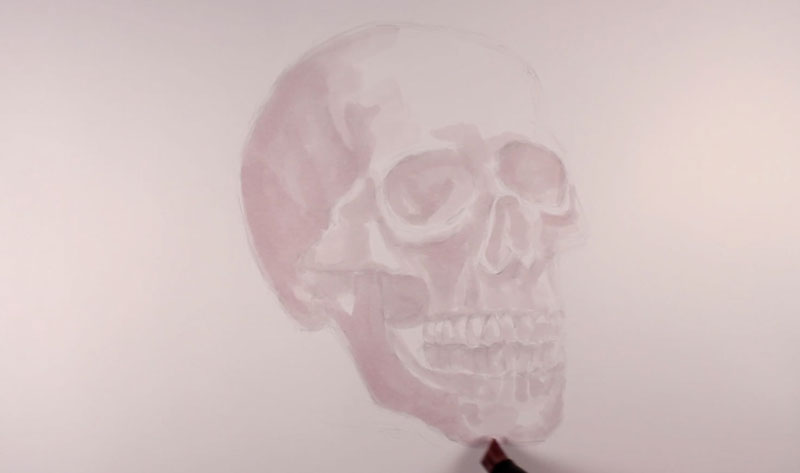
In this example, the underpainting is adult with a series of applications of warm grays. (Prismacolor Premier markers are used.)
Similar with watercolor painting, we'll starting time with the lightest values and progressively develop the darker ones. 20% Warm Gray is used initially to develop the lightest tones on the subject area. This color is applied in the areas of darkest value besides.

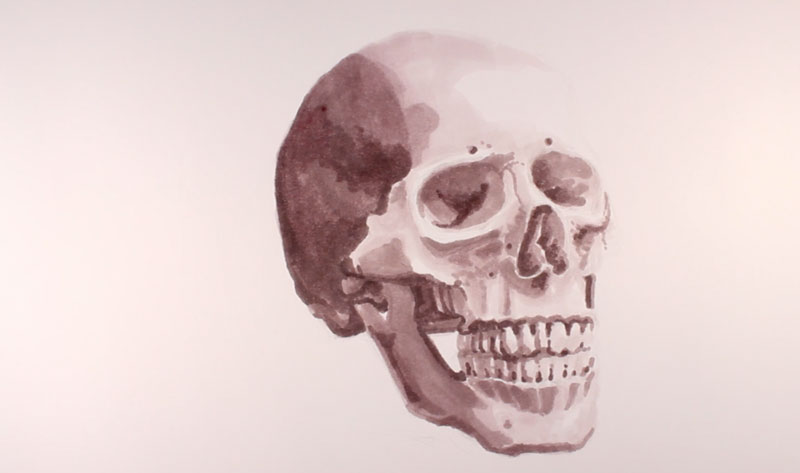
Once applications of the lightest tones are in place, we tin move on to a darker value. In this case, 50% Warm Gray is next practical. Over again, all of the darkest locations are addressed.

With medium to darker values in identify, nosotros can move on to developing the darkest values on the subject. lxx% Warm Greyness is practical in these locations.
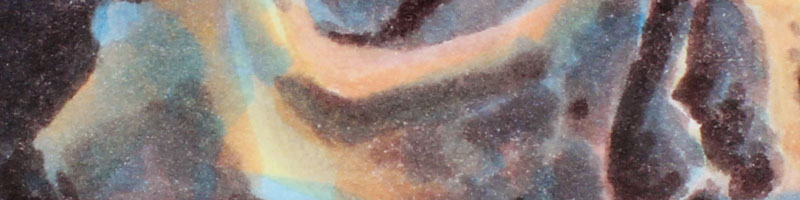
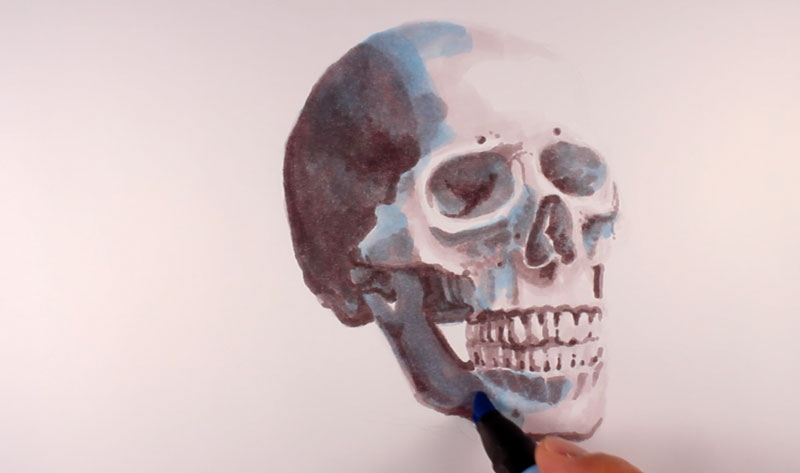
With our underpainting developed, nosotros can focus on the colour. In this example, the goal is to exploit a complementary color scheme made of orange and blue. Since blue is the cooler color in this relationship, nosotros'll add it over the areas of shadow only permit it to overlap some areas of lighter value and midtone. Light Cerulean Blue is used for these applications.
We'll next develop the warmer hues by adding Foam, Light Peach, and Deco Pinkish in the areas where low-cal is hitting the skull. These applications overlap the blues in areas to create more complexity and produce a cartoon with a bit more interest and colour.
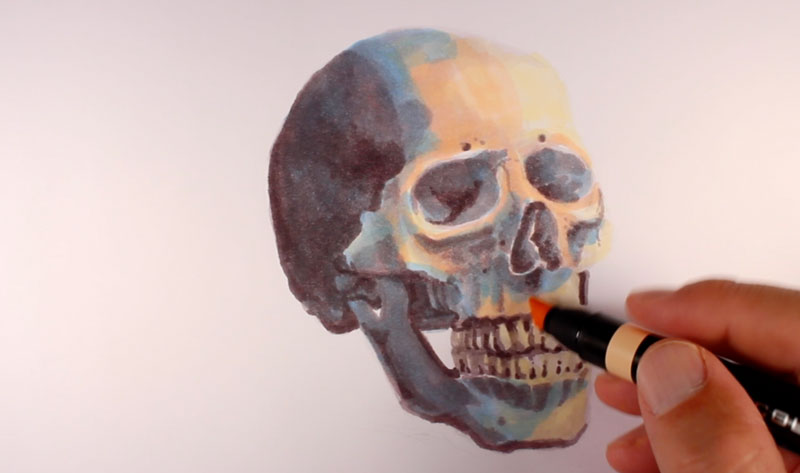
To finish the drawing, an surface area of cast shadow is added beneath and underneath the skull with Blackness.
In this lesson, we took a traditional approach to creating a drawing with the relatively new medium of markers. Markers, like any other art medium, do crave a chip of practice and patience - simply they make a corking medium for planning out ideas and fifty-fifty for creating polished works of art.
More Lessons You'll Love...

Source: https://thevirtualinstructor.com/how-to-draw-with-markers-skull.html
Posted by: doranspold1936.blogspot.com
0 Response to "How To Draw With Markers"
Post a Comment