

How To Draw In Affinity Photo

Are you lot a beginner to Affinity Photograph? Great! You lot're in the right place! This article will cover everything you demand to know to get started with this incredible piece of software.
In addition to this article, yous can also sentinel our video tutorial on the top 10 things beginners desire to know how to do in Affinity Photo.
Be sure to download these sample images, then that y'all can follow along with this tutorial.
Opening Images
Analogousness is pretty much useless if you can't open your images inside of it, then this seems like a great identify to start. Luckily for us, it'southward super easy to practise!
Just go to the top of the screen to File, and then press Open.
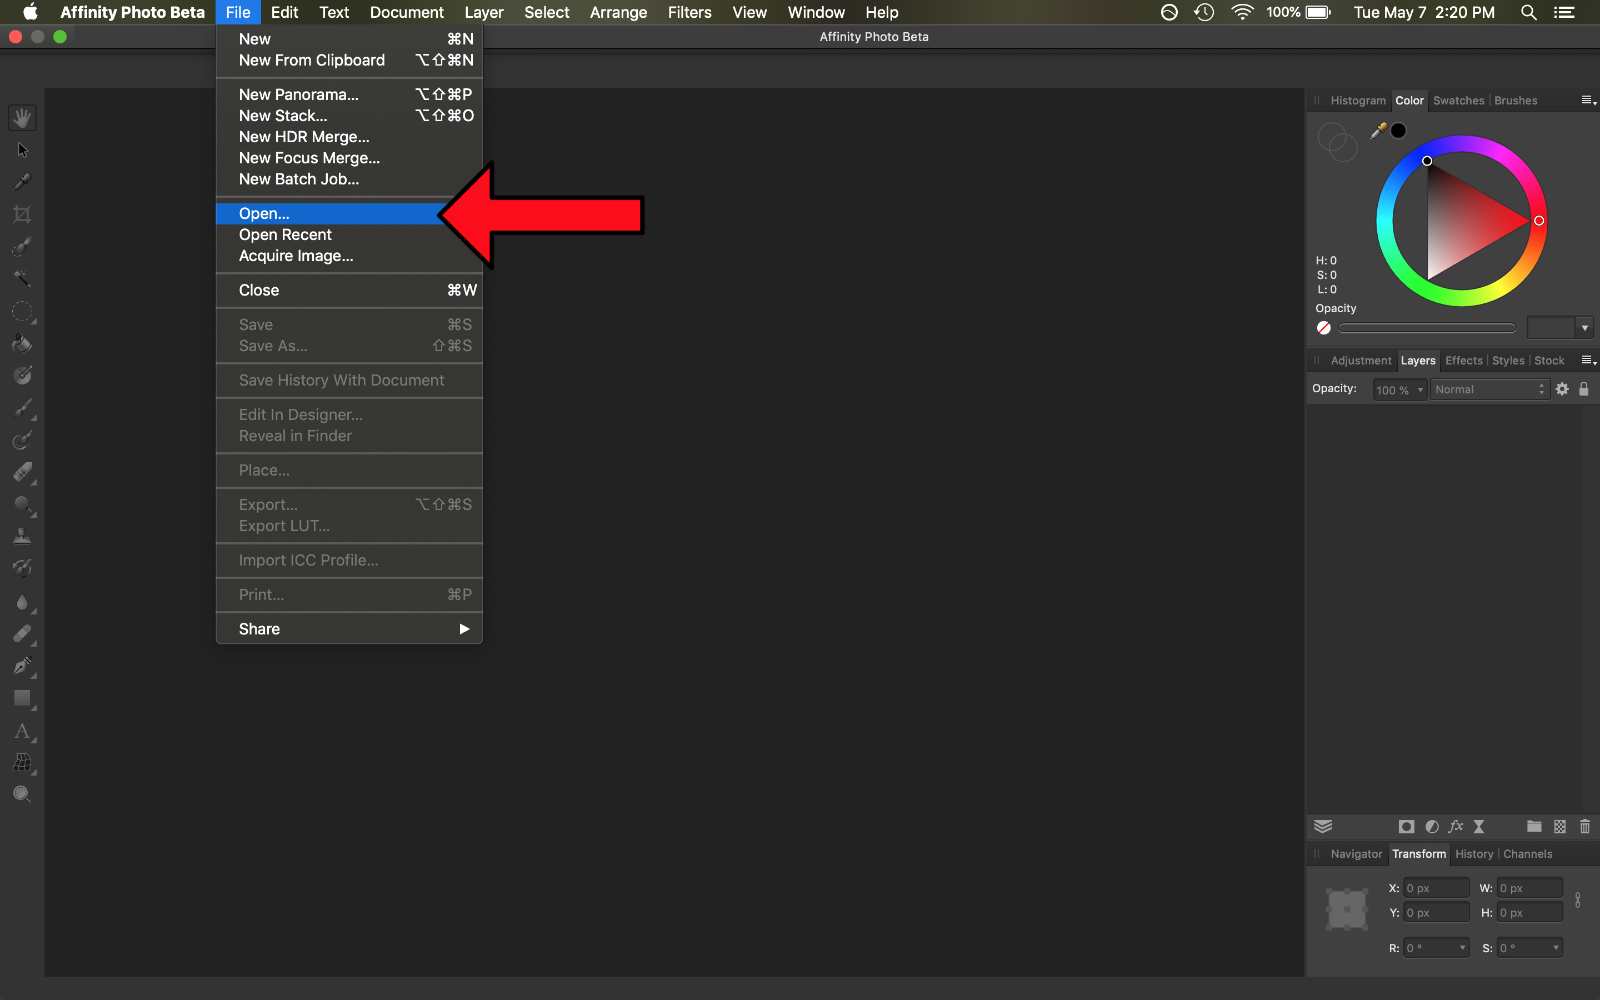
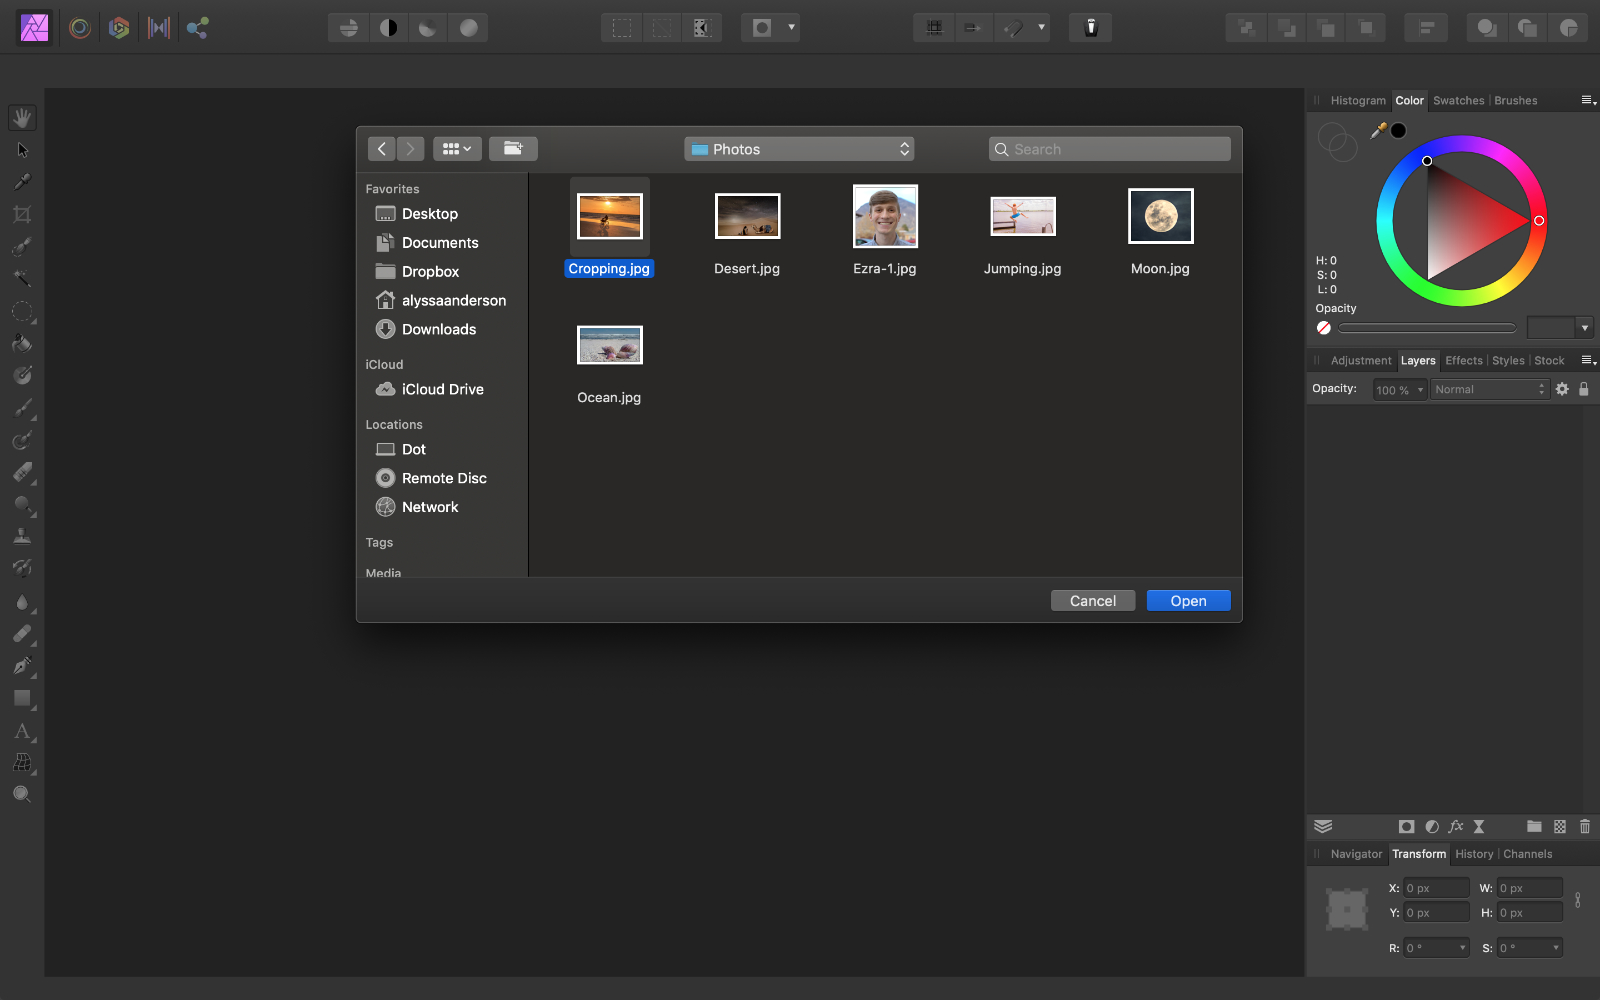
Select the picture show that yous would like to open.
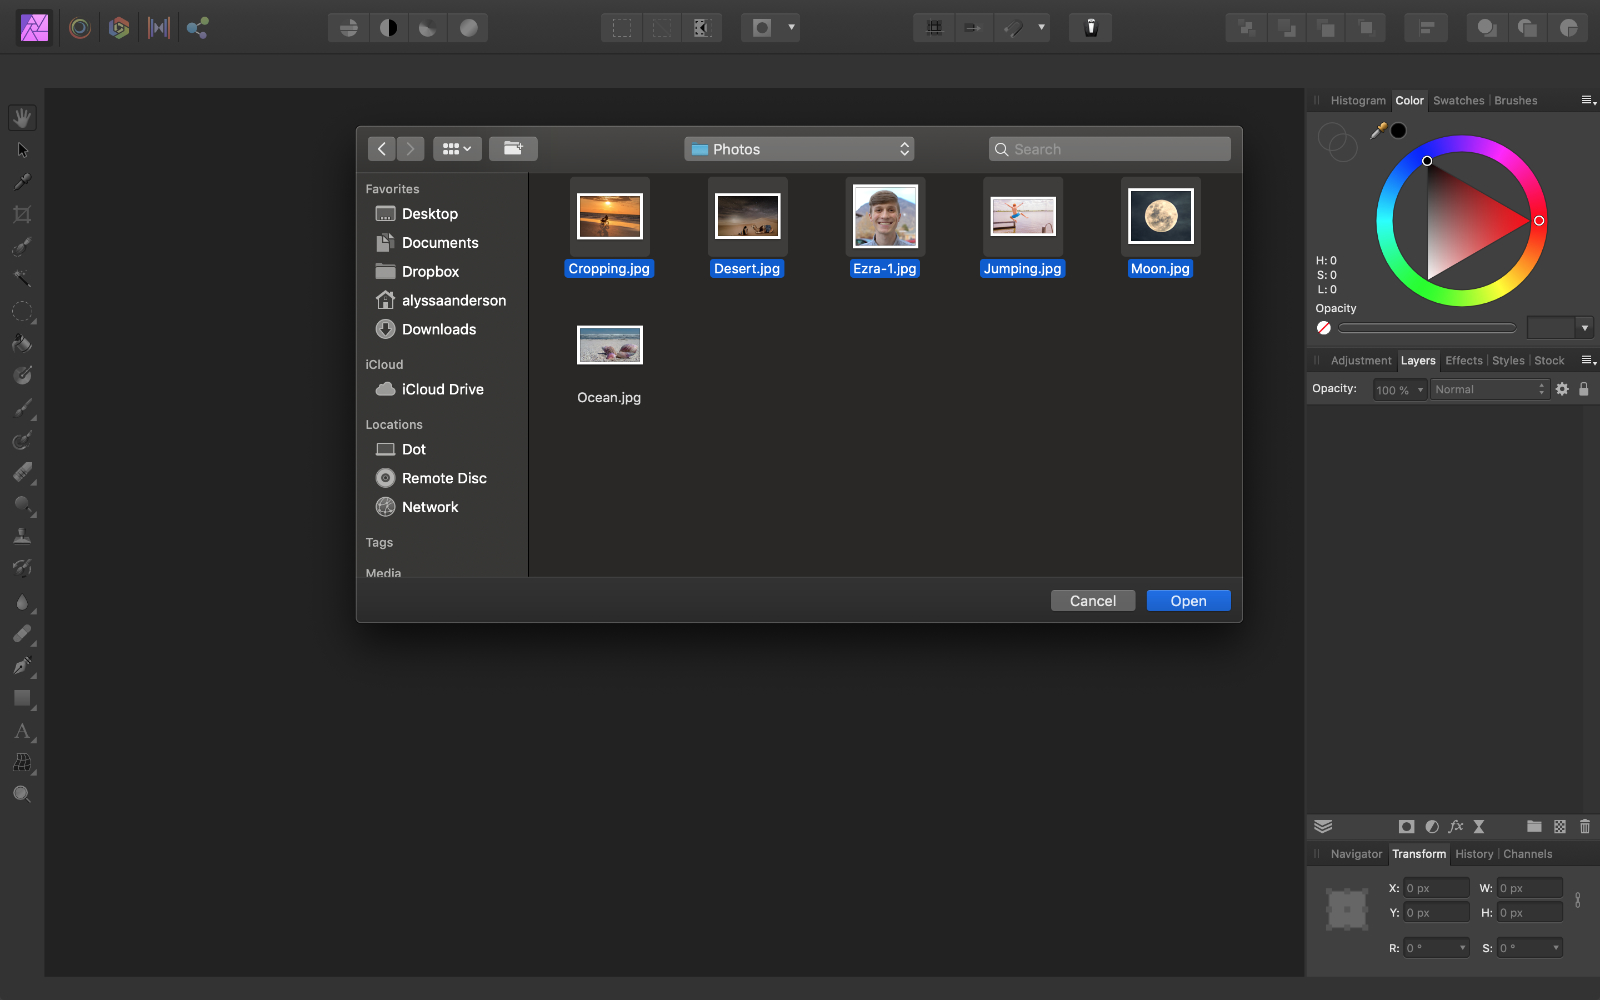
To open up multiple images, just concur down Shift and click on as many pictures equally you want. Then printing Open.
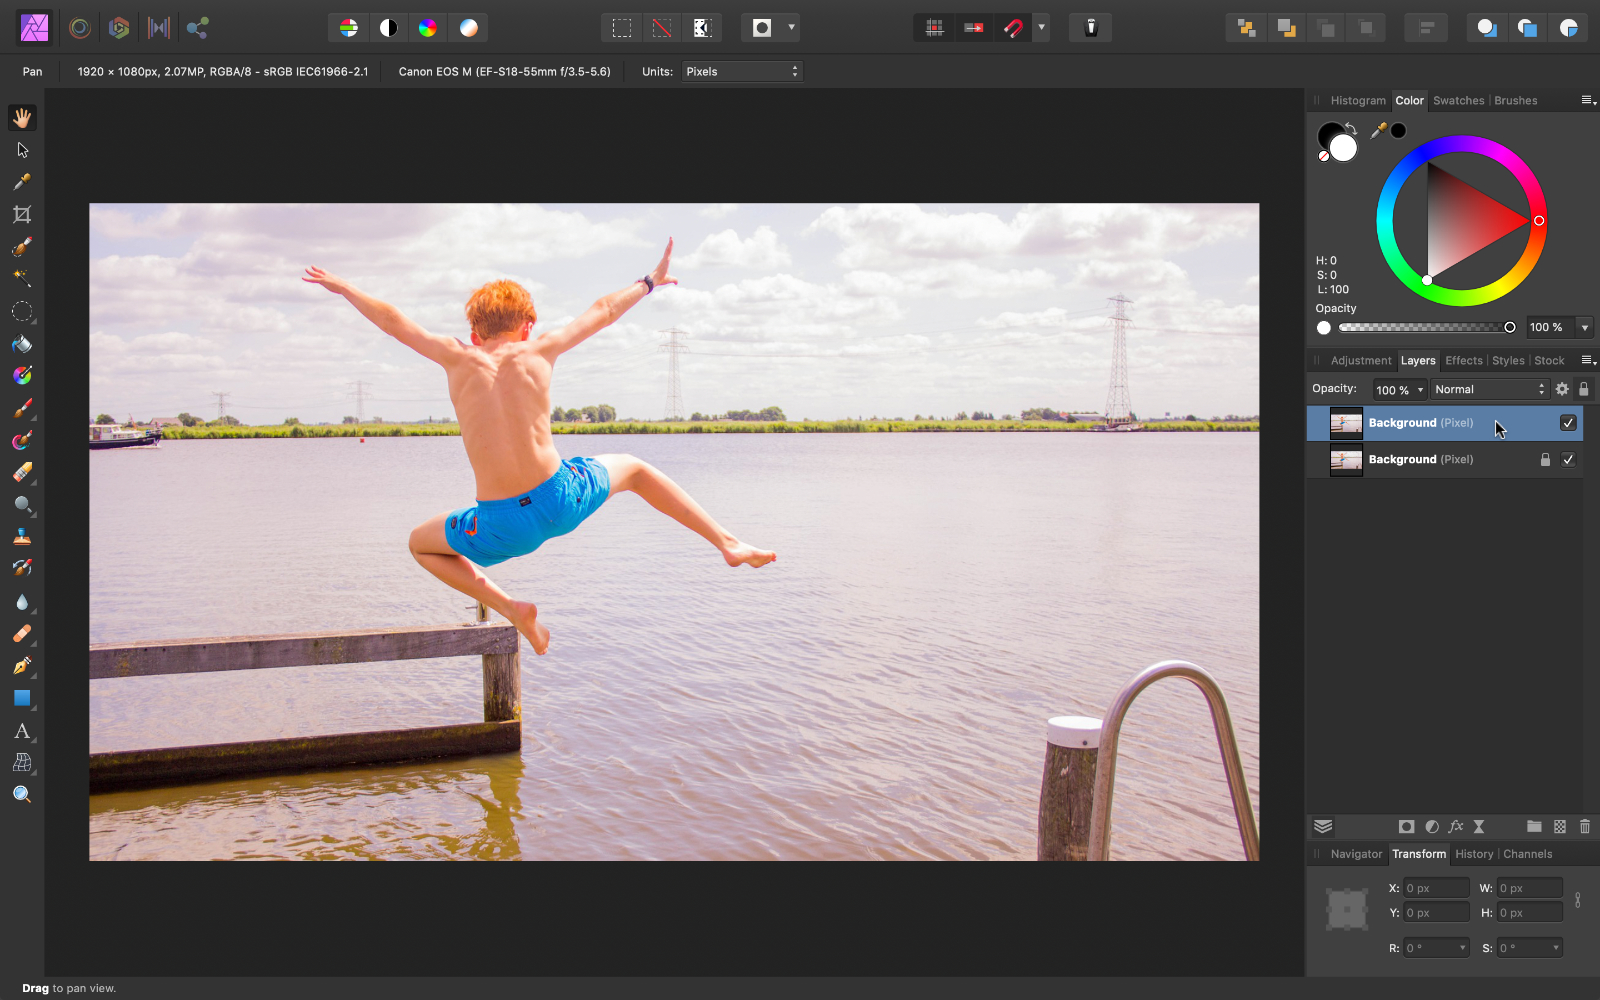
At the top of Affinity Photograph, yous can encounter that all of our pictures have been opened in unlike tabs. By clicking on the tabs, you lot can motion between each image that you take opened. How user-friendly!
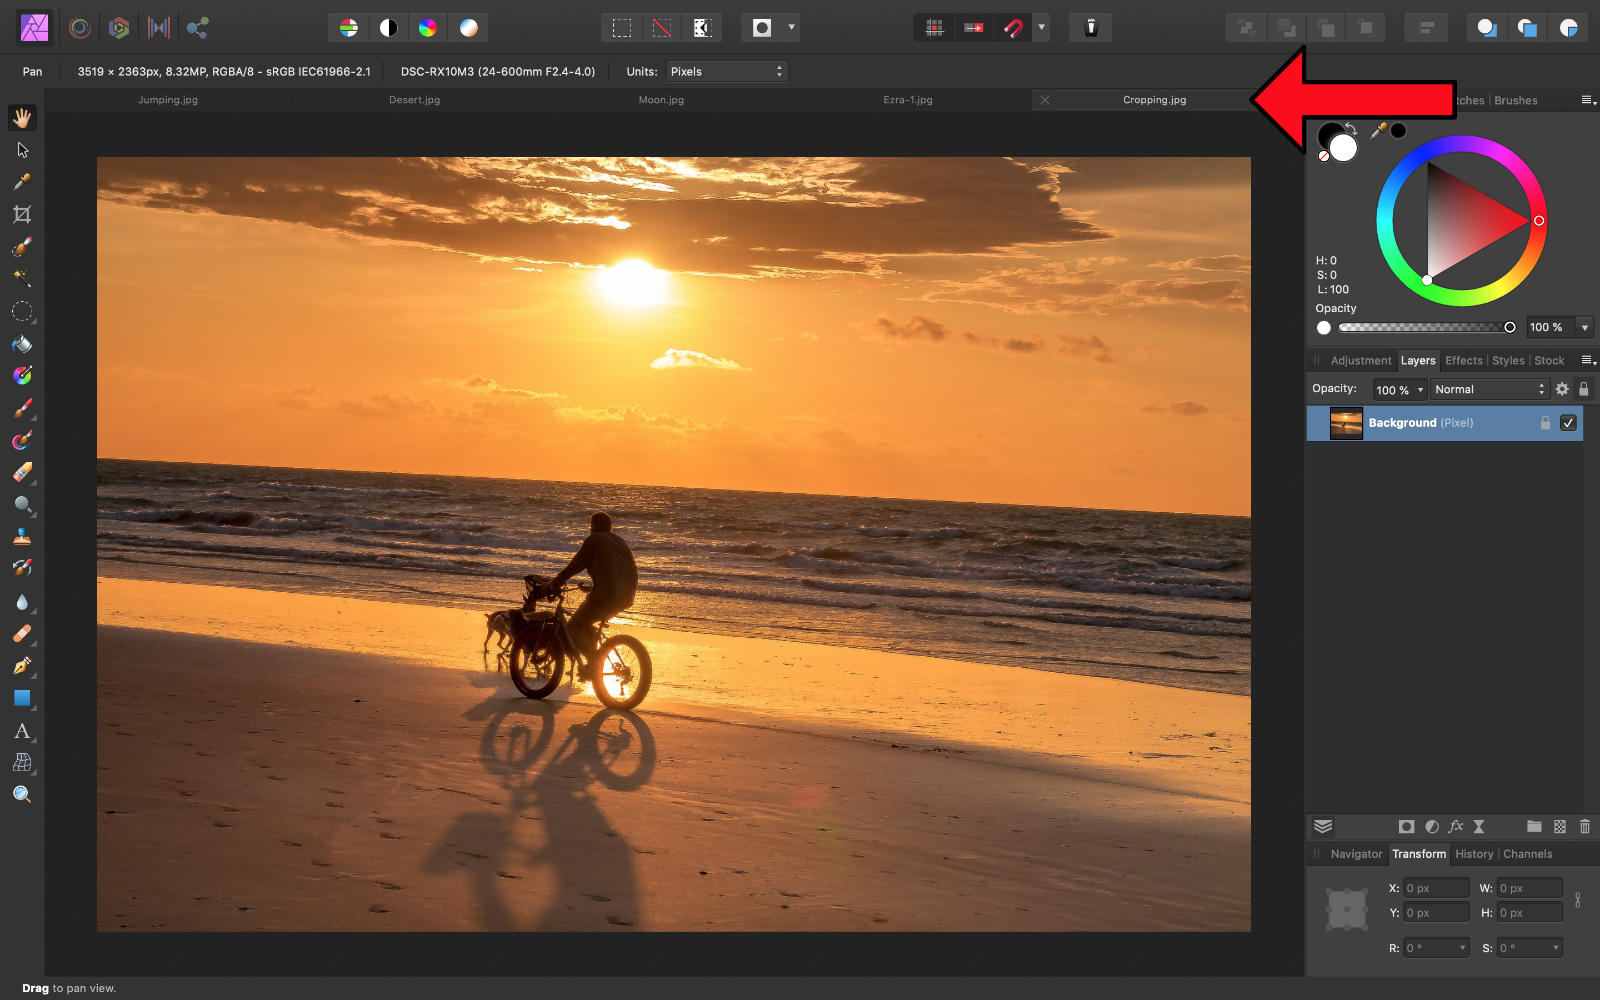
If y'all e'er want to close a pic, yous tin can hover your mouse over a tab, and then press the X that appears.
Navigating the Interface
Earlier you tin edit your pictures, it's essential to understand how Analogousness Photo is organized. Fortunately, the interface is very convenient, so getting used to where things are will exist a piece of cake!
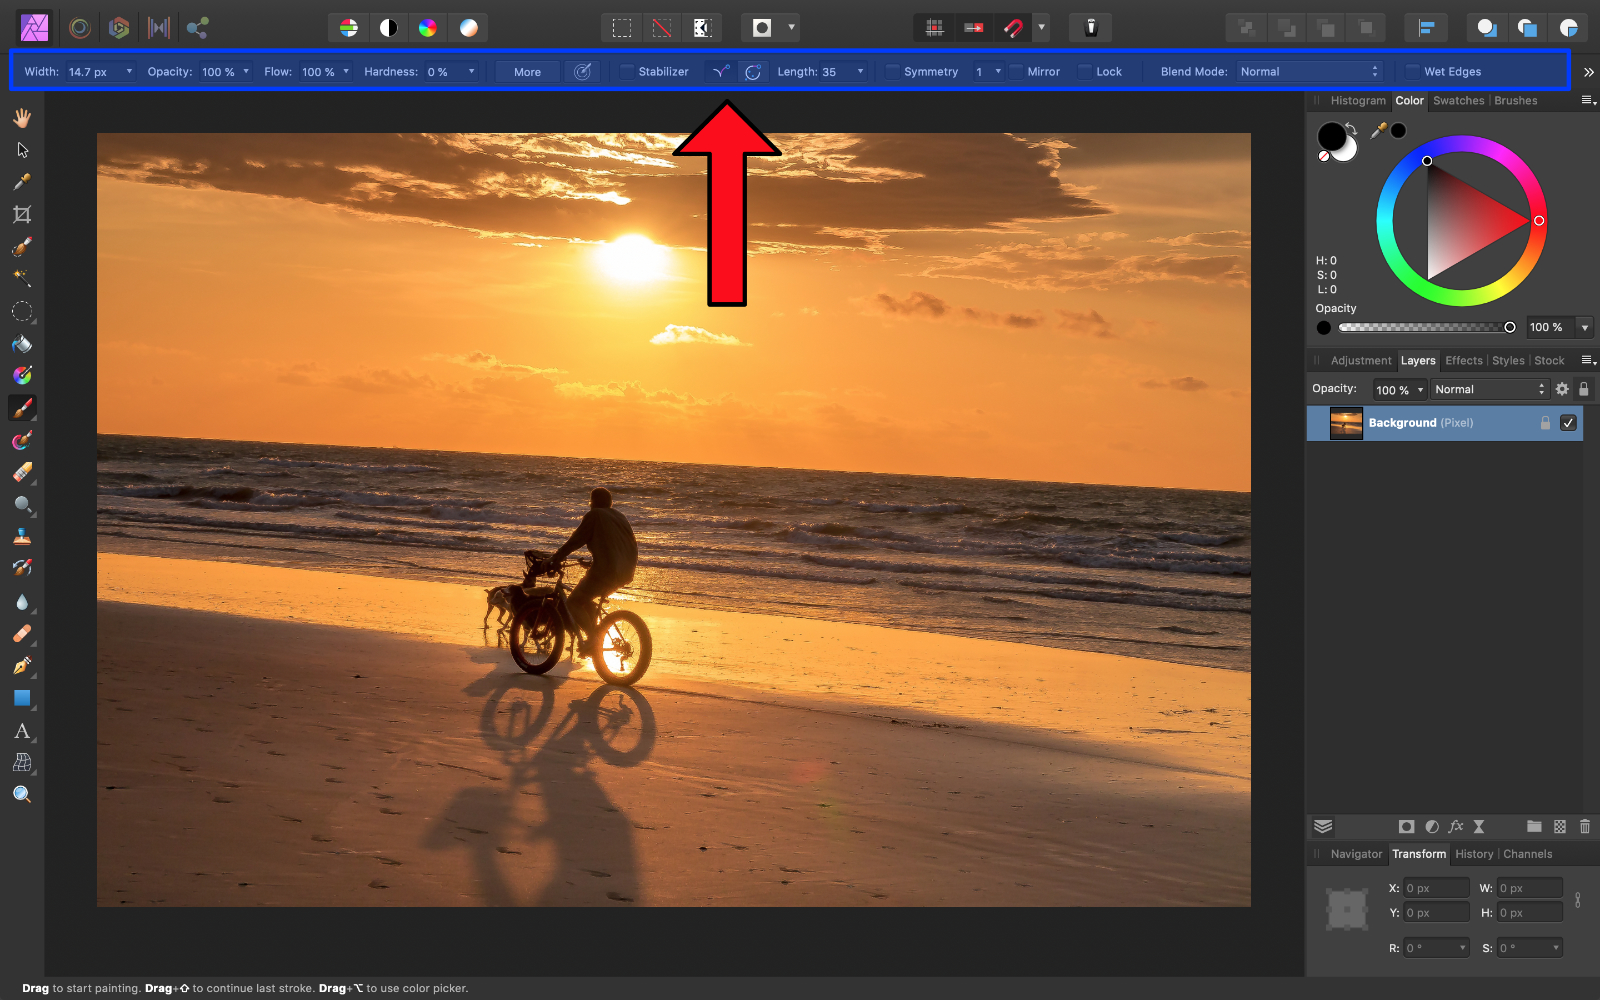
On the left side, we have the Tool Console. It holds all of the tools that you lot need for editing your pictures.
Whenever you click on a tool, dissimilar options will appear at the top. These options are located in what is called the Context Toolbar.
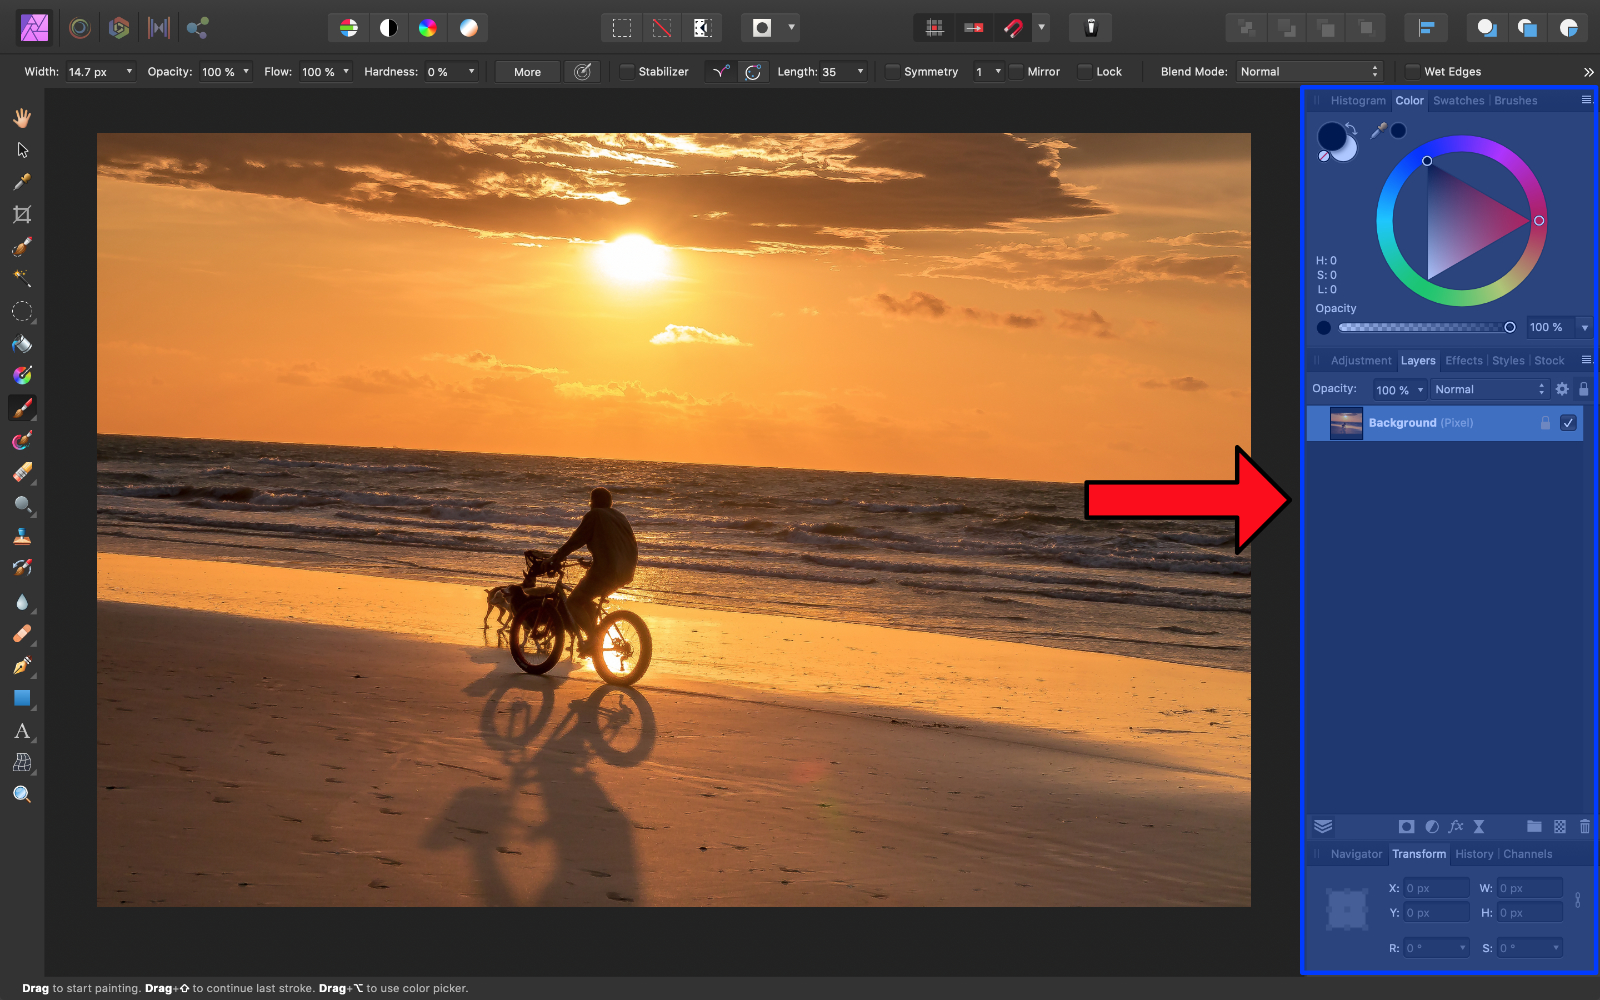
On the right side of Affinity Photograph, nosotros have the Studio. Within the Studio, we have panels that give us a variety of options. The most of import panels are the Color Panel and the Layers Panel.
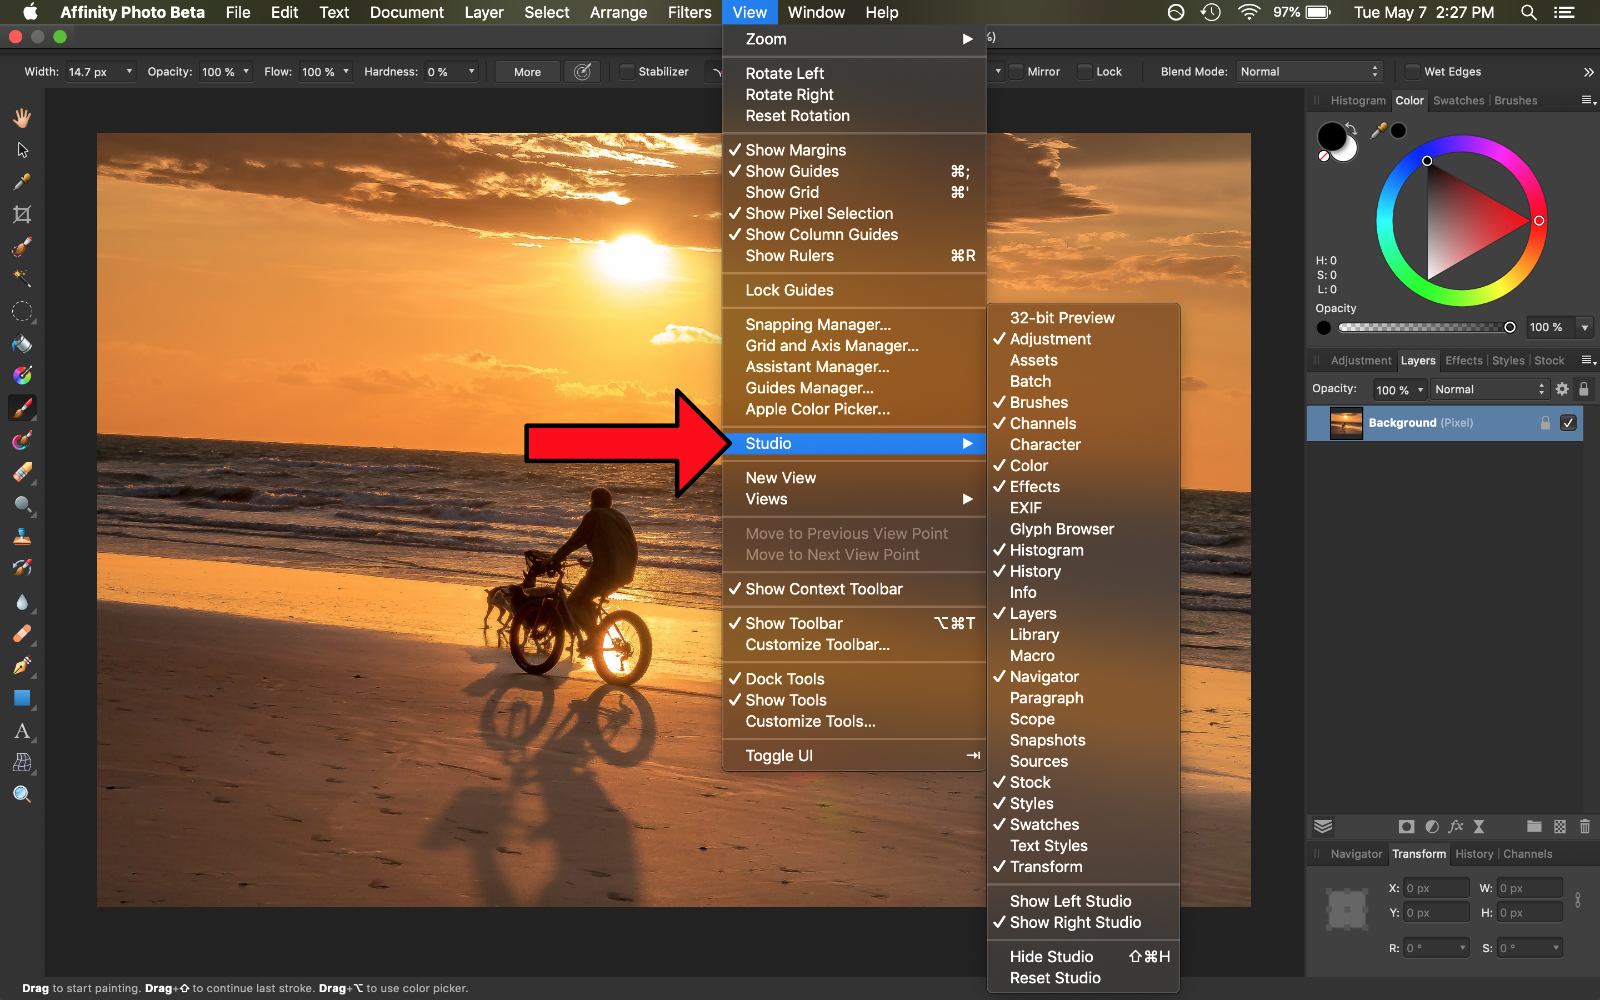
If you always want to add or remove panels from the Studio, get to the tiptop of the screen to View, and then scroll down to Studio. Here yous tin can turn whatsoever of the panels off or on by clicking on their proper name.
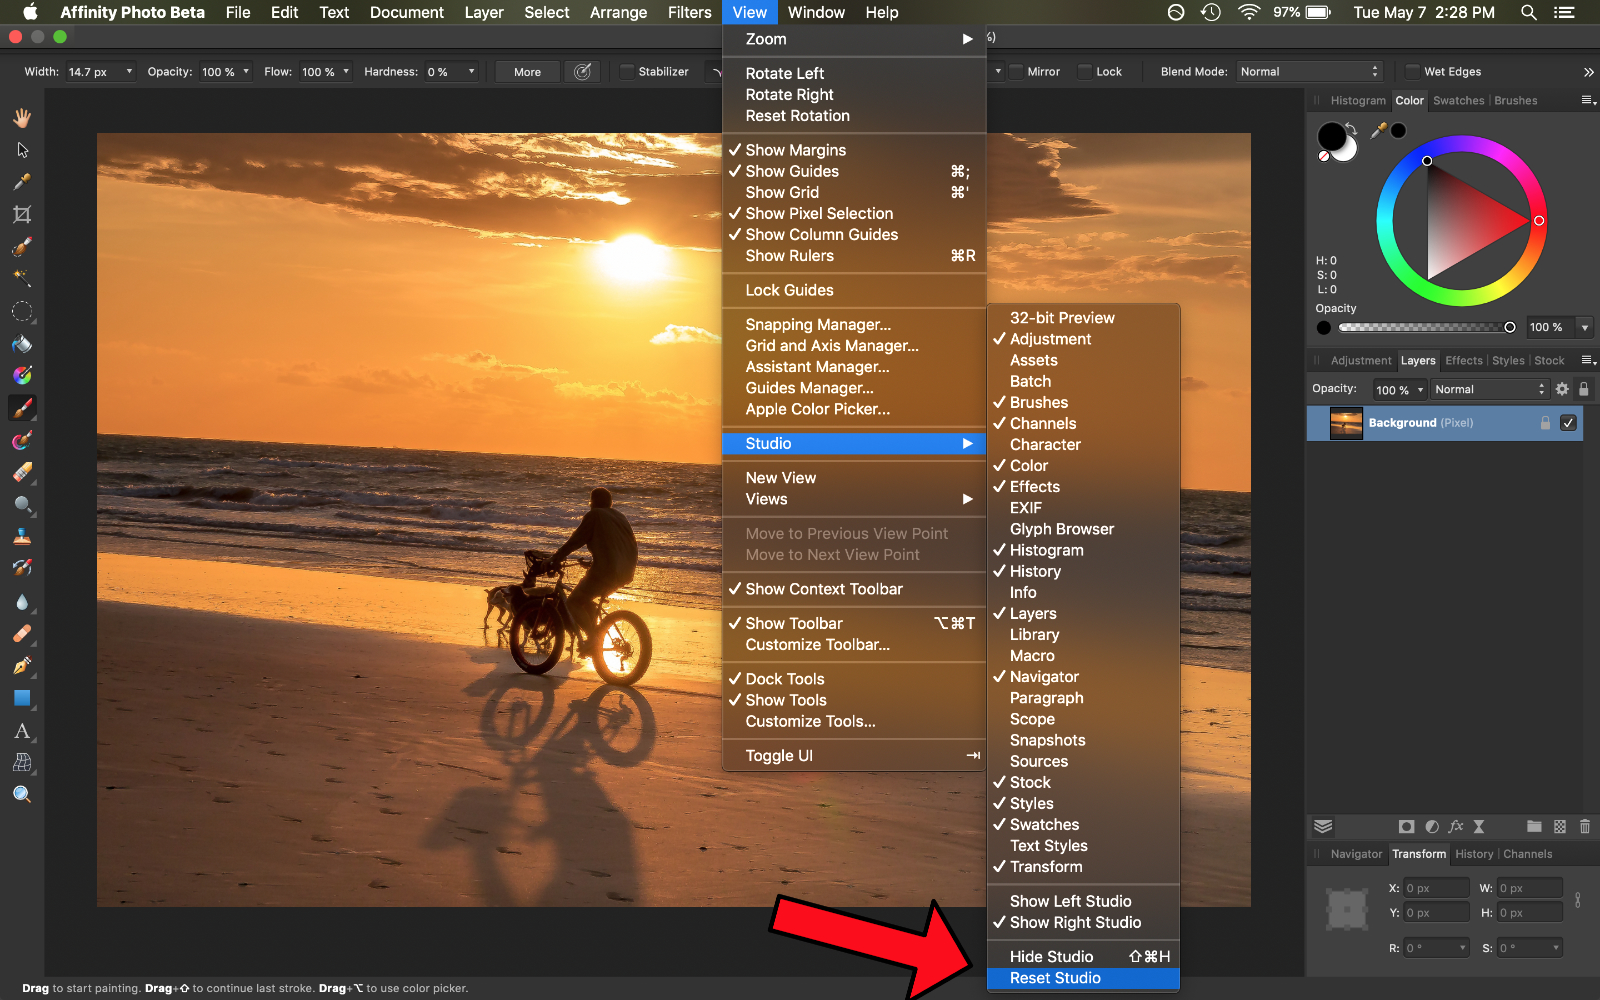
If you e'er want to reset the panels to the way they were when you starting time opened Analogousness Photo, scroll down to the last option, and press Reset Studio.
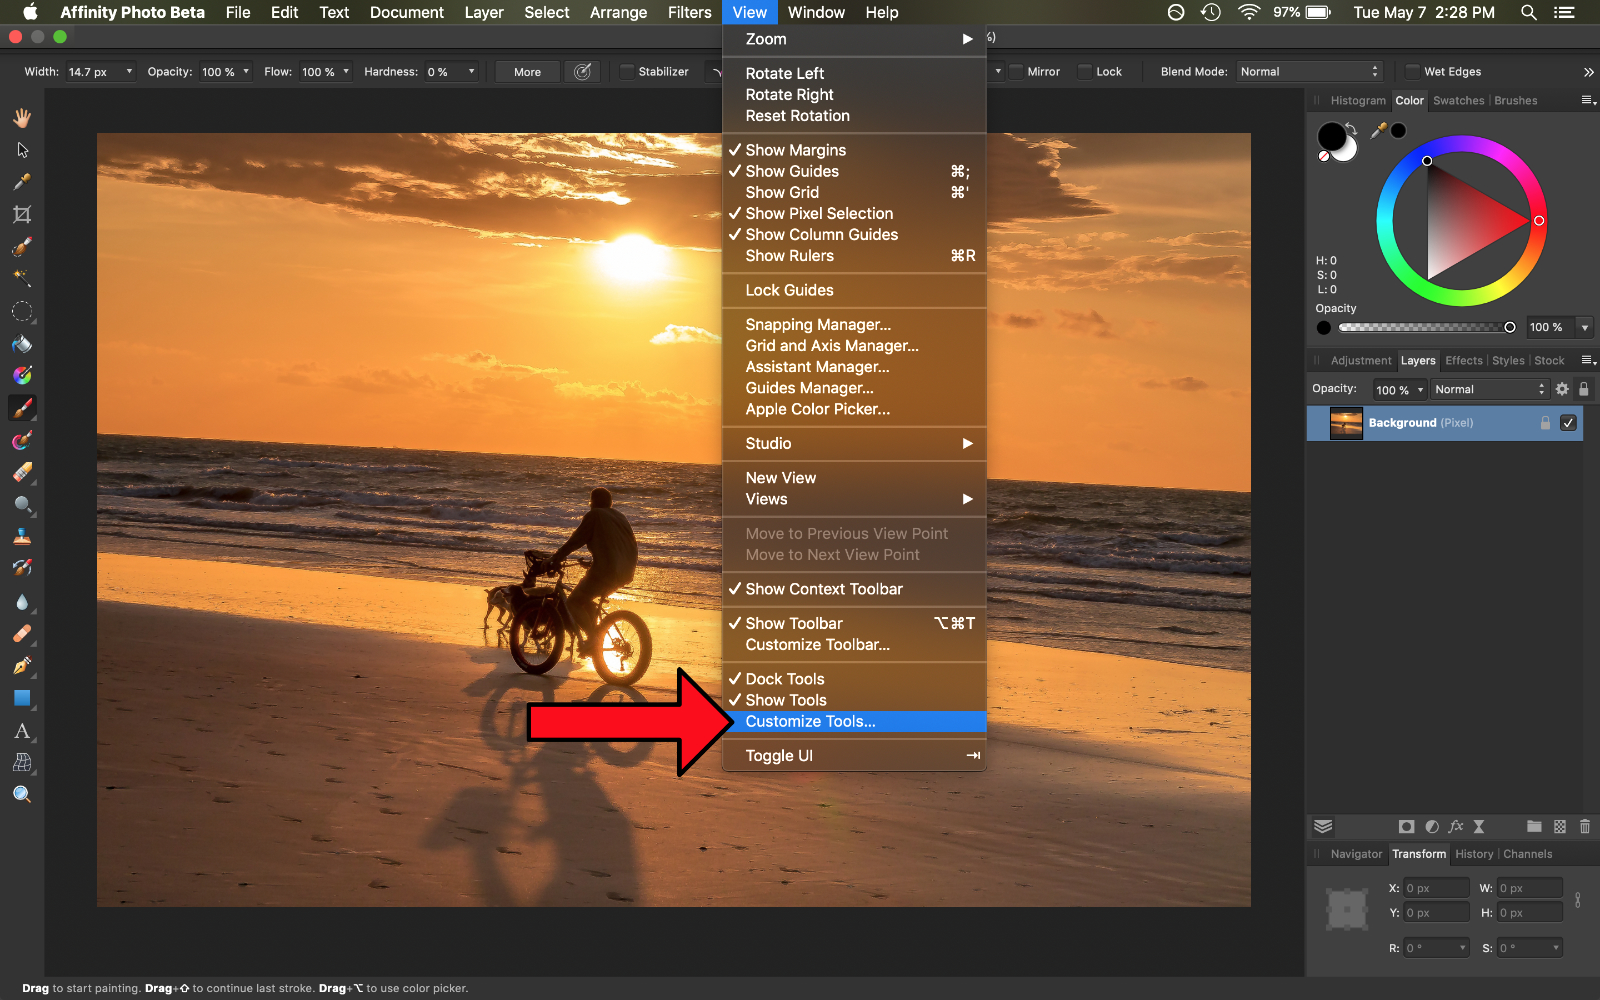
Affinity Photograph also gives the states the option to customize the Tool Console. Under the View card, scroll toward the lesser to Customize Tools.
Now nosotros can click and drag on whatever tool in the Tool Console, and motion it out of the Tool Panel to remove it.
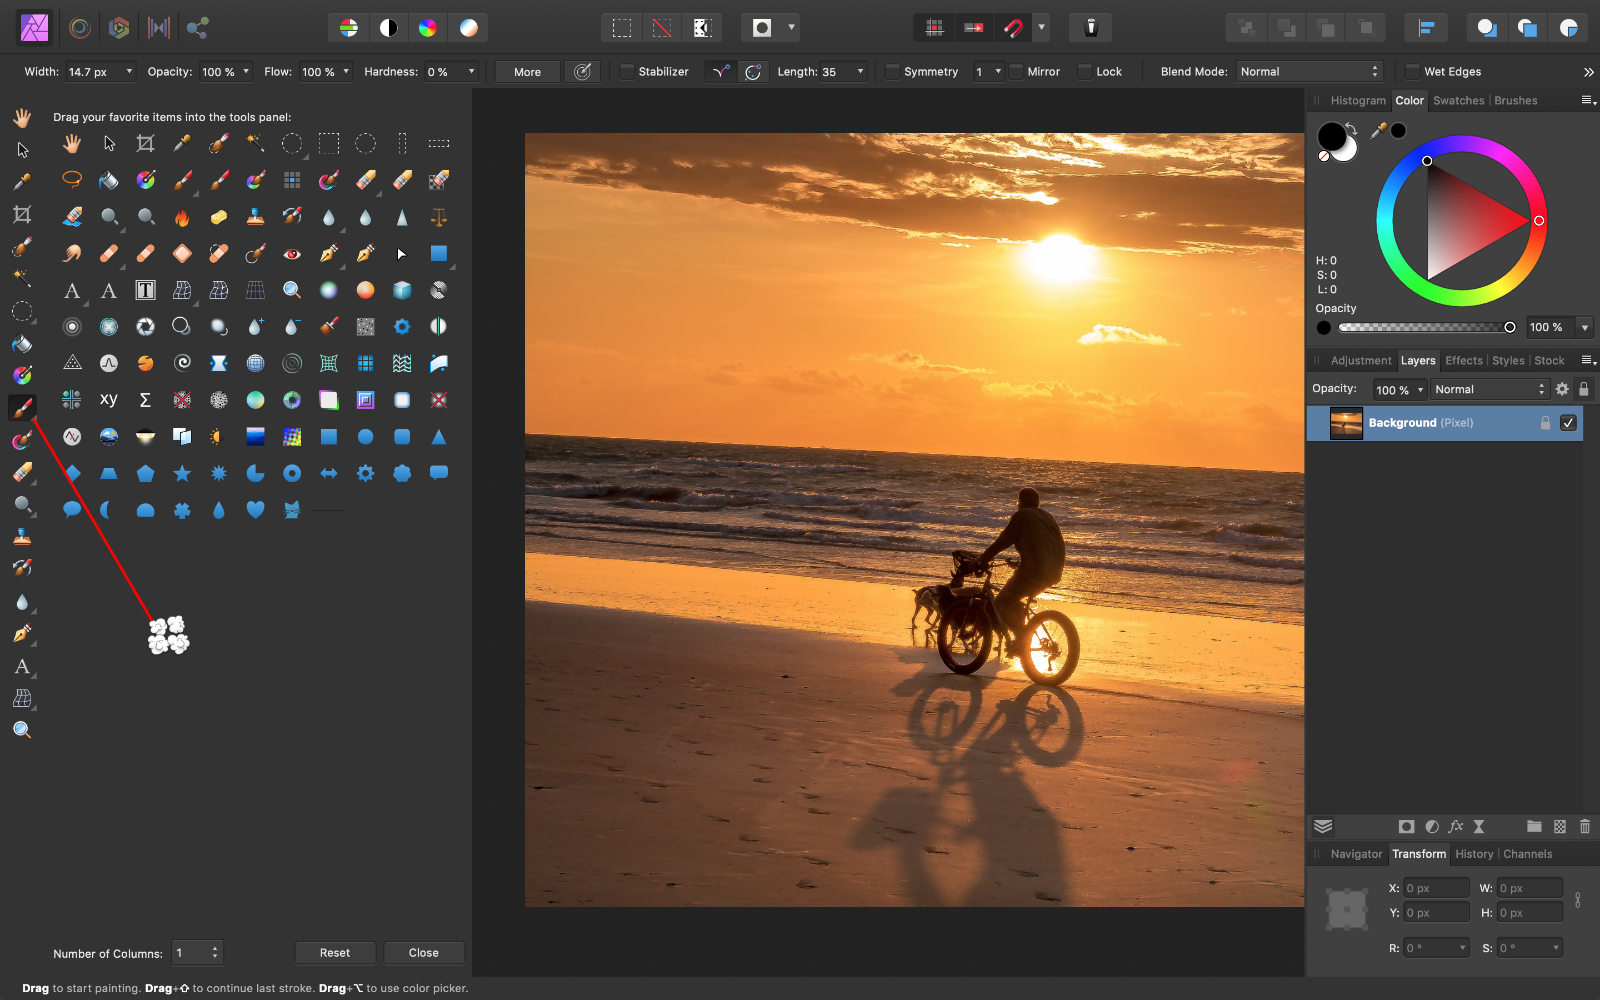
To add together a new tool, click and drag on any of the tools, and put them in the Tool Panel where you lot would similar them to appear.
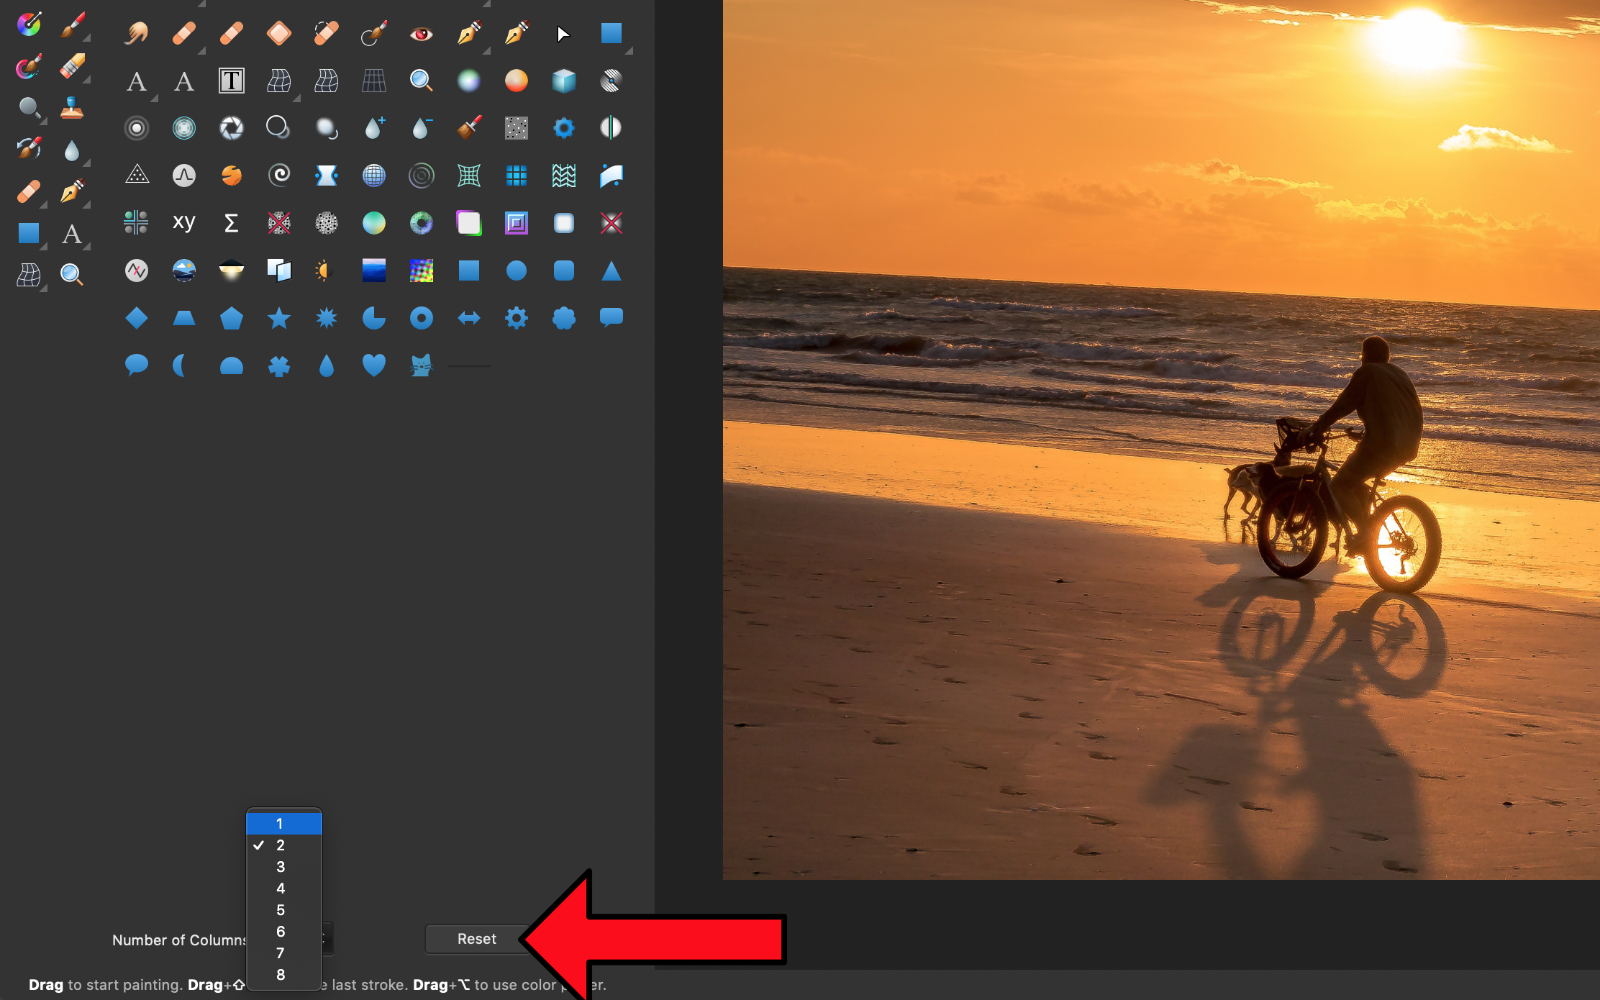
You can alter the number of columns that appear in the Tool Console at the bottom of the screen.
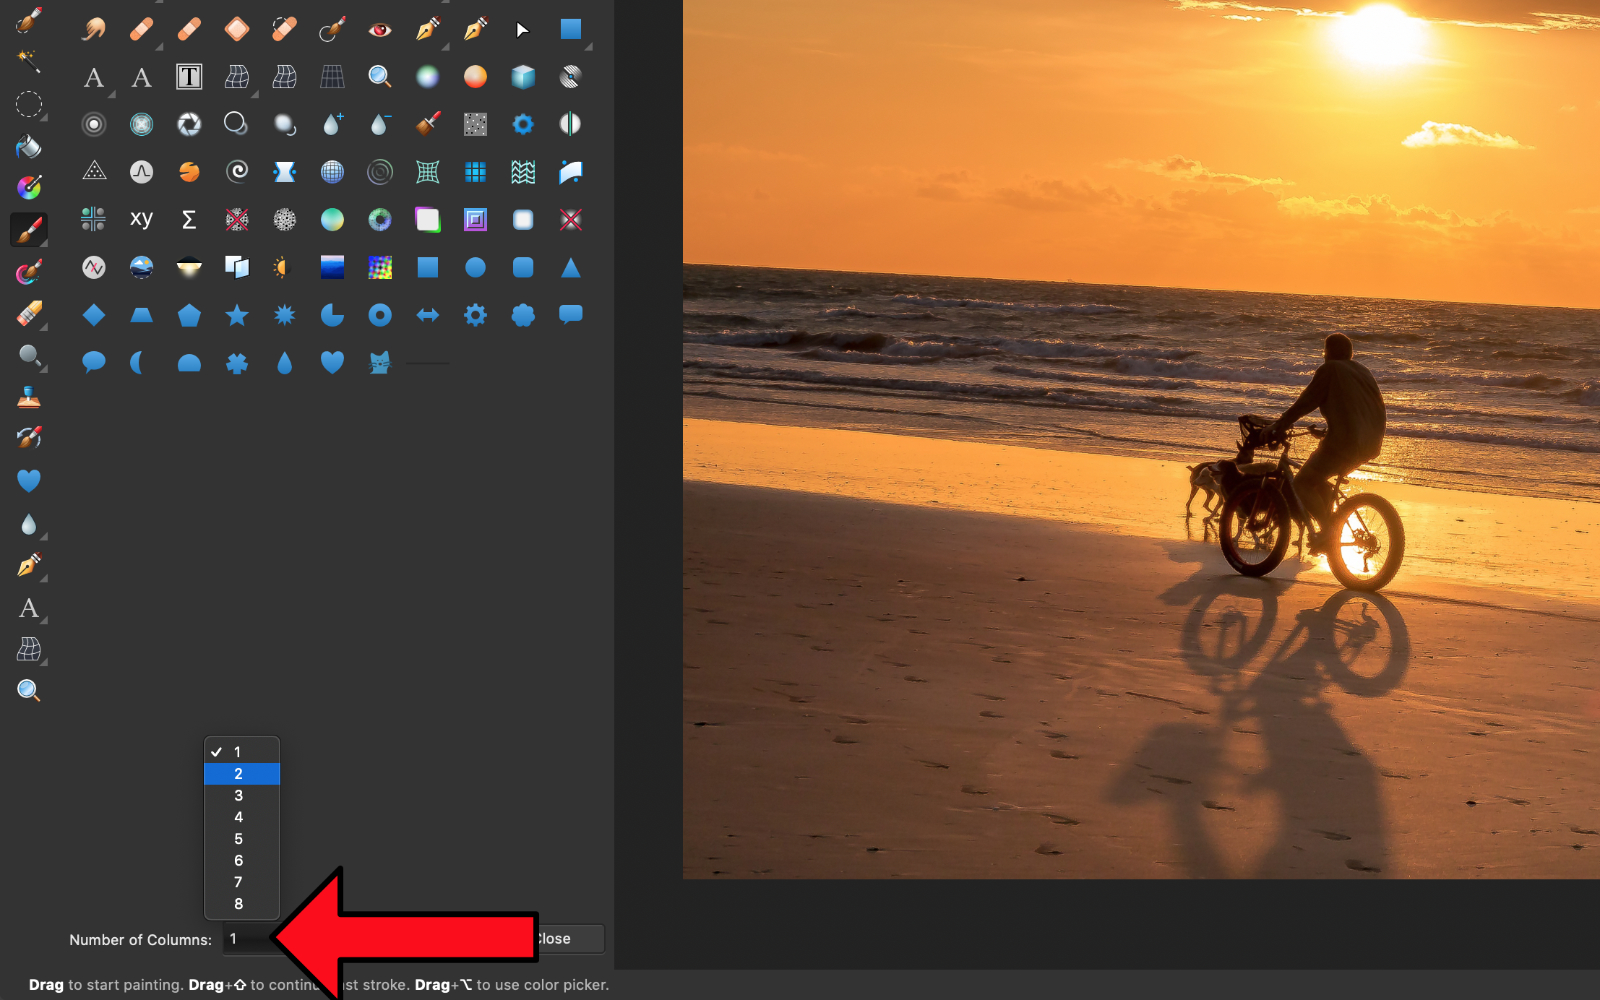
If you desire to reset your Tool Panel back to its original course, press Reset at the bottom of the screen. I'll also change mine back to 1 column.
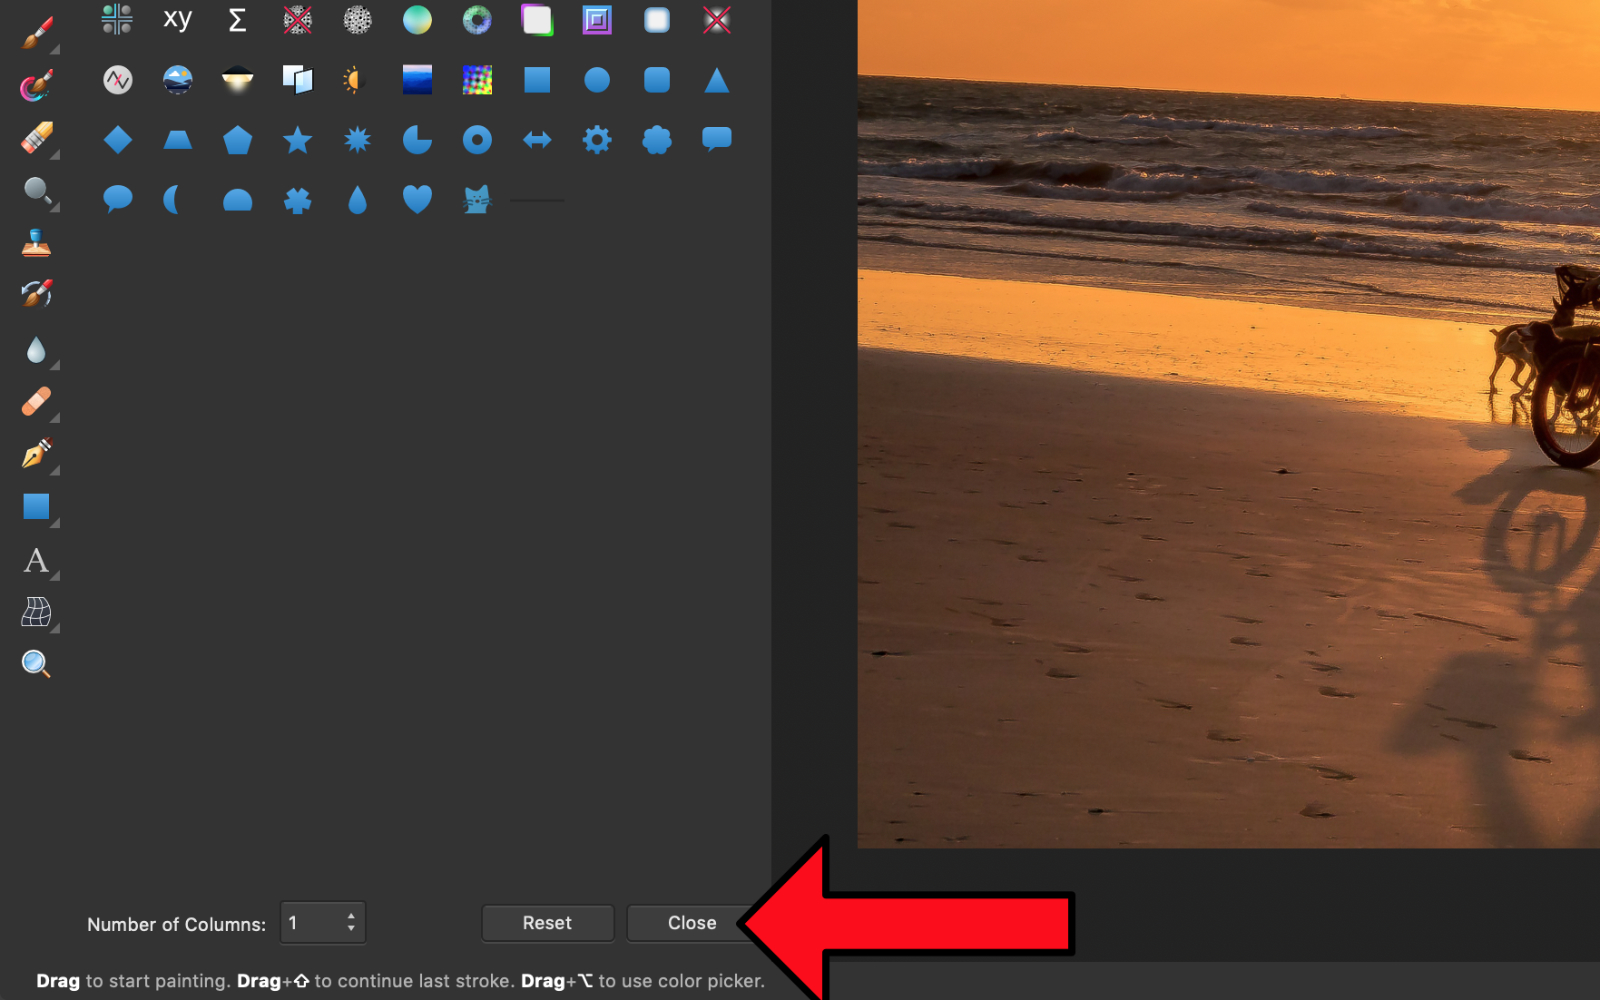
When you lot're done customizing your tools, press Close.
At the top left, there are different personas to explore in Analogousness Photo. Right at present, nosotros are in the Photo Persona, which is where y'all'll do most of your work in Analogousness Photo.
We also accept the Liquify Persona, the Develop Persona, the Tone Mapping Persona, and the Export Persona. Persona is just another word for workspace.
When yous click on any of the personas, different tools and panels appear. Each persona is used for a different purpose, just most of the fourth dimension you lot'll stay in the Photo Persona.
Cropping
Let's learn how to crop and straighten our photos. This is a quick and simple style to brand your photos wait a lot cleaner.

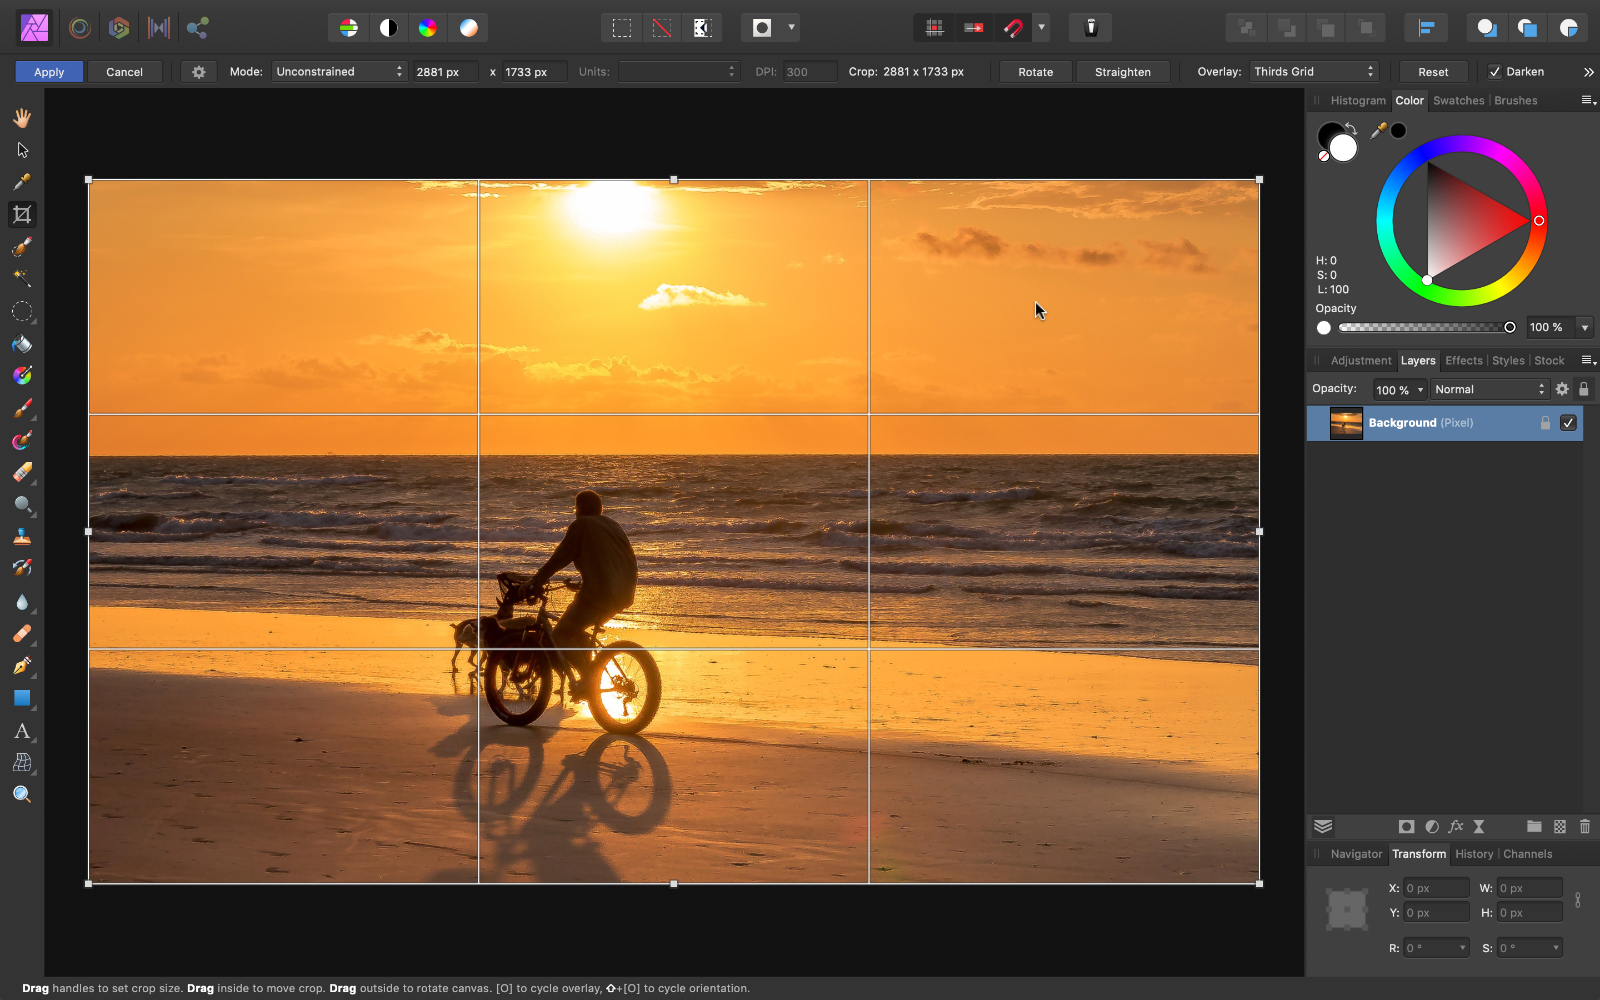
To crop a photograph, we demand to select the Crop Tool, either by selecting it in the Tool Panel, or by pressing C on the keyboard.
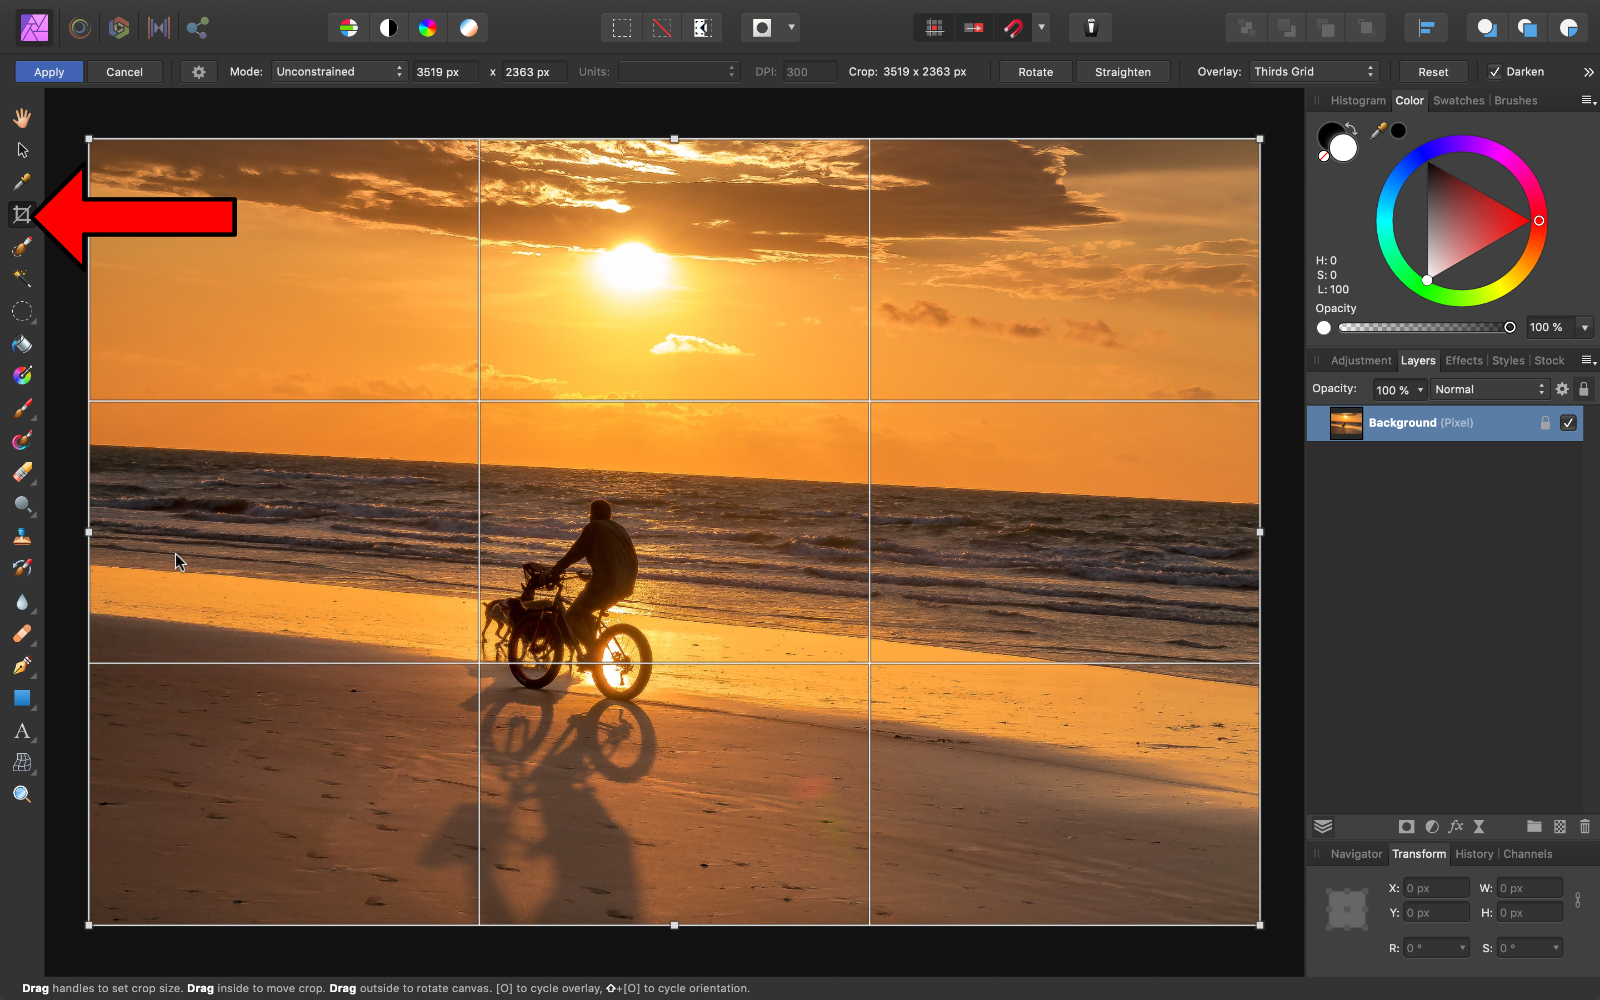
With the Crop Tool now activated, we can click and drag on any of the white handles to bring in the crop.
When yous like how the crop is looking, you can printing Apply in the Context Toolbar, or you tin press Enter on your keyboard to ostend the ingather.

The great matter nearly cropping inside of Affinity Photo is that your original picture is still there.
Simply printing C for the Ingather Tool, drag the handles out, and the previously cropped parts of your image will announced again.
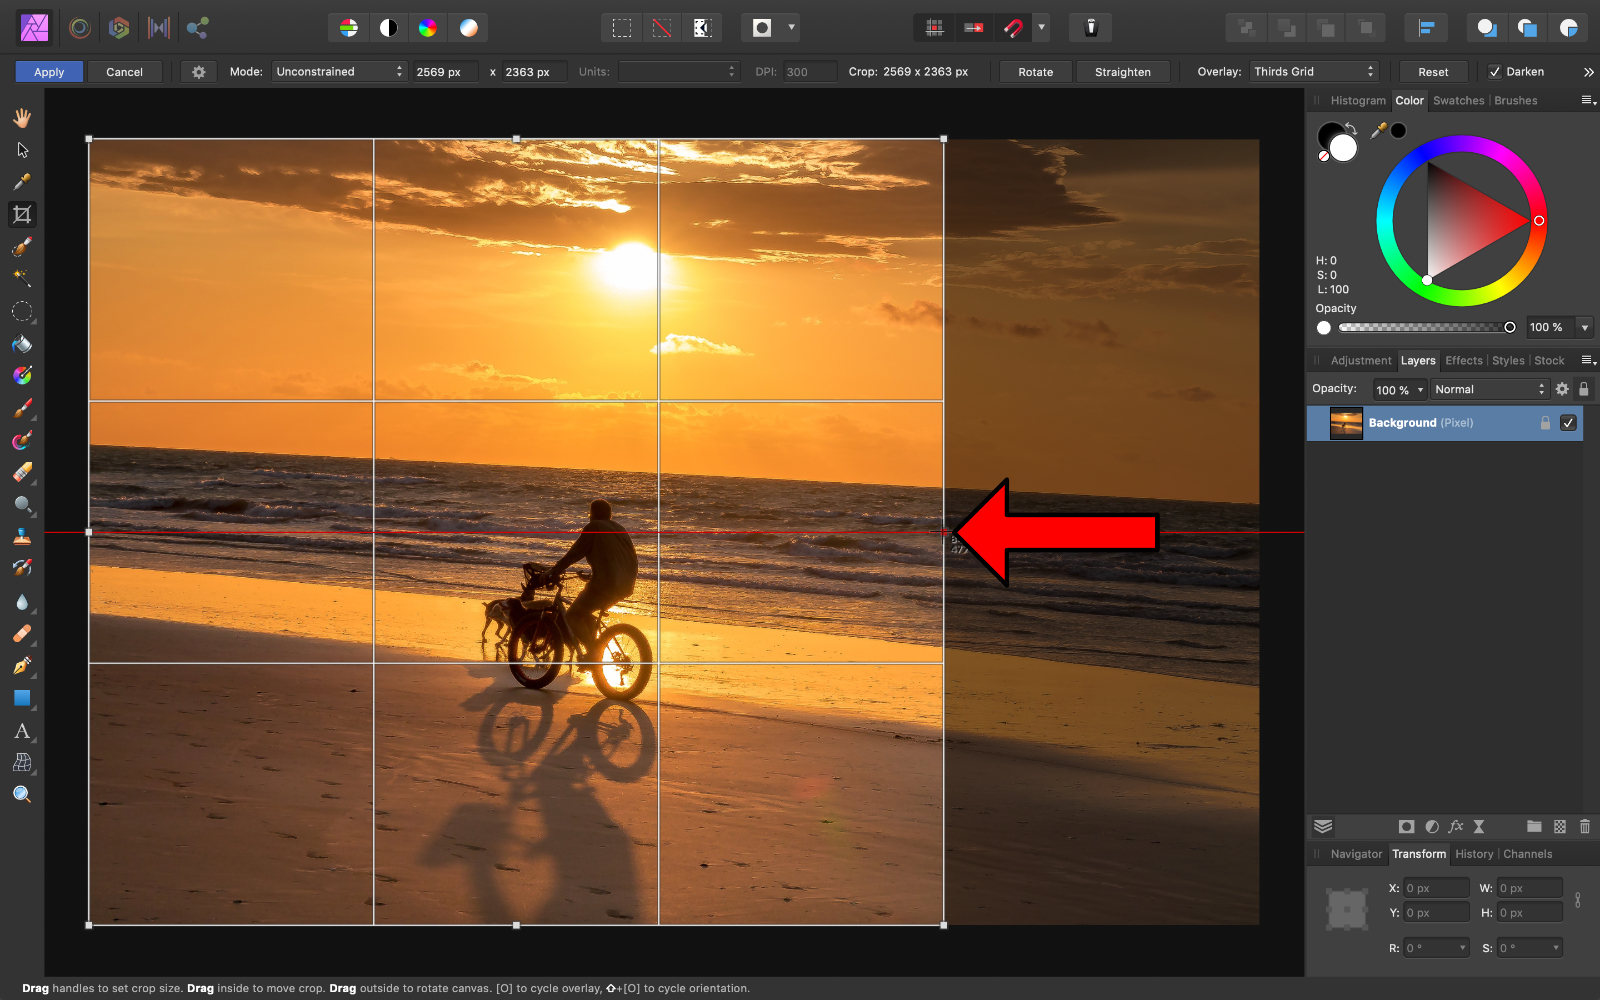
Some other great feature of the Crop Tool is that it allows you to straighten your pictures.
With the Crop Tool activated, press Straighten in the Context Toolbar.
Then click and drag to form a line on any office of your picture where information technology should be straight. In this instance, drag a line across the horizon.
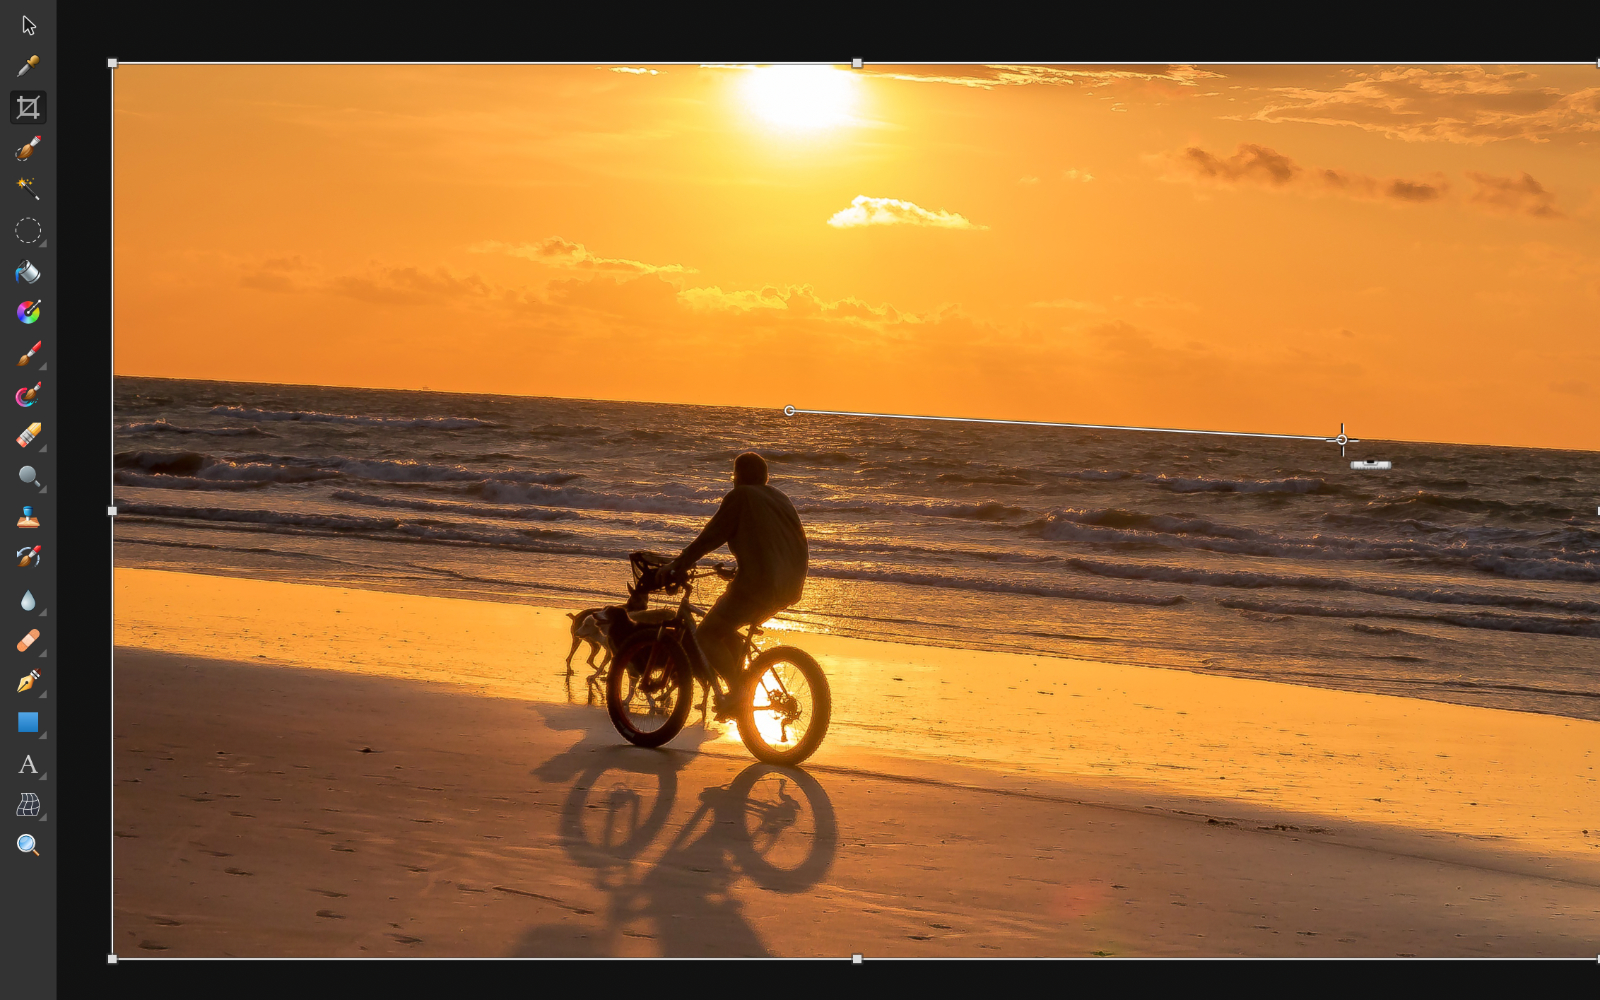
When you release the mouse, the moving picture will automatically exist straightened in relation to the line you drew.
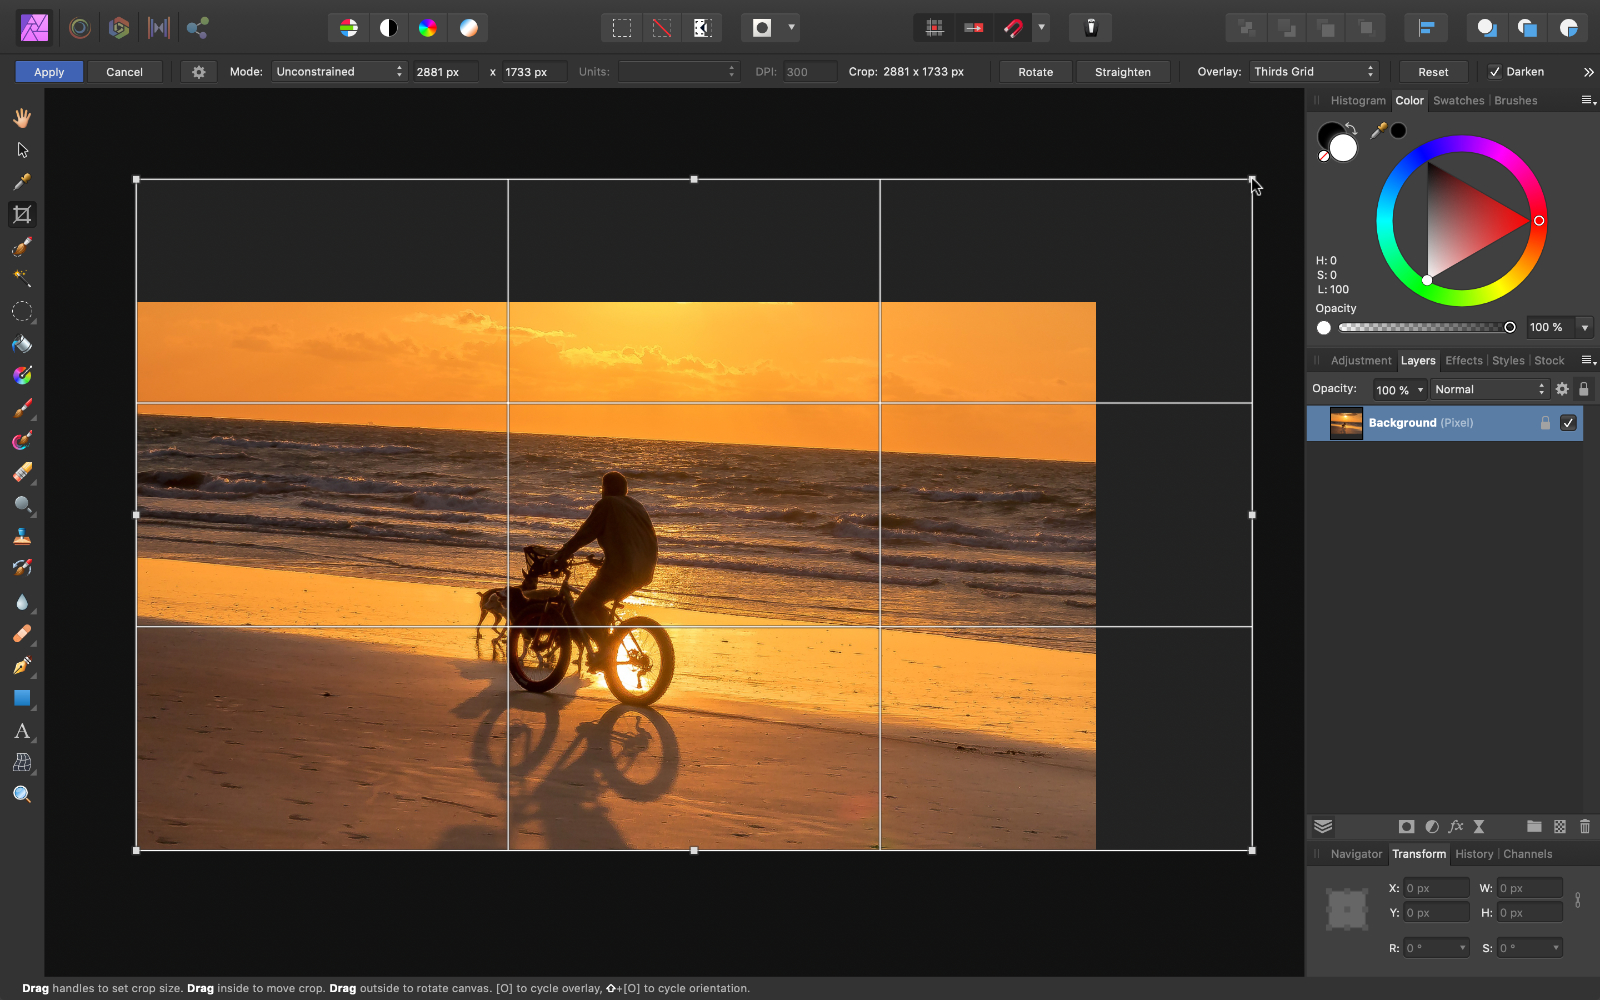
Y'all tin also rotate a motion-picture show with the Ingather Tool. Only hover your mouse over 1 of the corners of the image, and then click and drag.
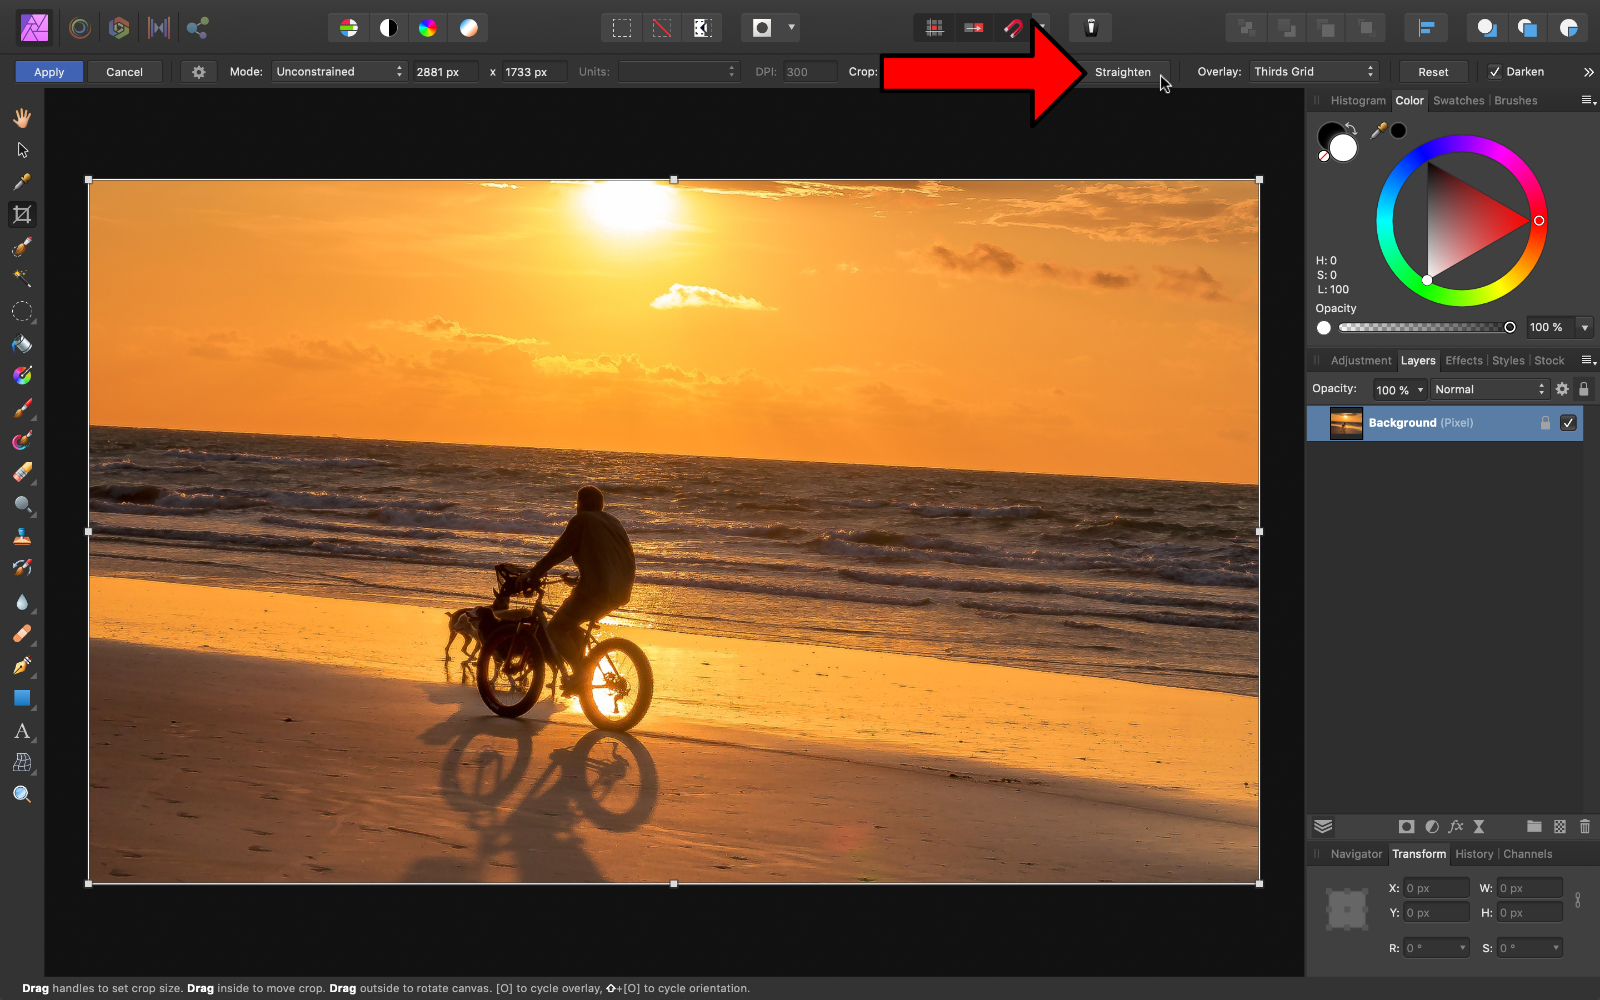
Subsequently rotating or cropping, remember to printing Apply in the Context Toolbar, or press Enter on your keyboard to confirm your crop.
Cropping inside of Analogousness Photograph really is as simple as that.

Removing Imperfections
A beginner to Affinity Photo might think removing imperfections from a photo is something that only professionals can do, but Affinity actually makes it really easy to do.
In this photograph, nosotros'll remove the poles in the lower right corner.
Earlier nosotros remove anything, we need to duplicate our epitome. Printing Command J (Mac) or Control J (PC) to duplicate this paradigm. In the Layers Panel, we can see that we now have ii copies of the same prototype.
The reason that we do this is so that we tin can work non-destructively. We can keep the original image rubber past working on a copy of it.
We tin can brand as many changes as we want to our duplicate layer, and the original picture will stay safe and unedited.
With the indistinguishable copy ready, we can begin removing the poles in the water.
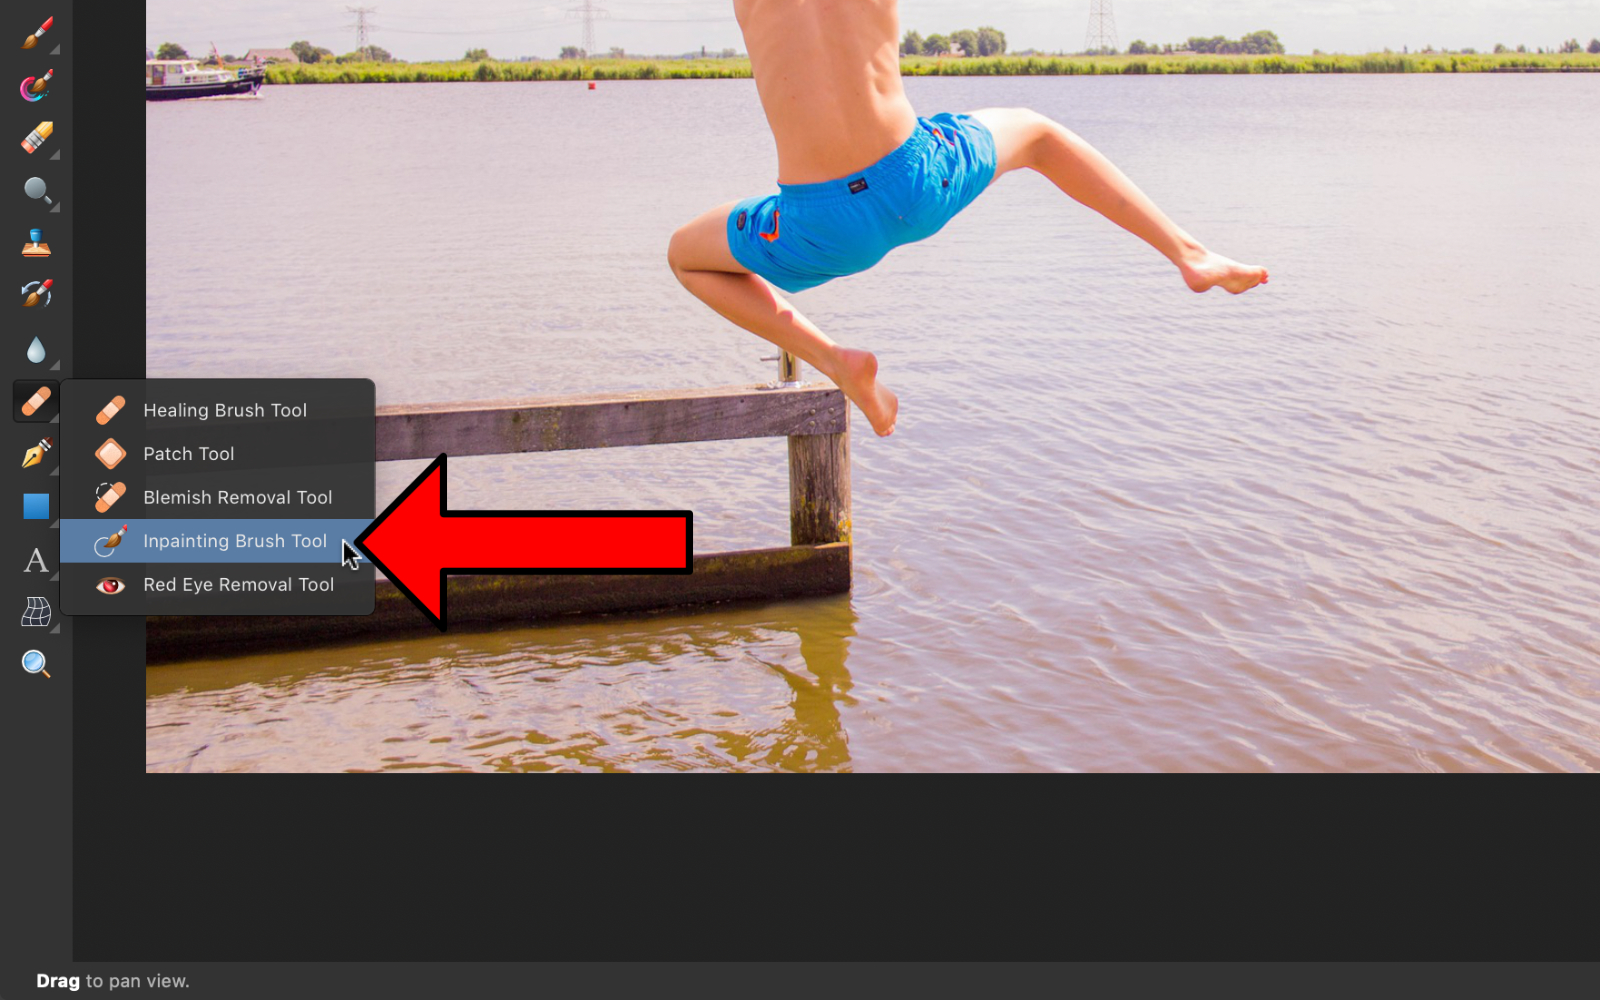
Select the Inpainting Brush Tool by clicking and holding on the Ring-Aid icon, and so scrolling down to Inpainting Brush Tool.
All we need to exercise is paint over an area in the photo that we would like removed, and Affinity volition automatically remove it.
Inpainting is smart content removal.
For this example, I'll pigment over the poles, and Affinity will remove them from the moving-picture show.
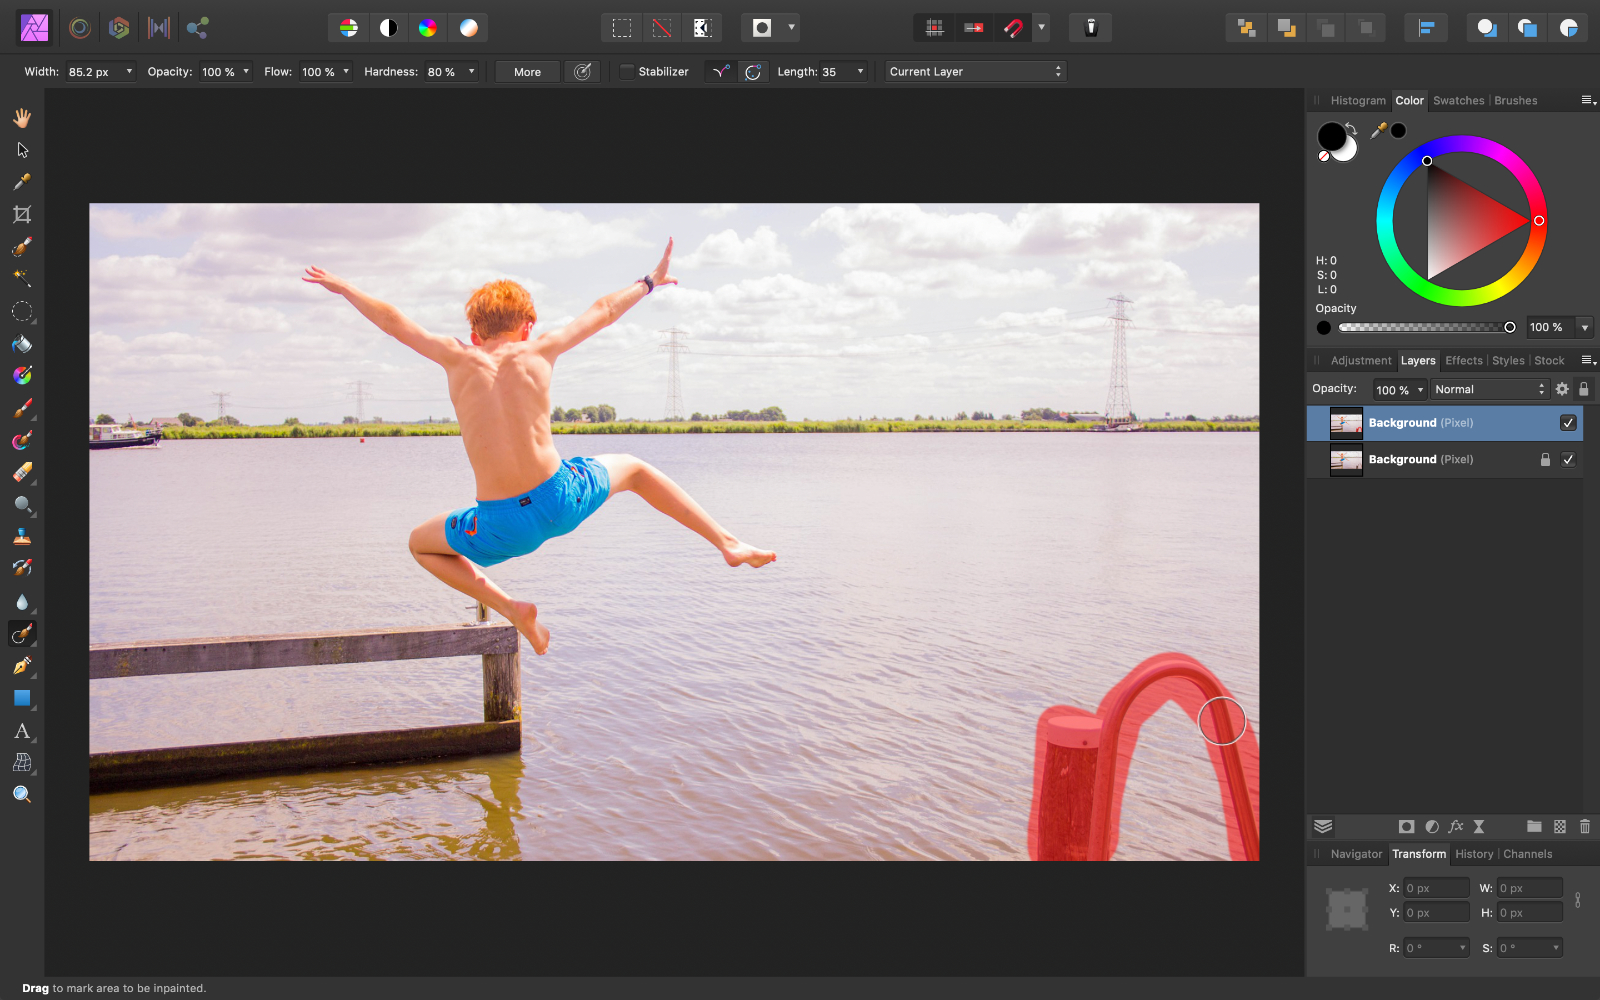
Nearly like magic, Affinity Photo has removed the imperfection!


In this next instance, we'll continue using the Inpainting Castor Tool, merely this fourth dimension, we'll apply it to remove some minor acne from Ezra's chin. But before nosotros brand any changes, nosotros need to duplicate the paradigm by pressing Command J (Mac) or Control J (PC).
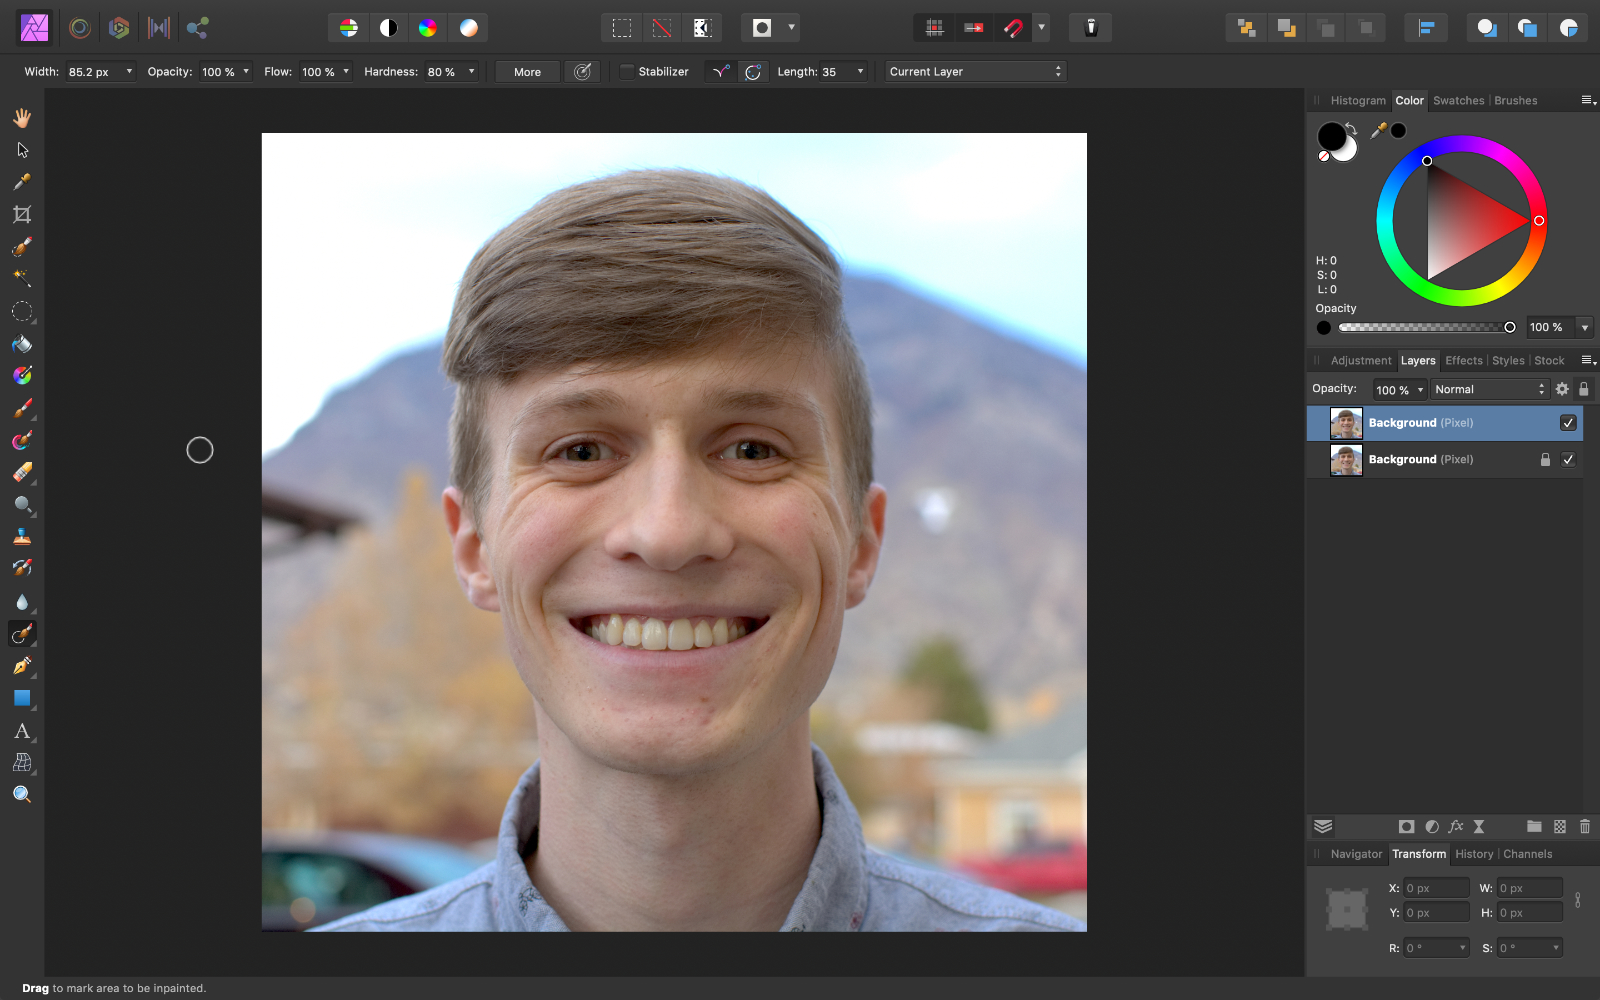
Next, zoom into the photo to see the acne better. In that location are a few options that you tin utilise to zoom in.
Kickoff, y'all can go to the peak of the screen to View, and so Zoom, then press Zoom In.
I strongly recommend that you memorize this keyboard shortcut though, because information technology can really come in handy.
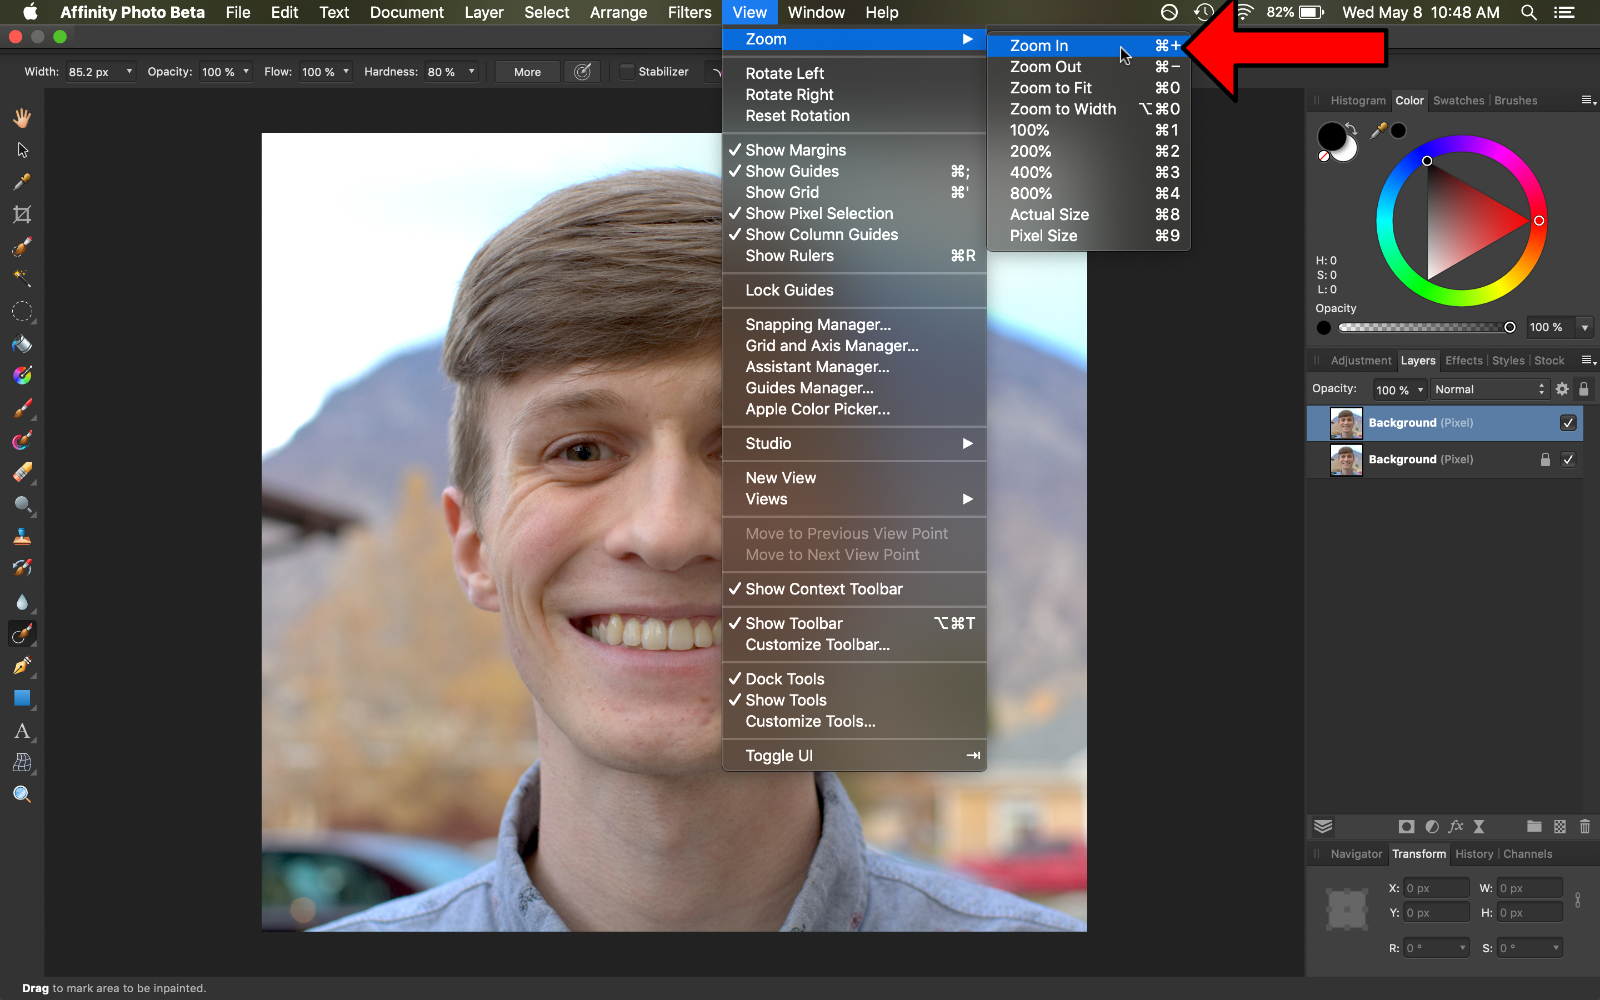
To zoom in, the keyboard shortcut is Control + (Mac) or Control + (PC).
To zoom out, the keyboard shortcut is Command – (Mac) or Command – (PC).
To meet the entire photograph on your screen, the keyboard shortcut is Command 0 (Mac) or Control 0 (PC).
After zooming in, you can move around the document by holding downwardly the infinite bar while clicking and dragging across the epitome.

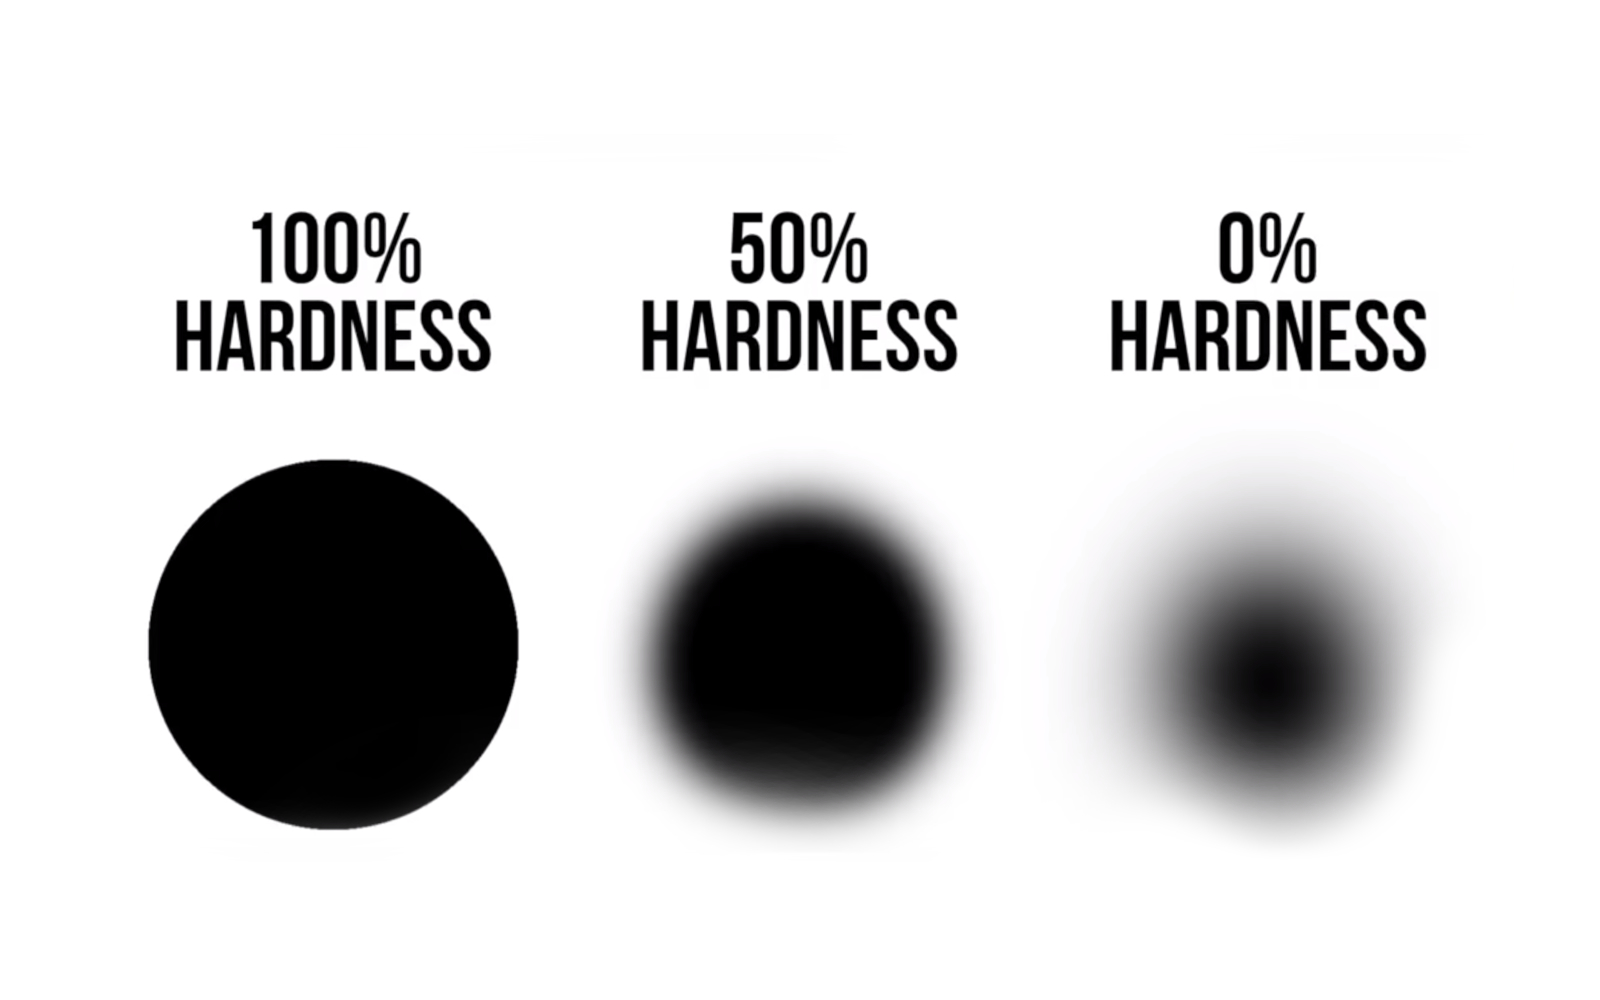
Before we begin inpainting, there are a few options that y'all tin can change in the Context Toolbar. Generally, when you're working with the Inpainting Brush Tool, y'all'll desire to change the Hardness to 100%.

You can too change the size of your brush by adjusting the Width. Because we're working with small imperfections, we'll desire a smaller castor size. I'll change mine from 64 pixels to 30 pixels.
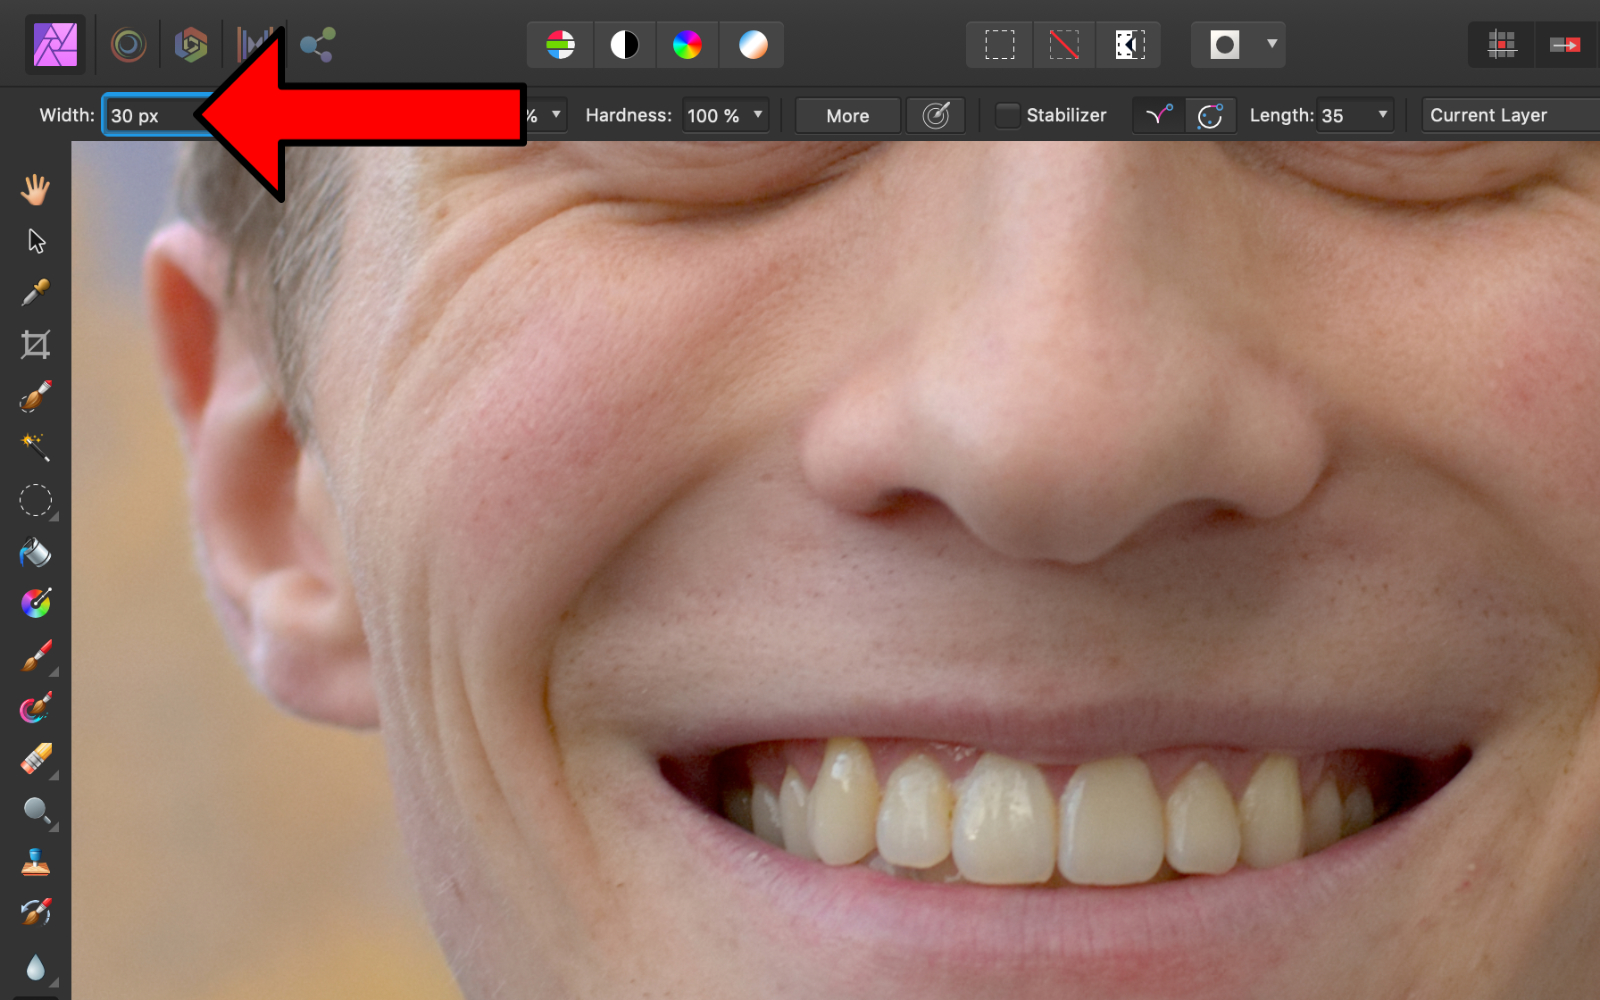
A great shortcut to alter the brush size is to use the bracket keys that are underneath the equal sign on your keyboard ( [ and ] ). Past pressing the left bracket key, you'll make the brush smaller. Past pressing the right subclass key, you'll make the castor bigger.
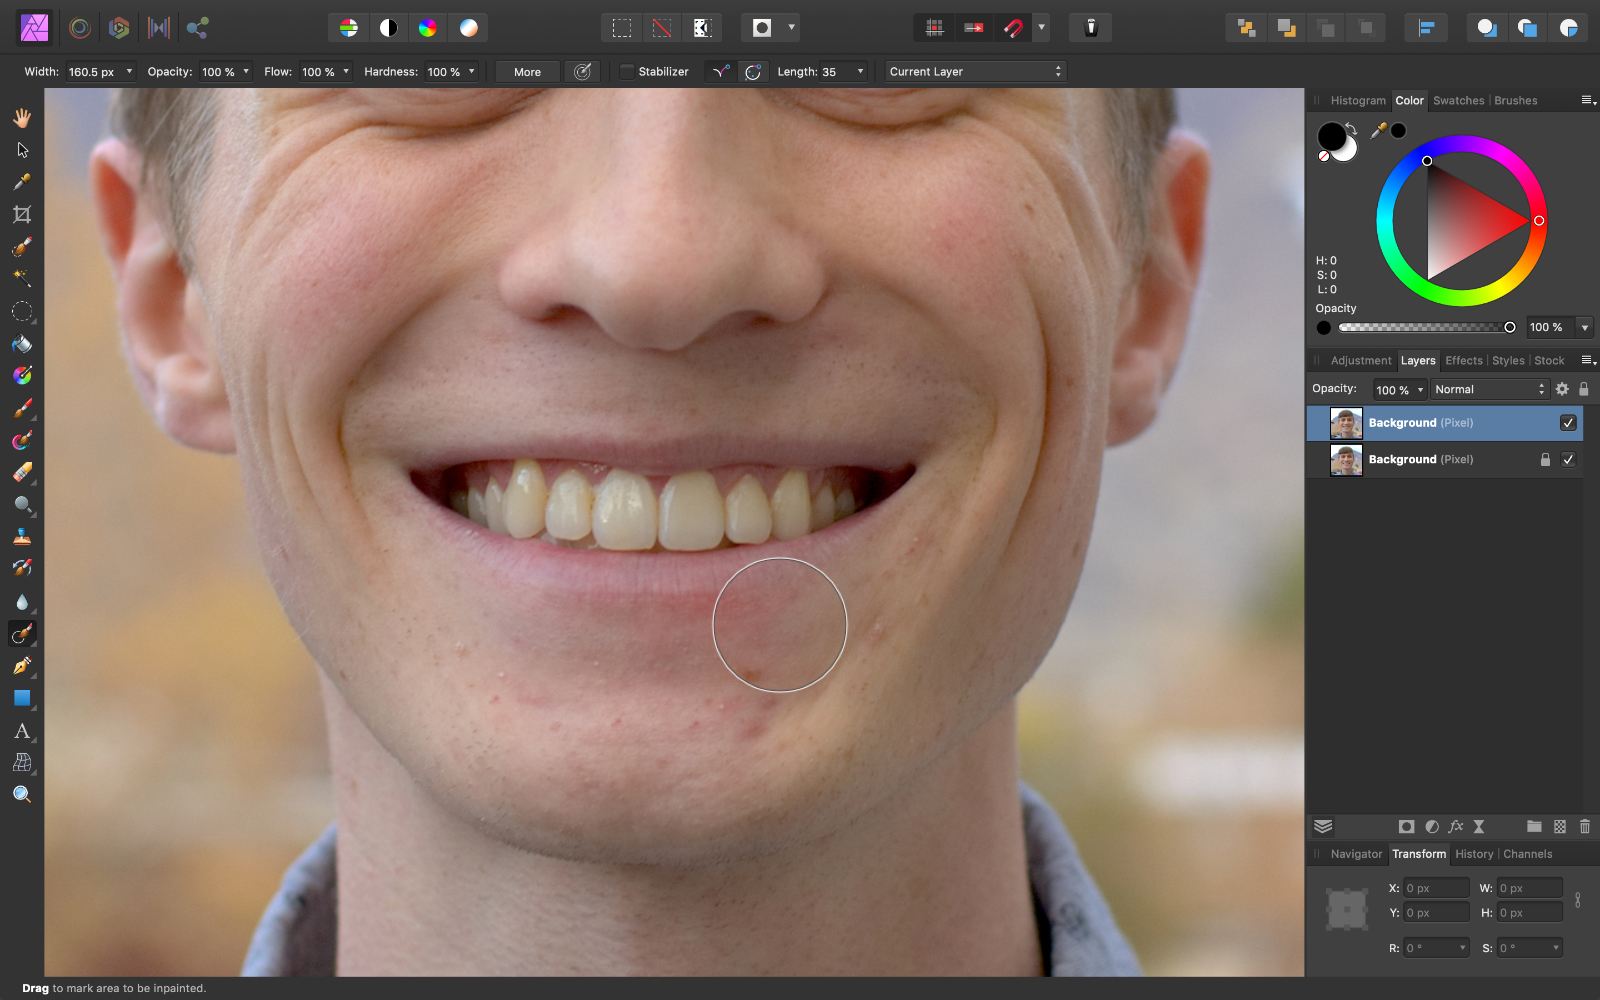
With all of the settings adjusted, it's time to offset painting over the acne to remove it from the photo.

Past using the Inpainting Brush Tool, it's extremely piece of cake to remove imperfections from a photograph.
As great as this tool is, it doesn't ever exercise a perfect job the outset time you paint over something. If that's the case with y'all, simply endeavor painting over the area once again, and it should look better the 2nd fourth dimension.


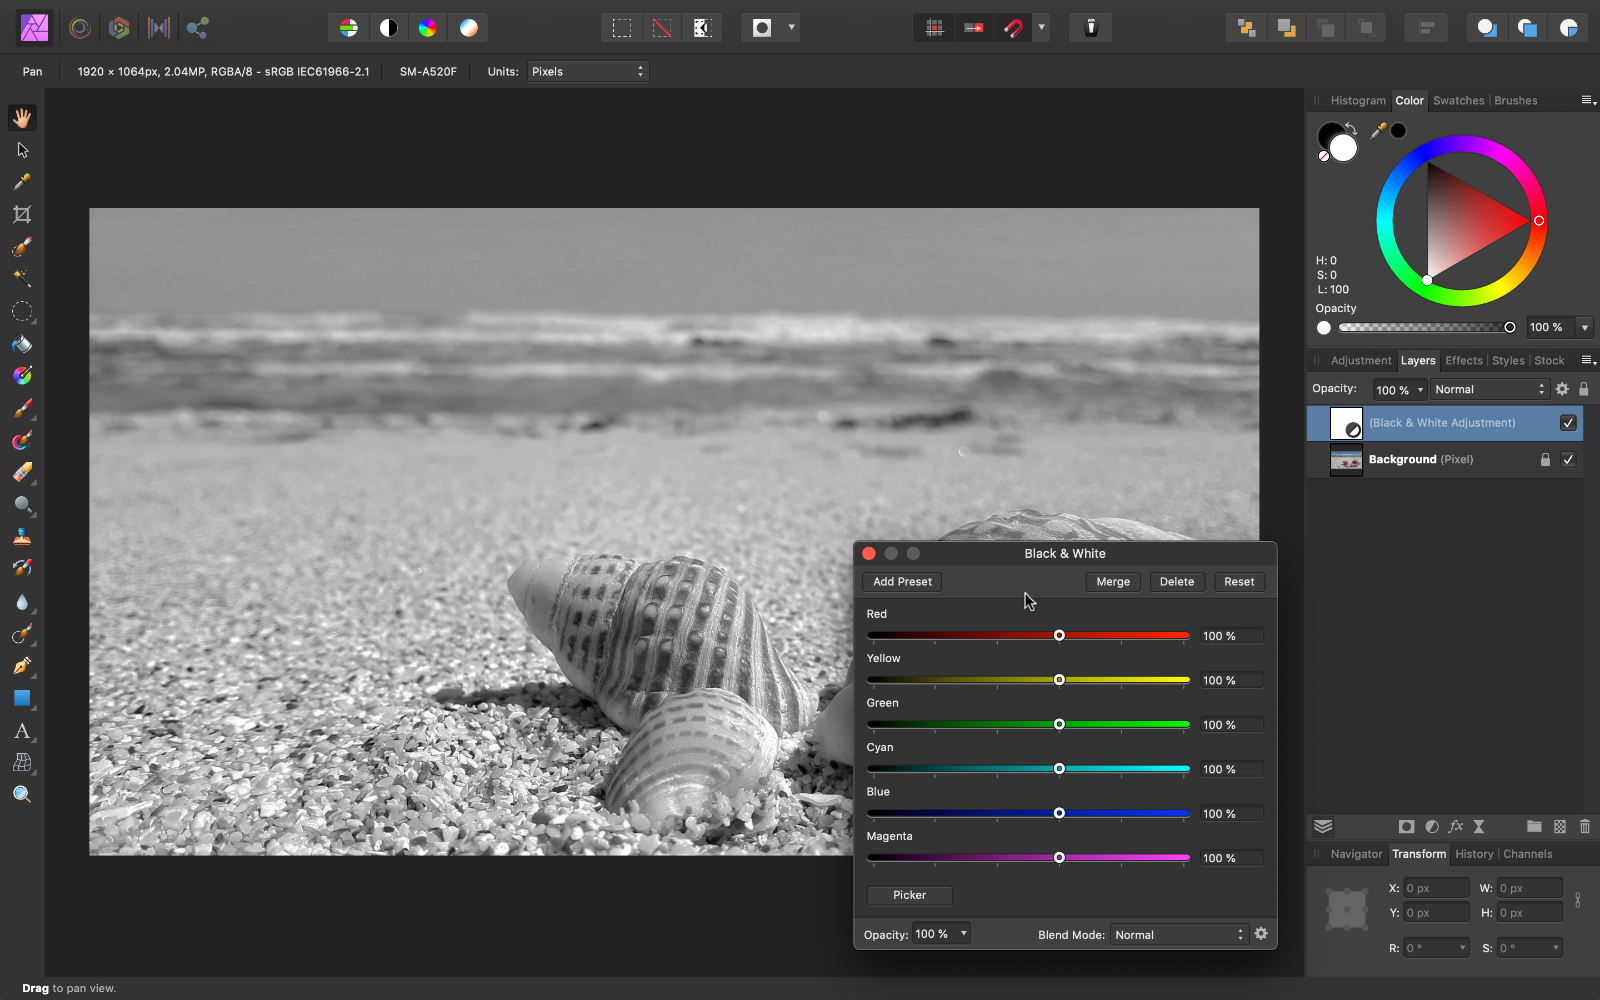
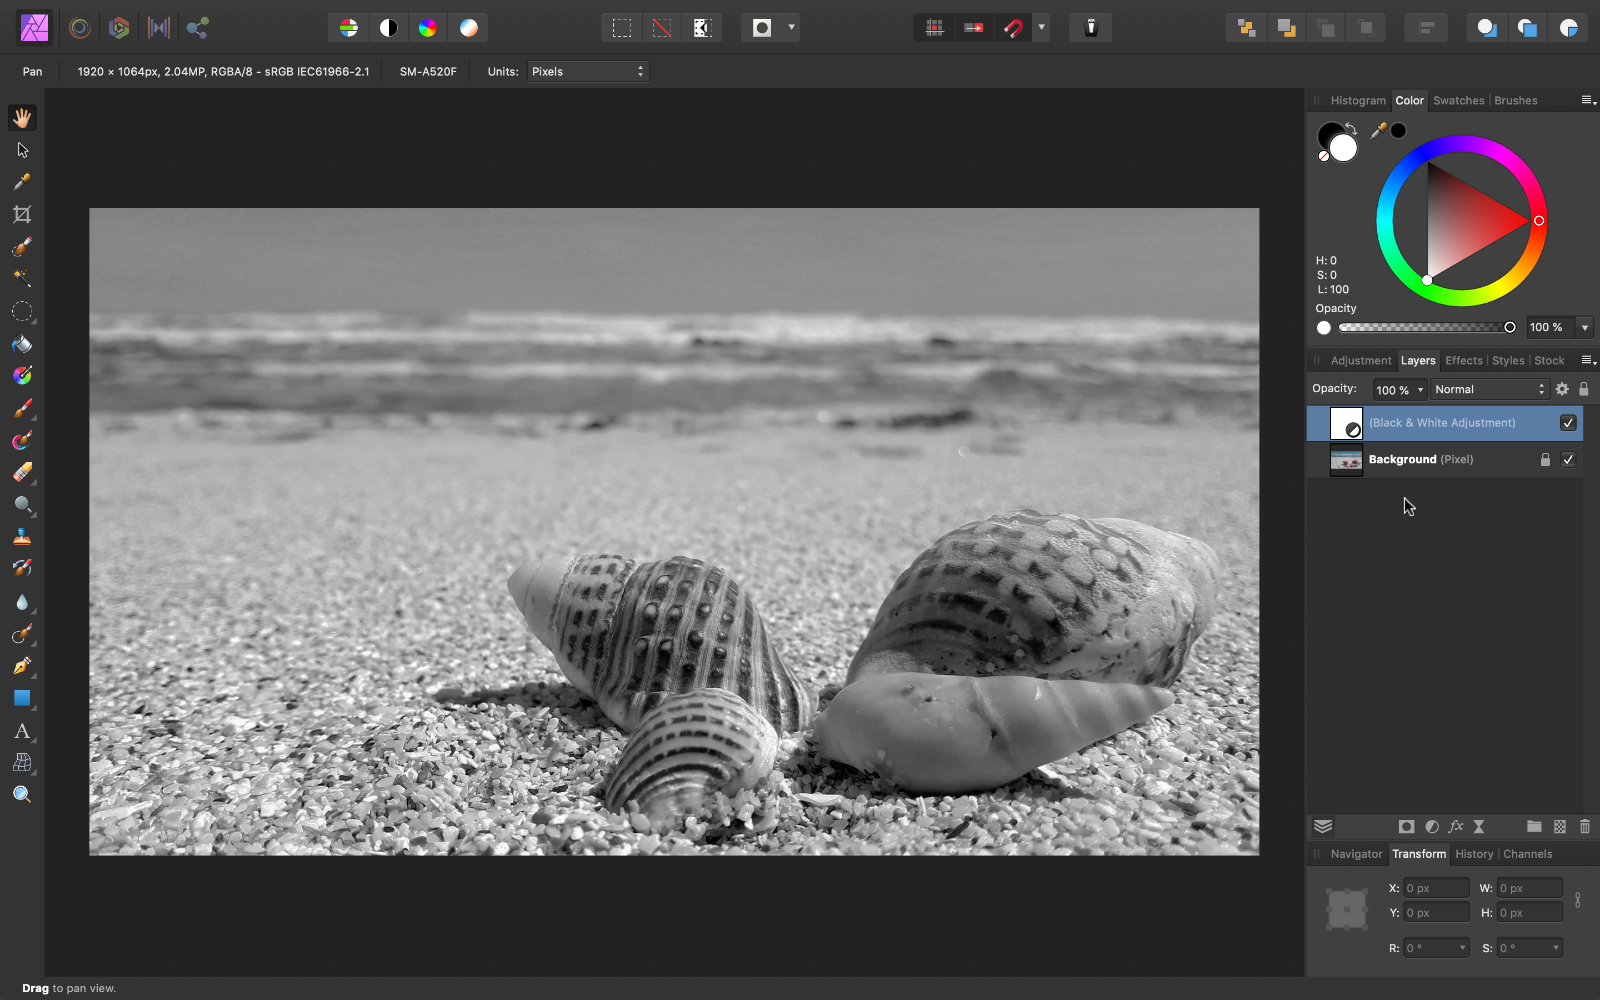
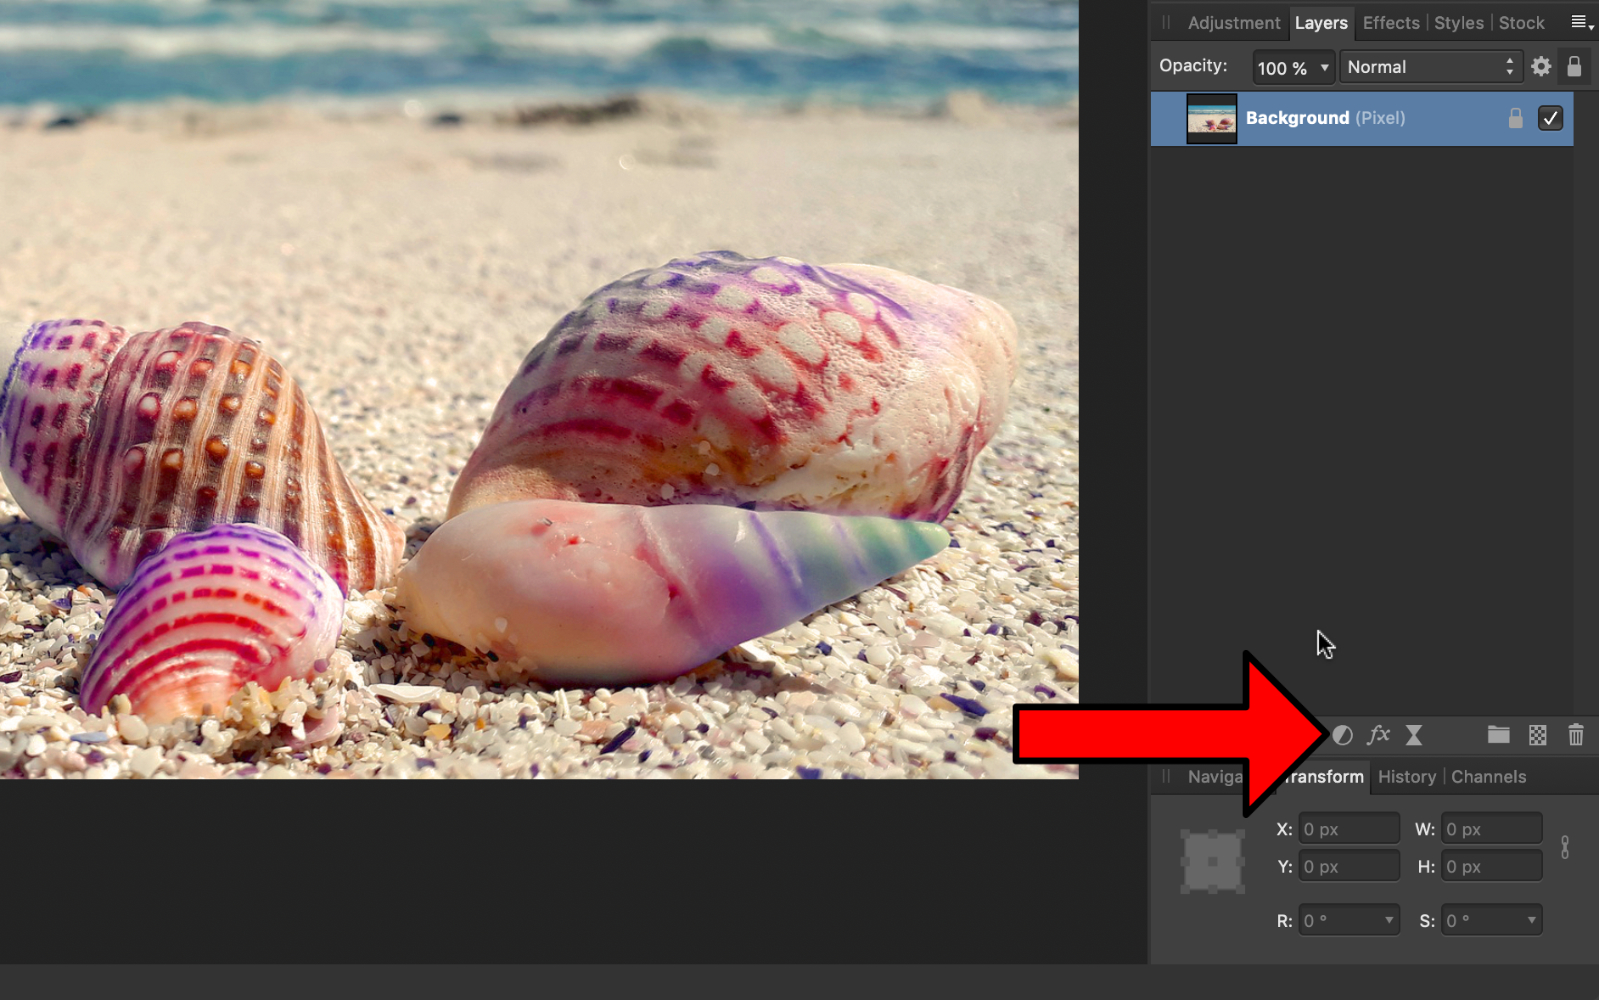
Adjustment Layers
Adjustment layers let you to non-destructively change the colors of your photos.
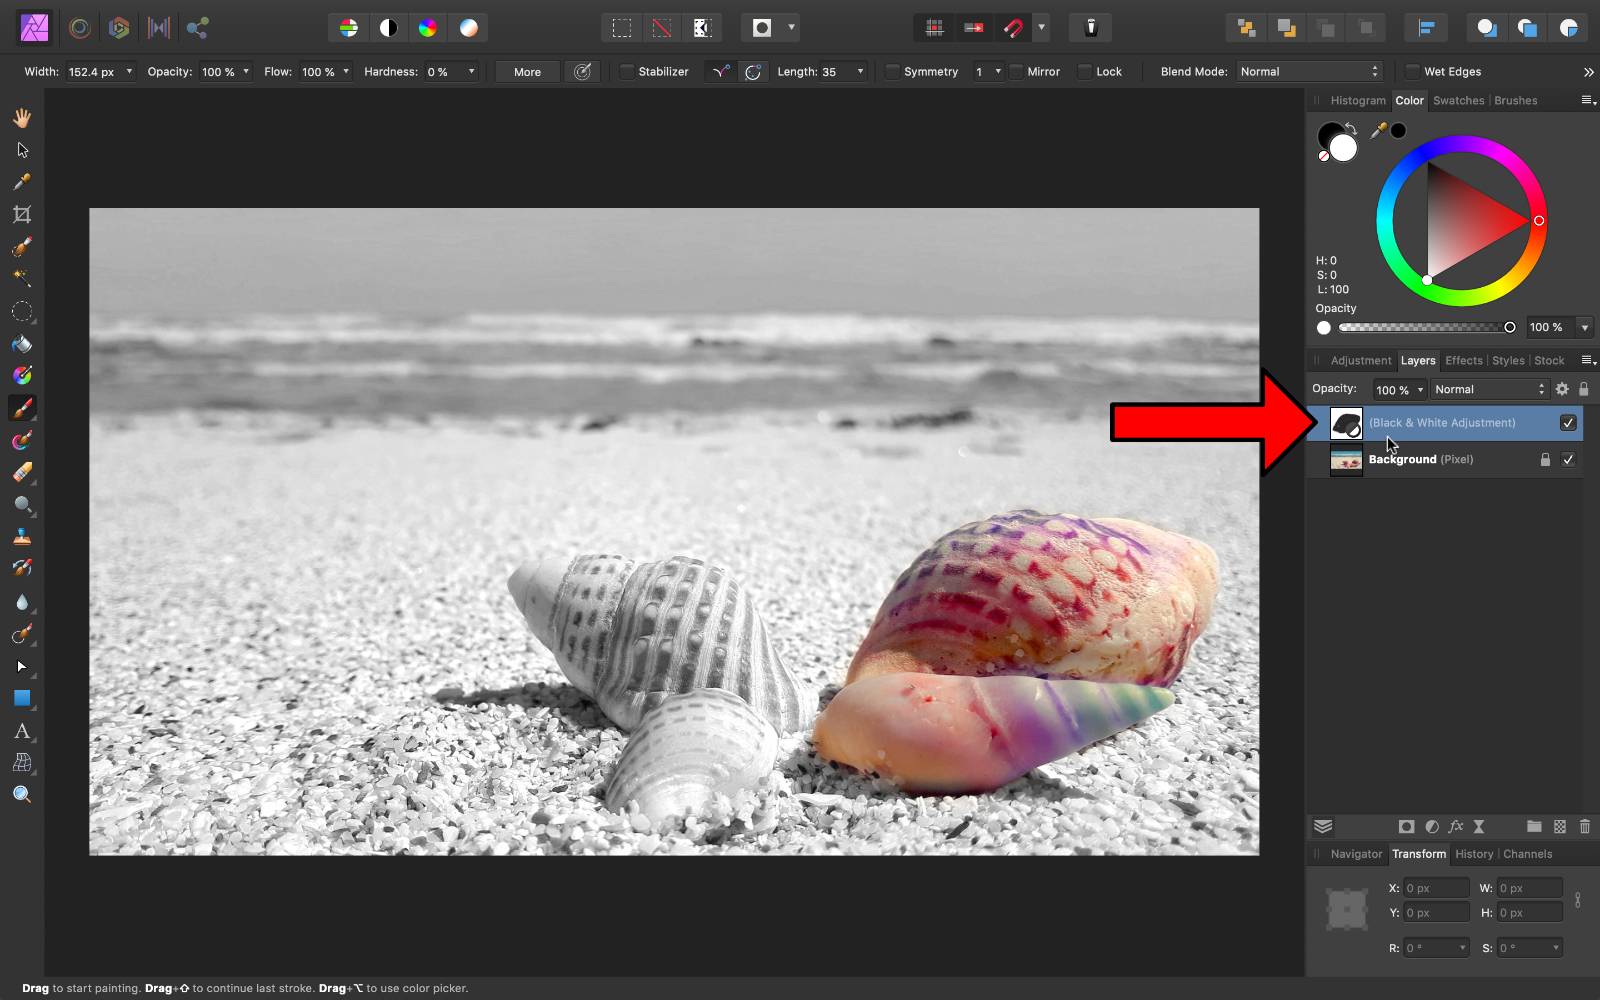
To apply an adjustment, press the Adjustment icon in the Layers Panel.

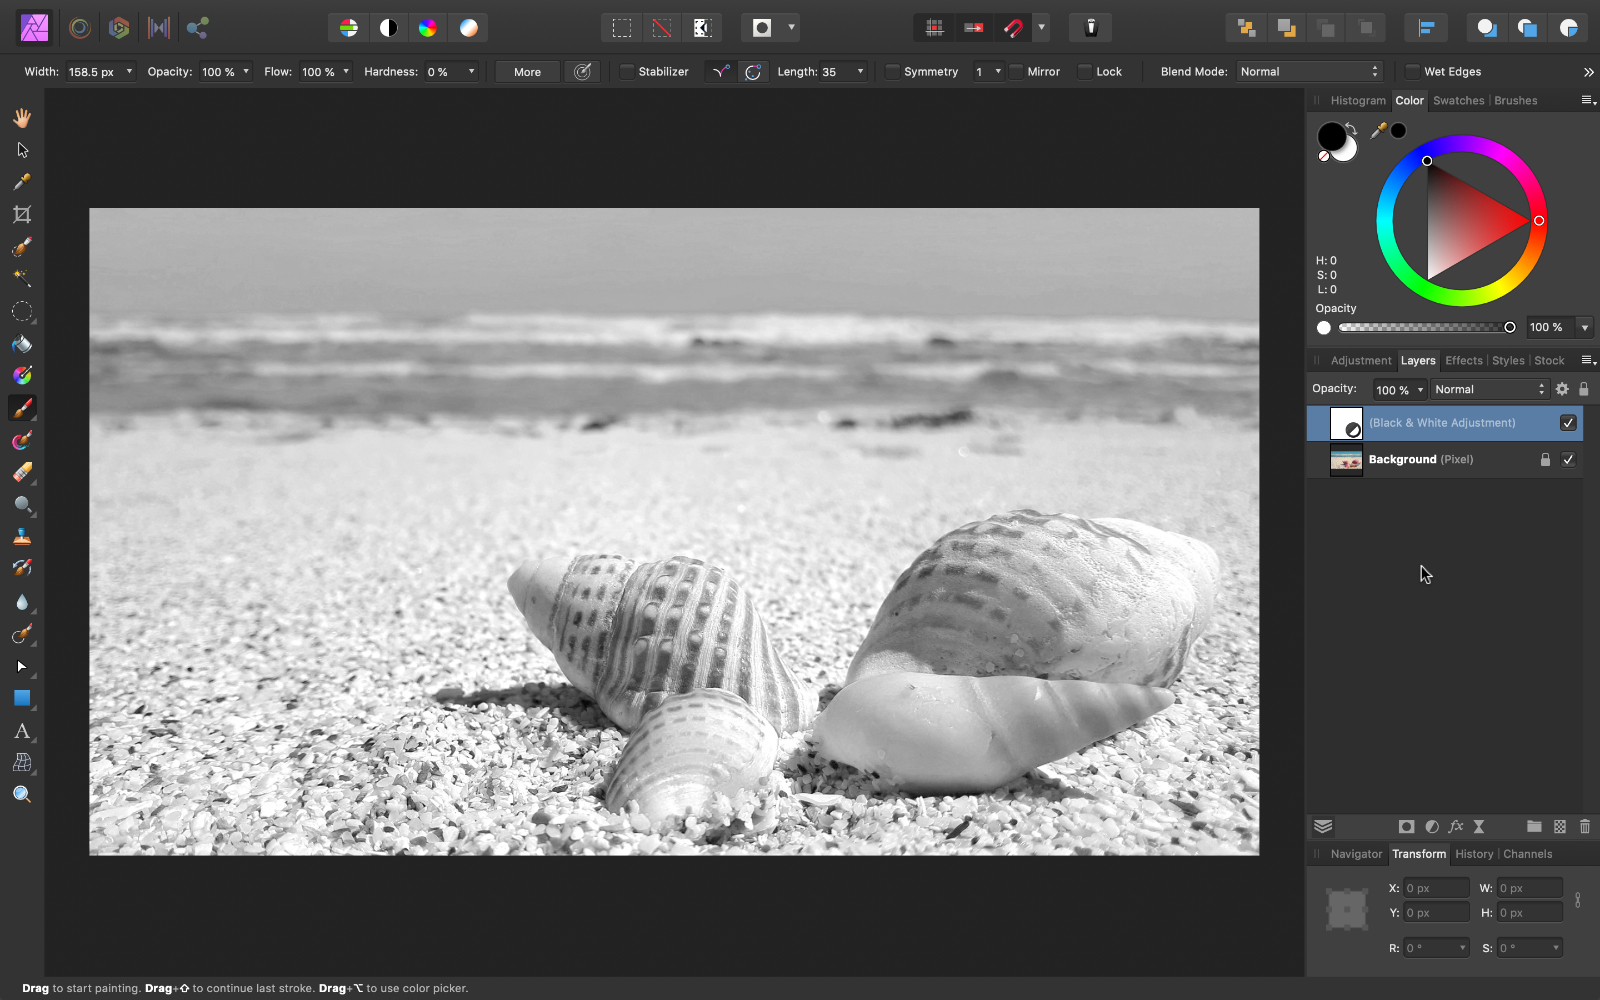
Now y'all accept many options for adjustments y'all can utilize to the motion picture. As an example, allow'due south try applying a Blackness & White Adjustment.

The picture is automatically turned black and white, just in the Dialog Box, we can change the sliders to affect how light or dark each of the private colors becomes.
Information technology's important to note that every aligning has dissimilar options and sliders in their Dialog Boxes.
If we decrease the Cherry slider, all of the reds in the moving-picture show volition become darker.
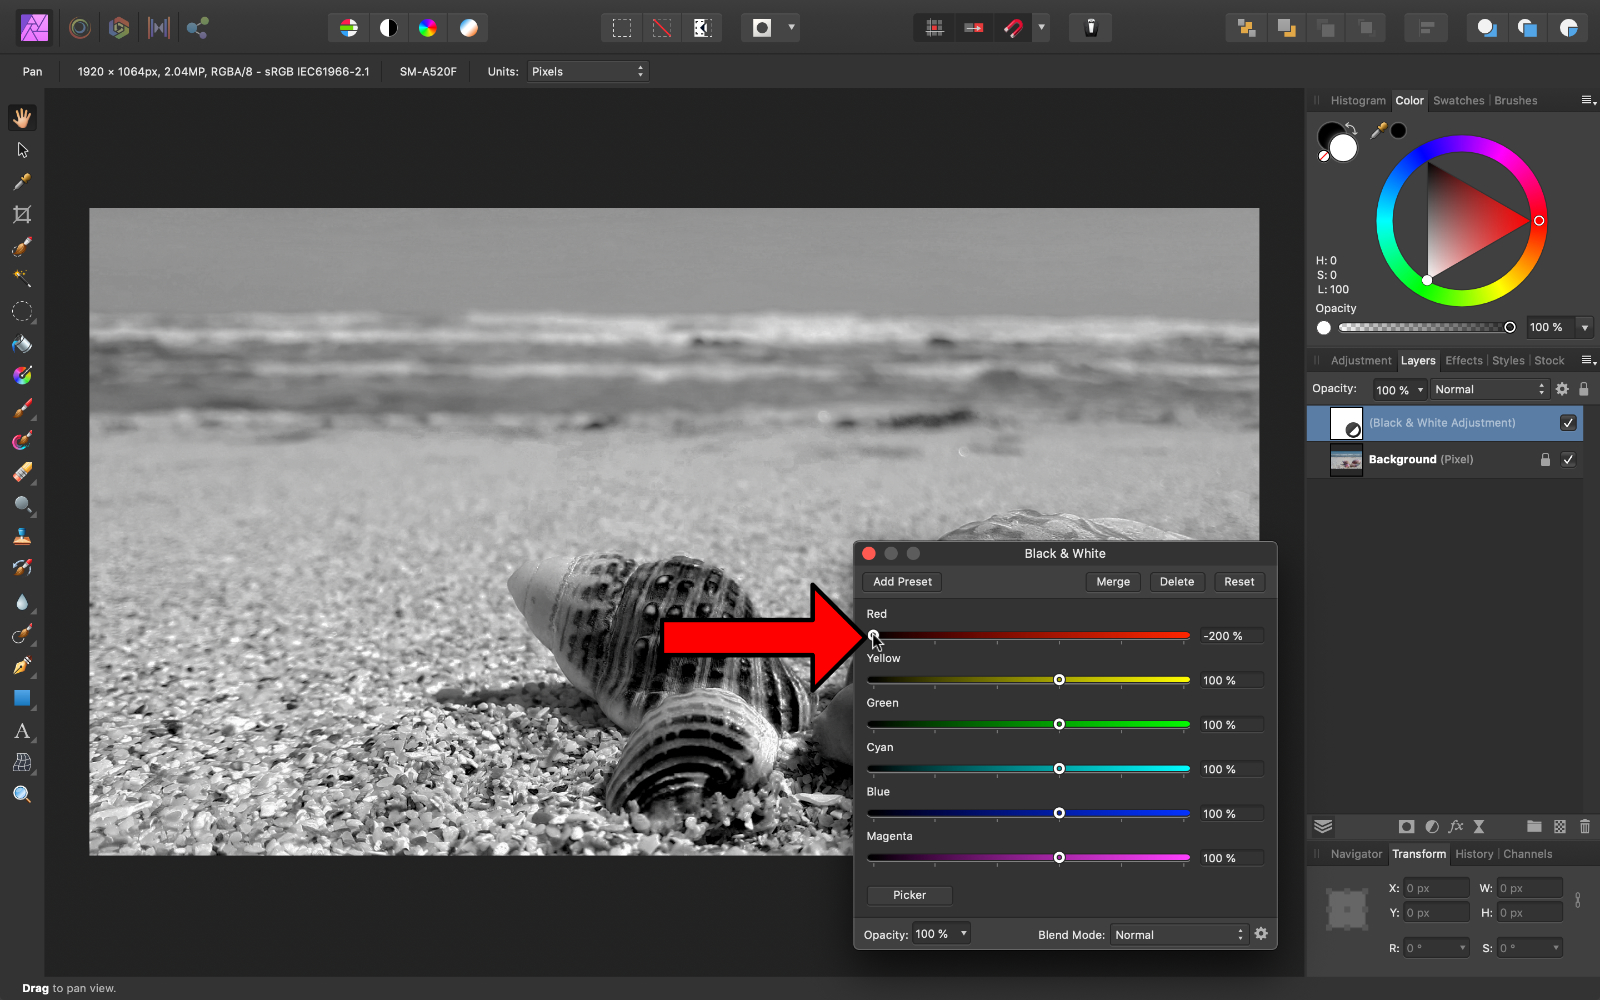
If we increment the Red slider, all of the reds in the moving picture volition go lighter.
For this image, I'll subtract the Red slider, and adjust the other colors to what I call back looks proficient.
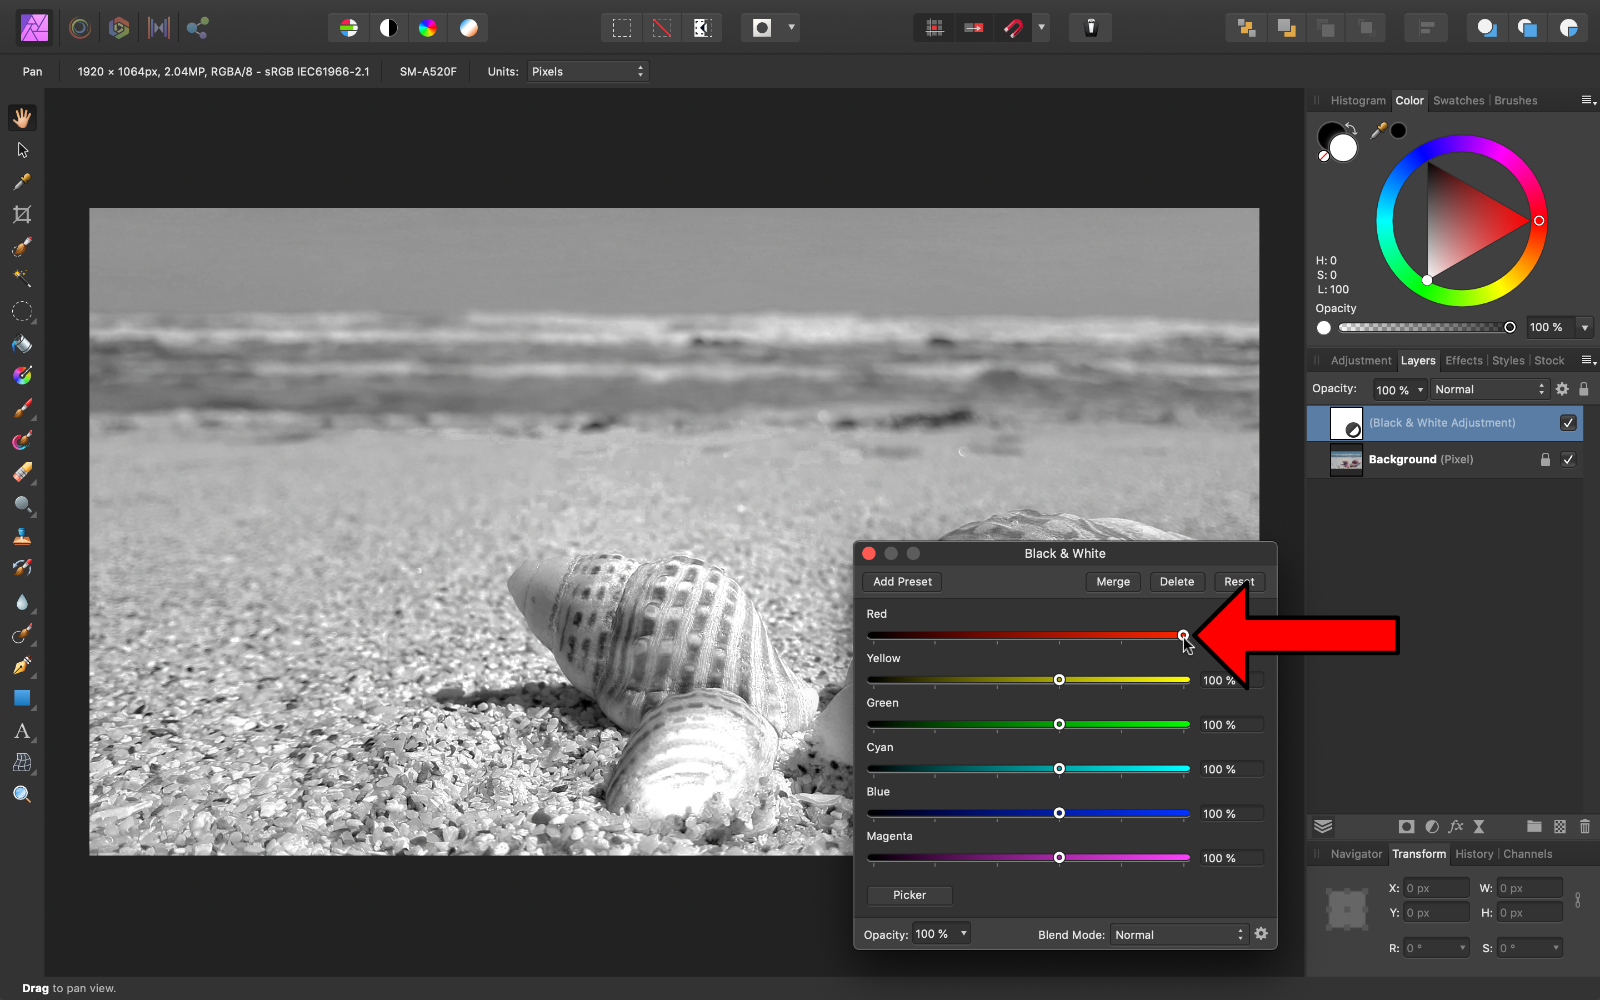
When you're done adjusting the sliders, you lot can close out of the Dialog Box.

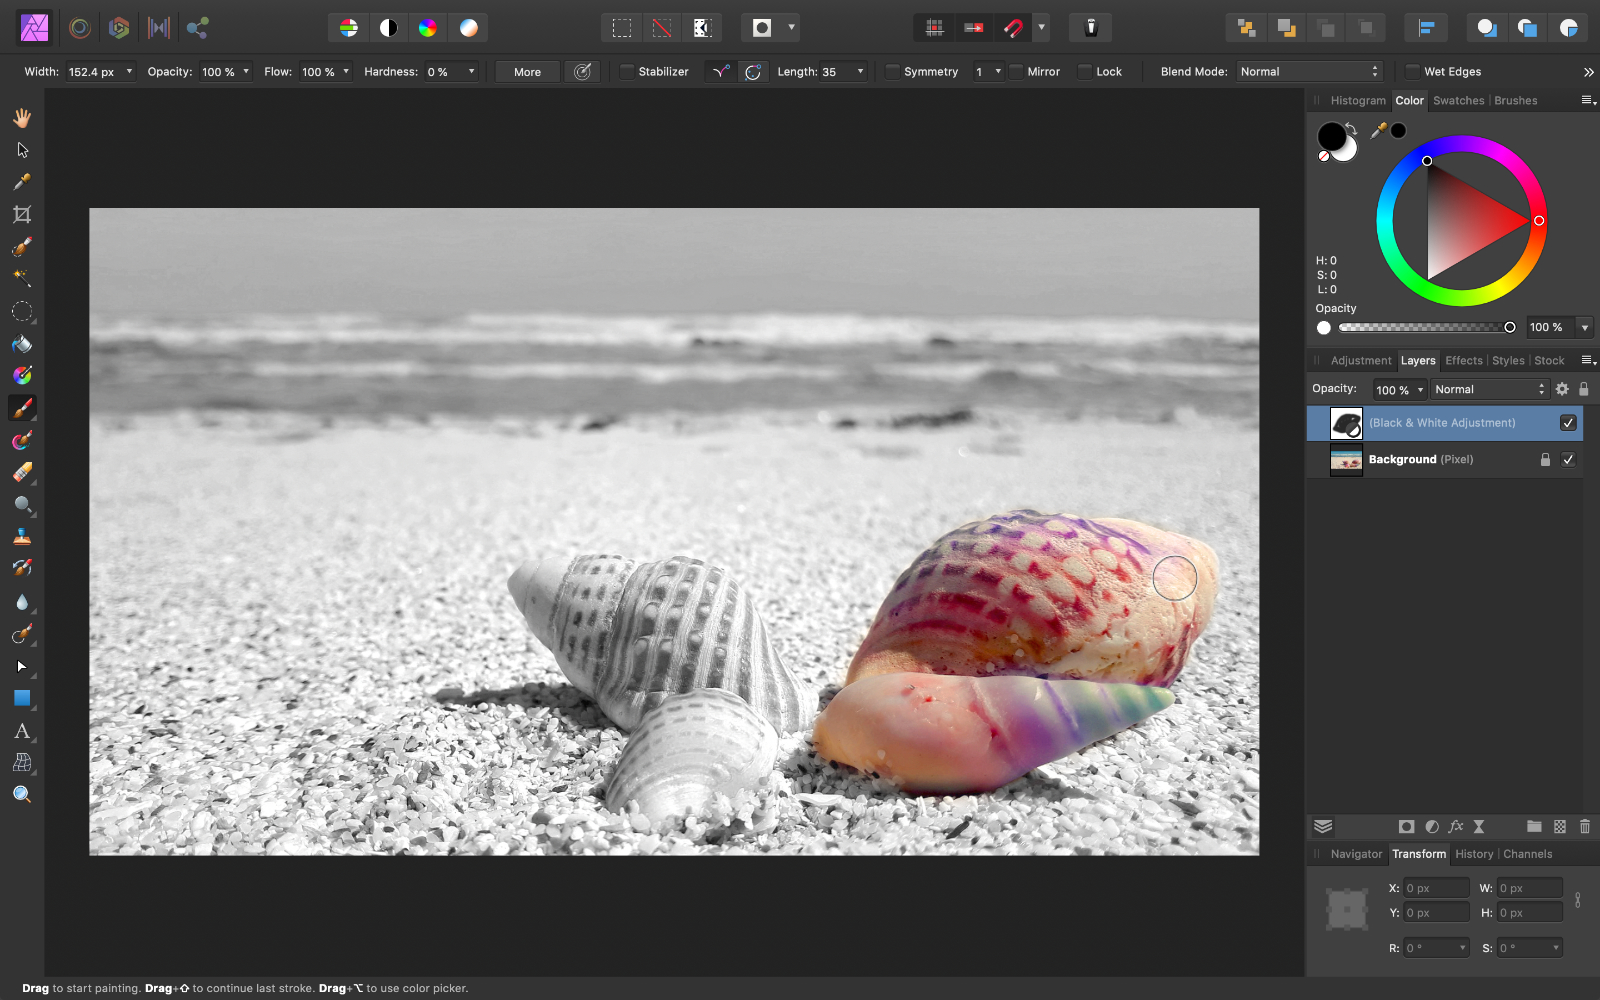
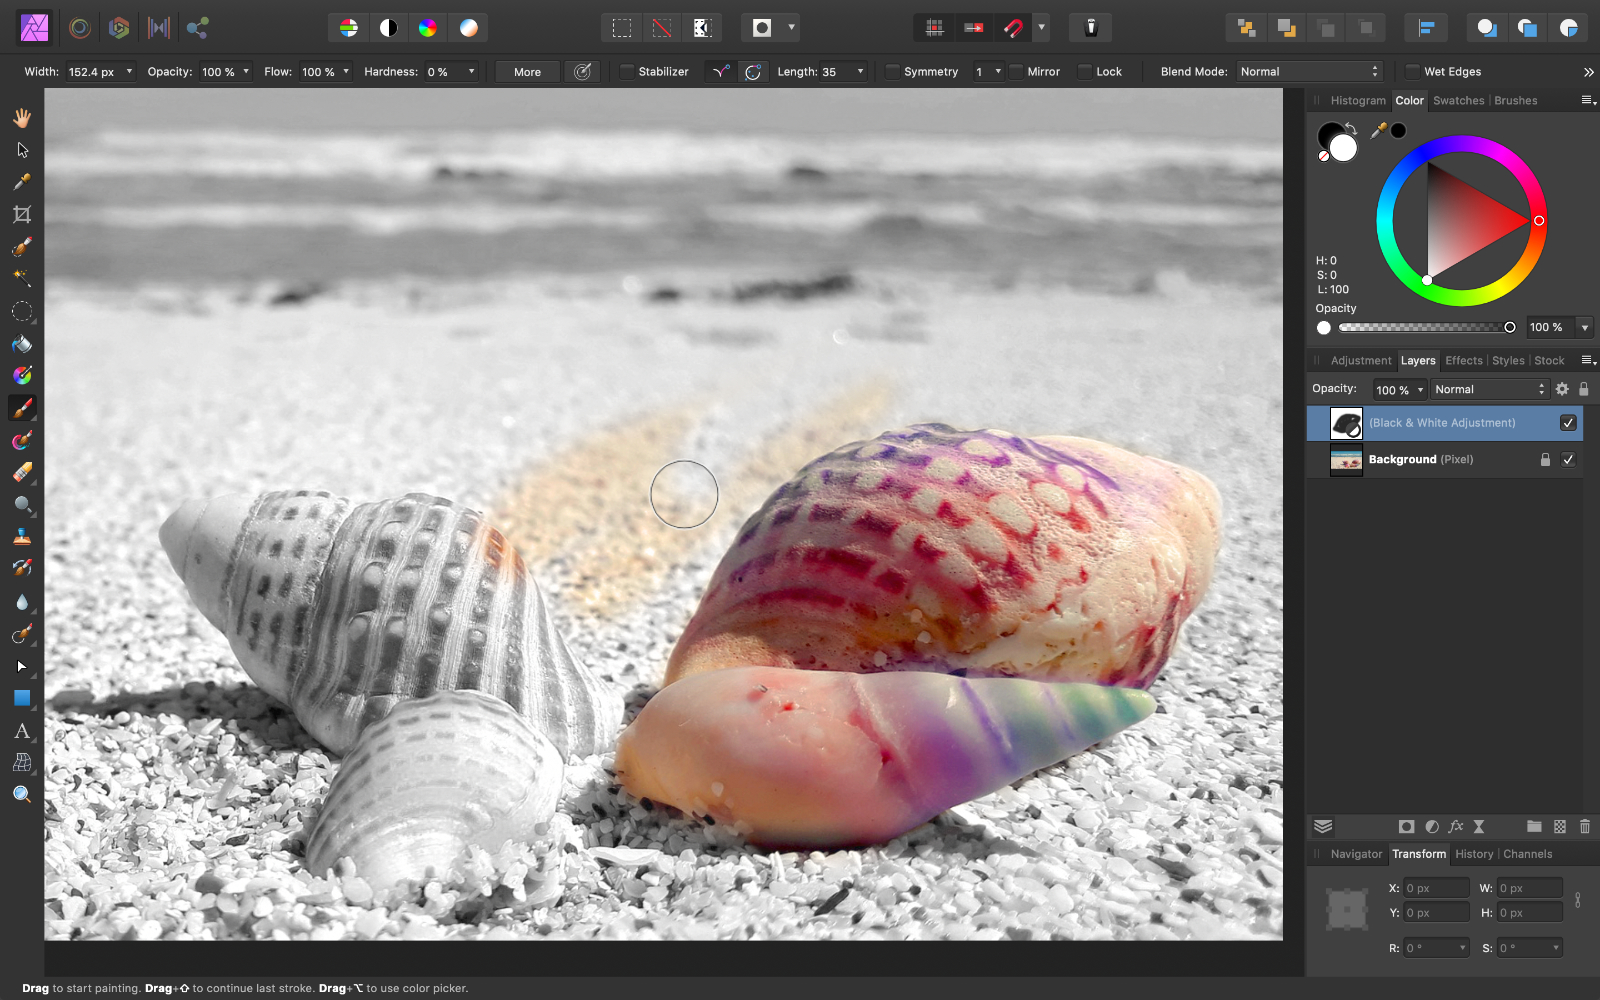
To see a before and after, turn the Black & White Adjustment off and on past pressing on the checkbox side by side to its layer.


To make changes to the Black & White Adjustment, double click on the Blackness & White Layer icon.
The Dialog Box volition re-open, and you lot can brand more changes to the sliders.
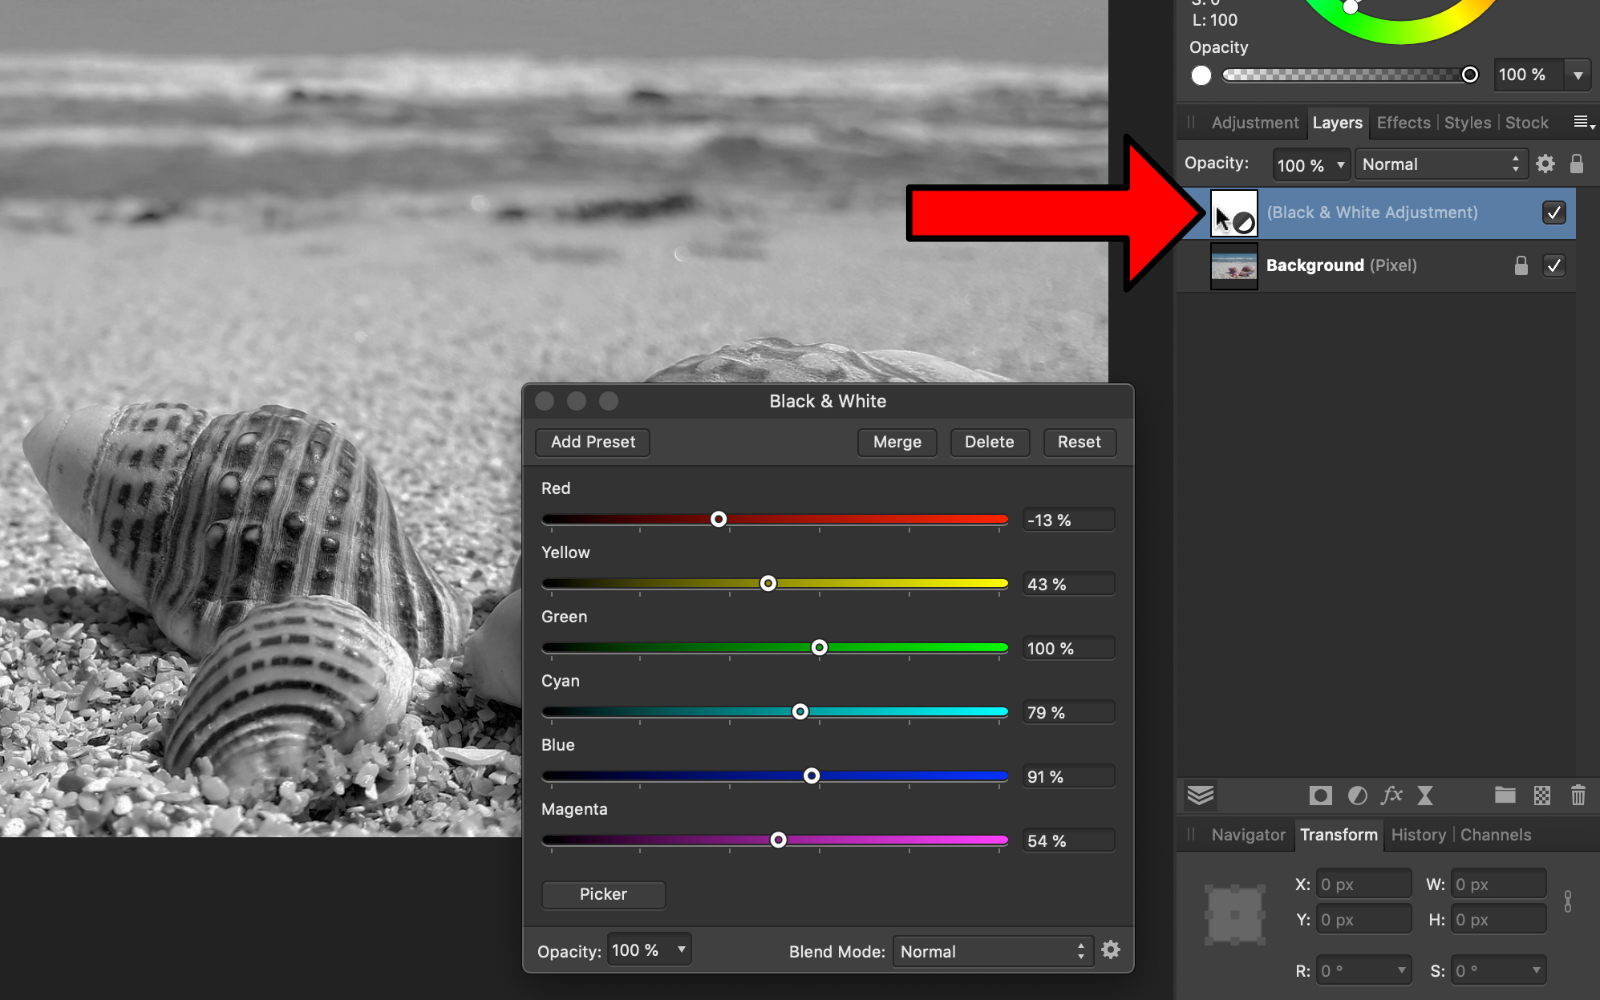
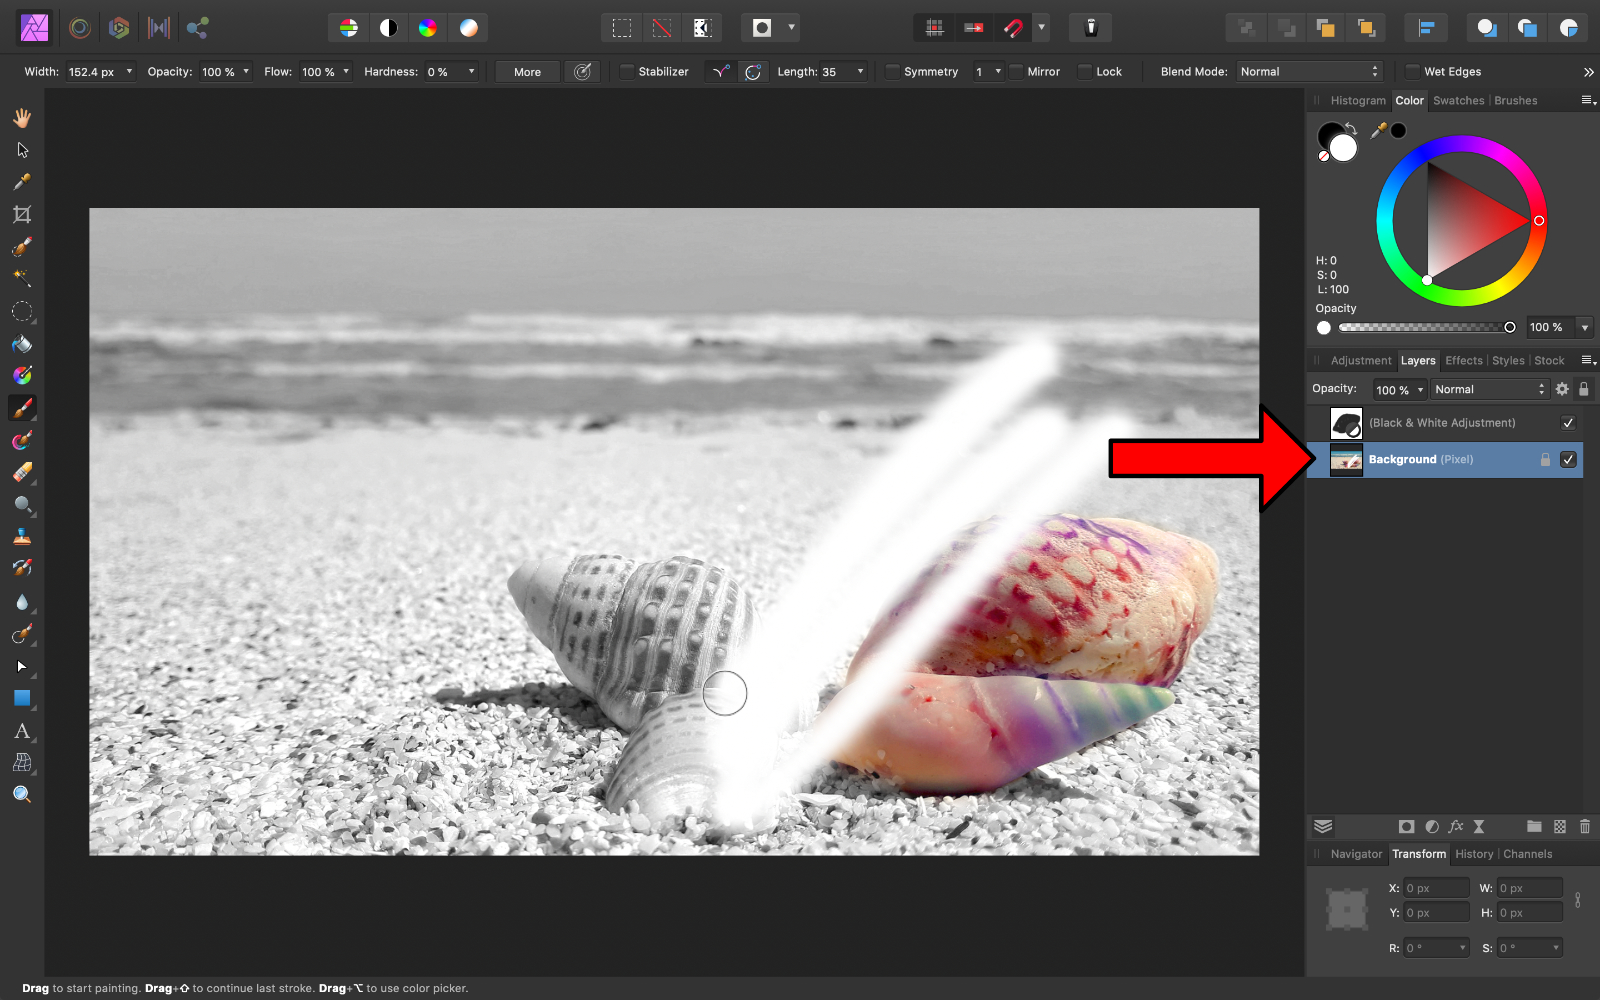
To apply aligning layers finer, you need to know that an adjustment layer volition only bear on the layers beneath it. Because the picture is beneath the adjustment layer, the pic is being affected.
If we click and drag to move the picture layer on summit of the adjustment layer, and then the flick will no longer be affected. 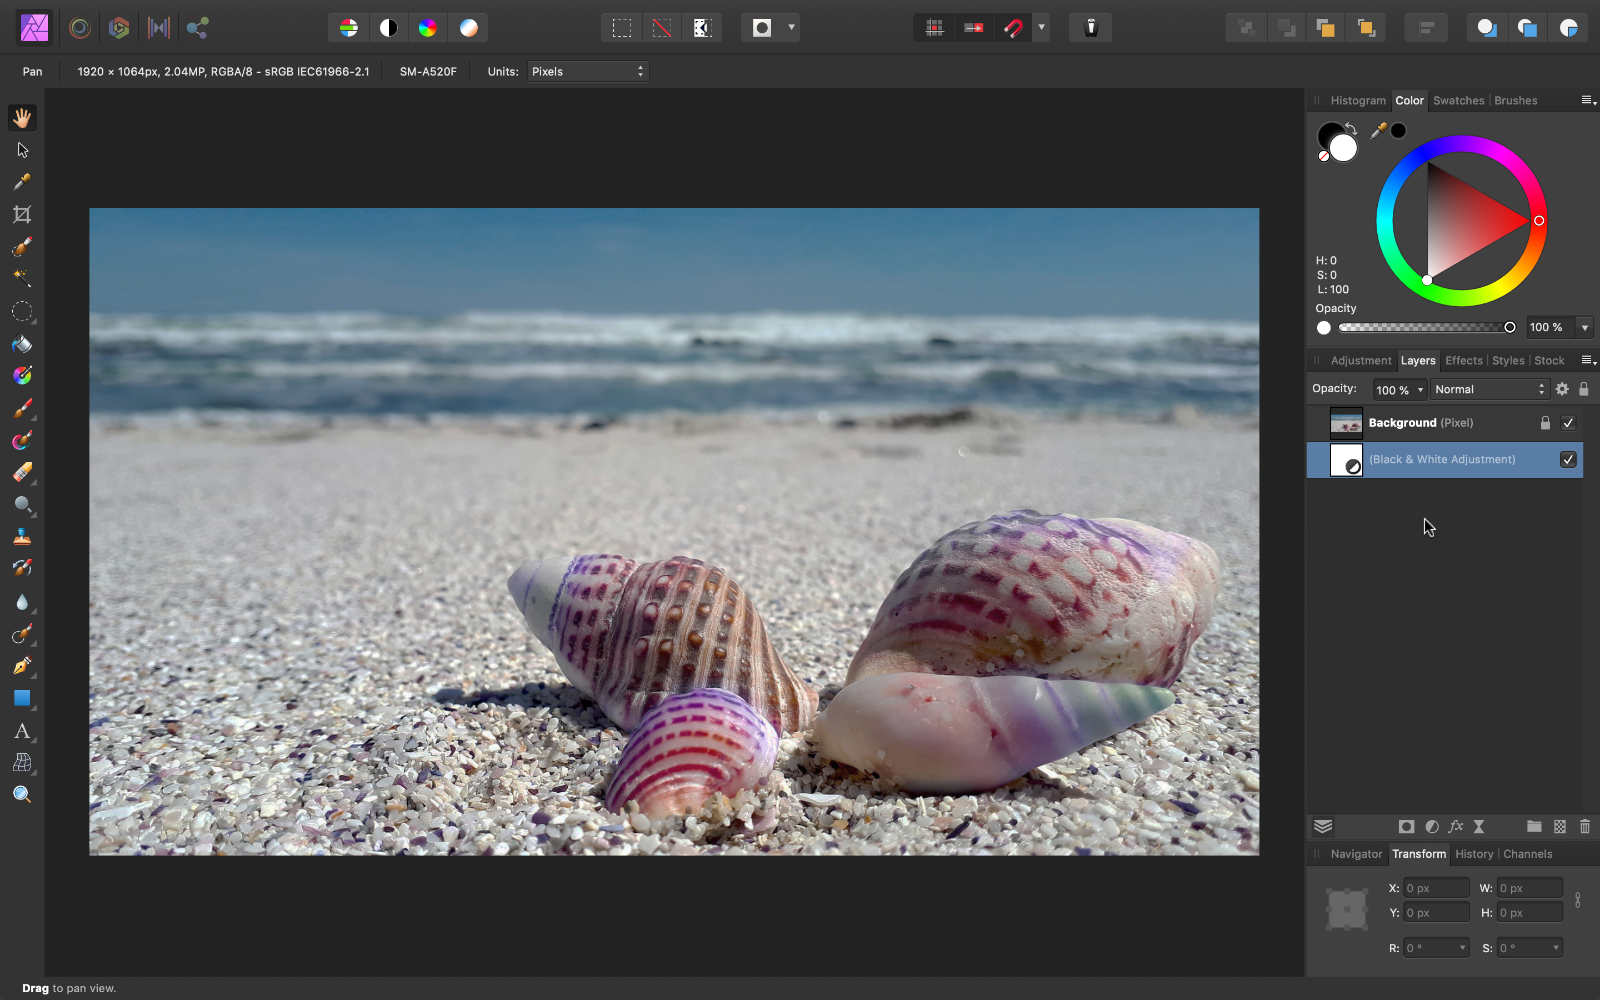
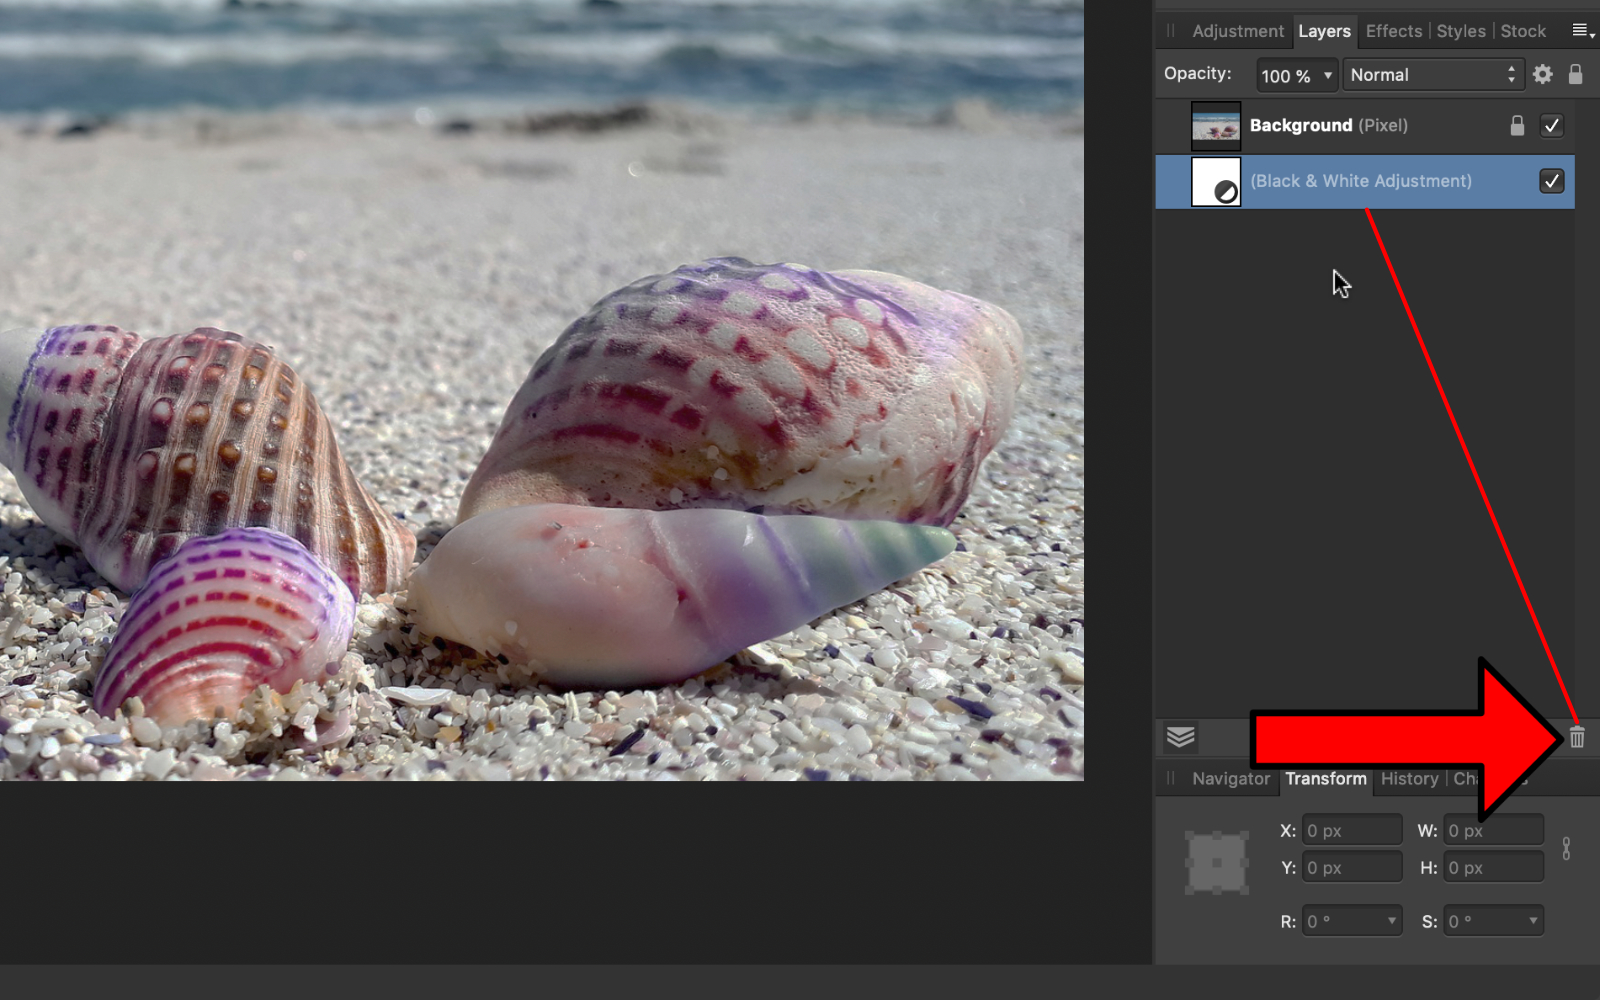
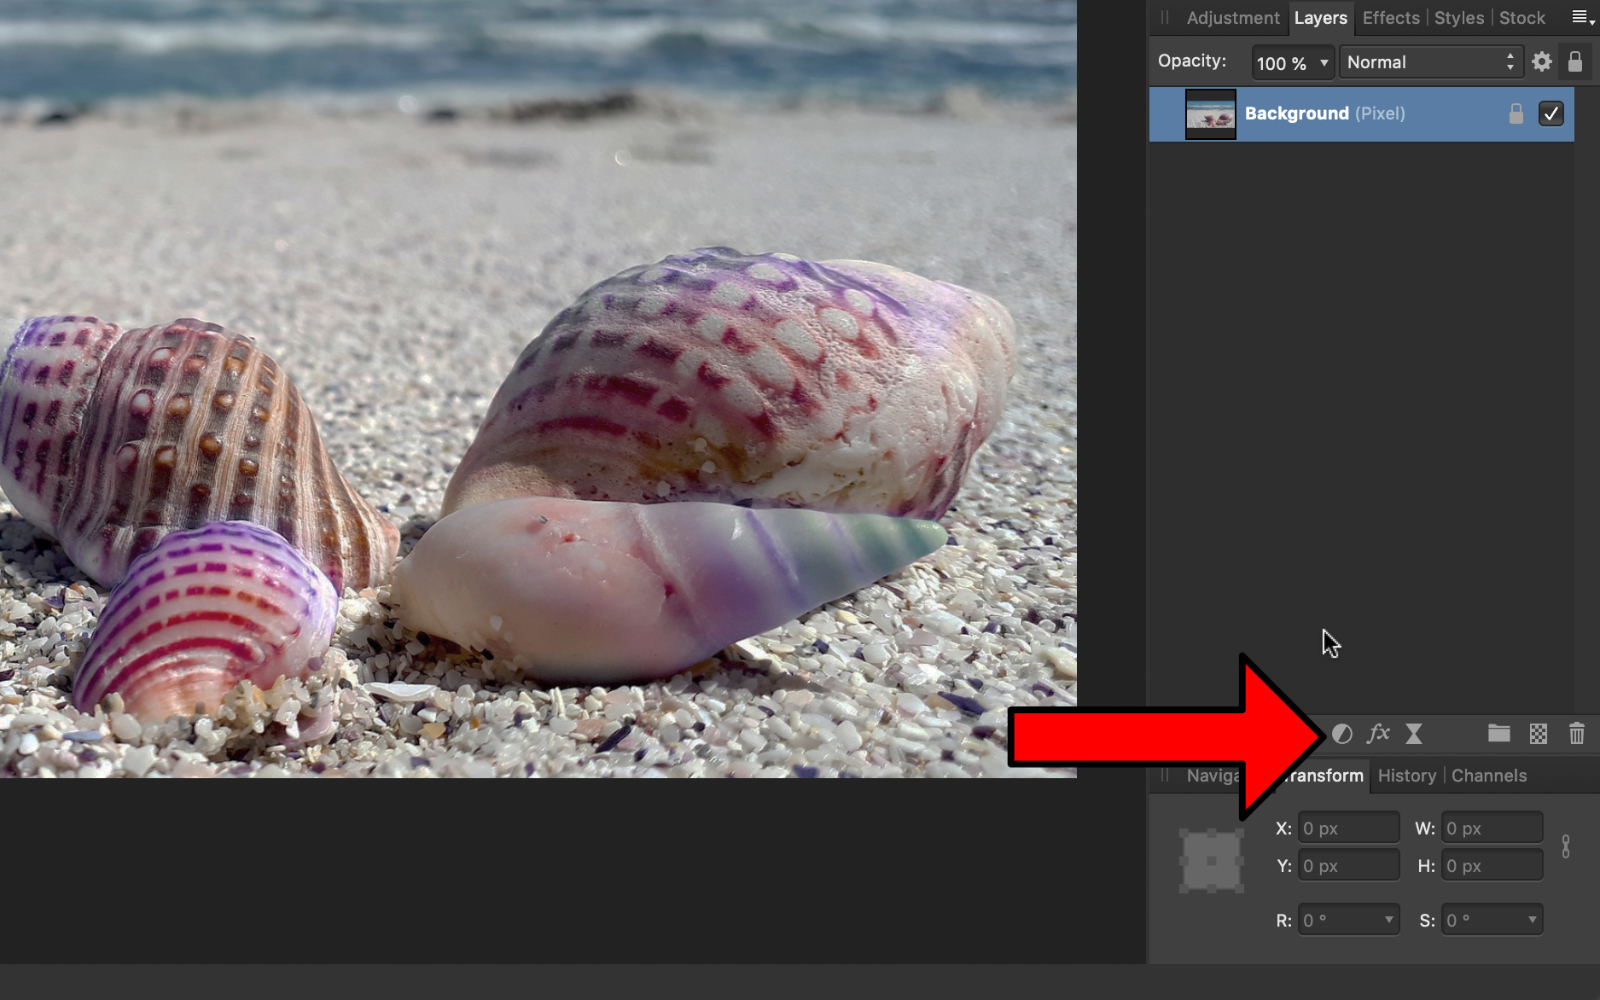
To delete a layer, click and elevate it to the trash can.
As another example of adjustments, let's attempt enhancing the colors of the picture.
Press the Adjustment icon.
Apply a Brightness and Contrast Adjustment.
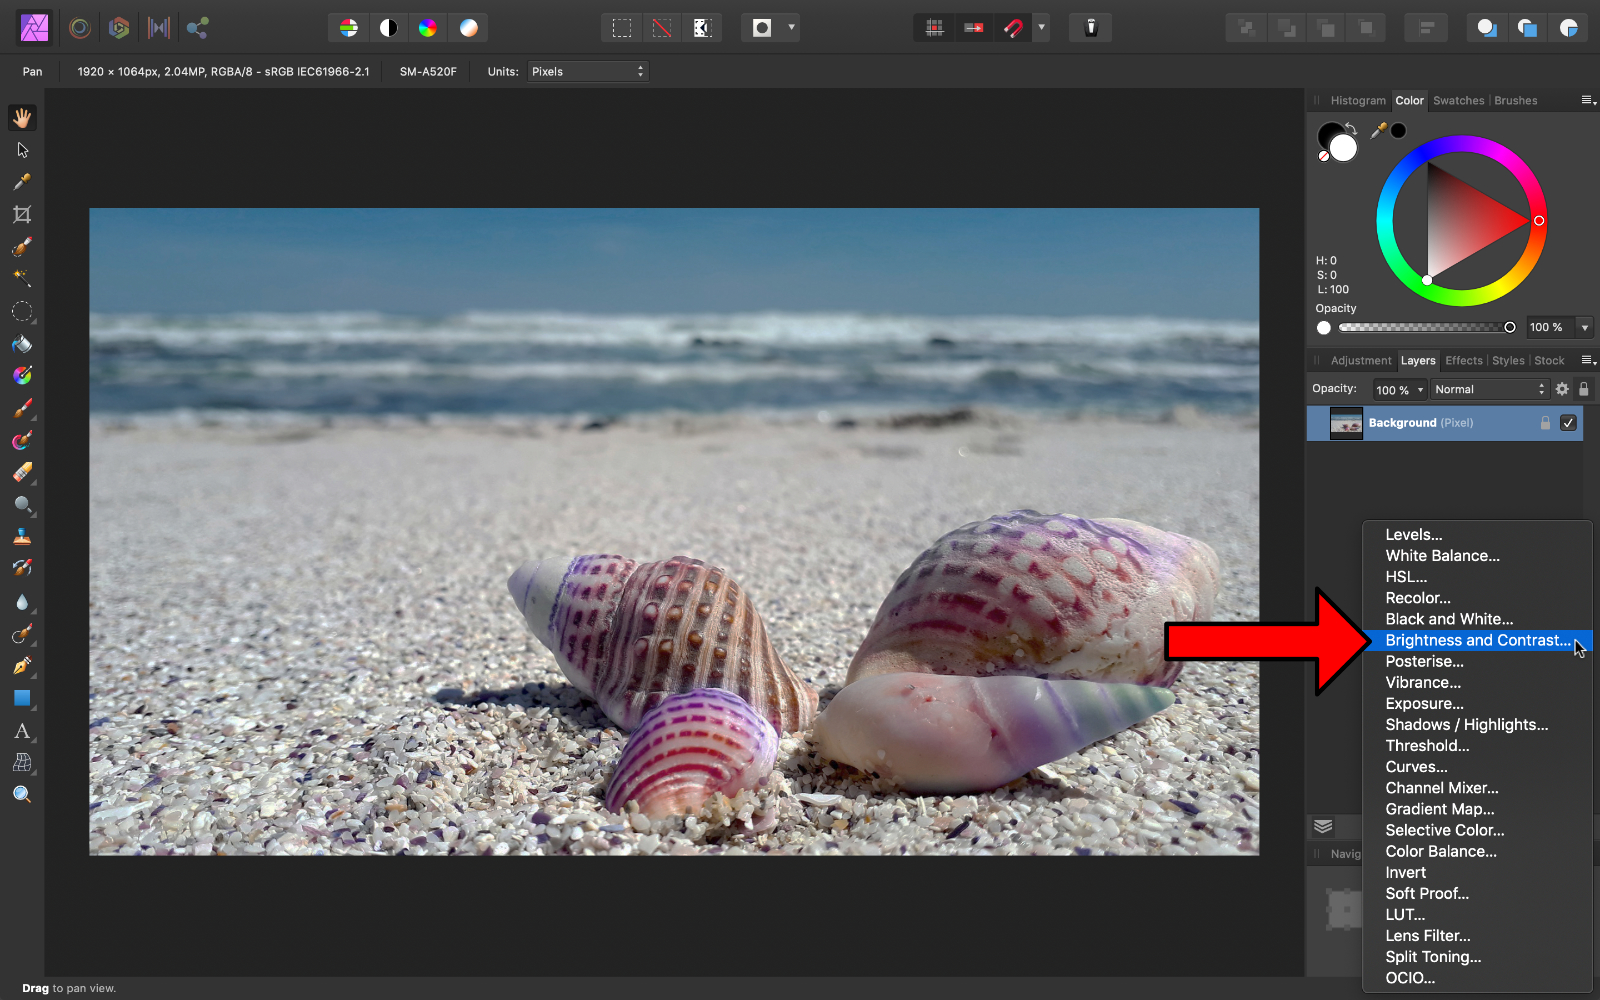
With this adjustment layer, increment both the Brightness slider and the Dissimilarity slider.

If we look at the earlier and after, nosotros can see that the adjustment is a niggling also strong.


Double click on the Effulgence/Dissimilarity Layer icon in the Layers Panel, then subtract each slider.
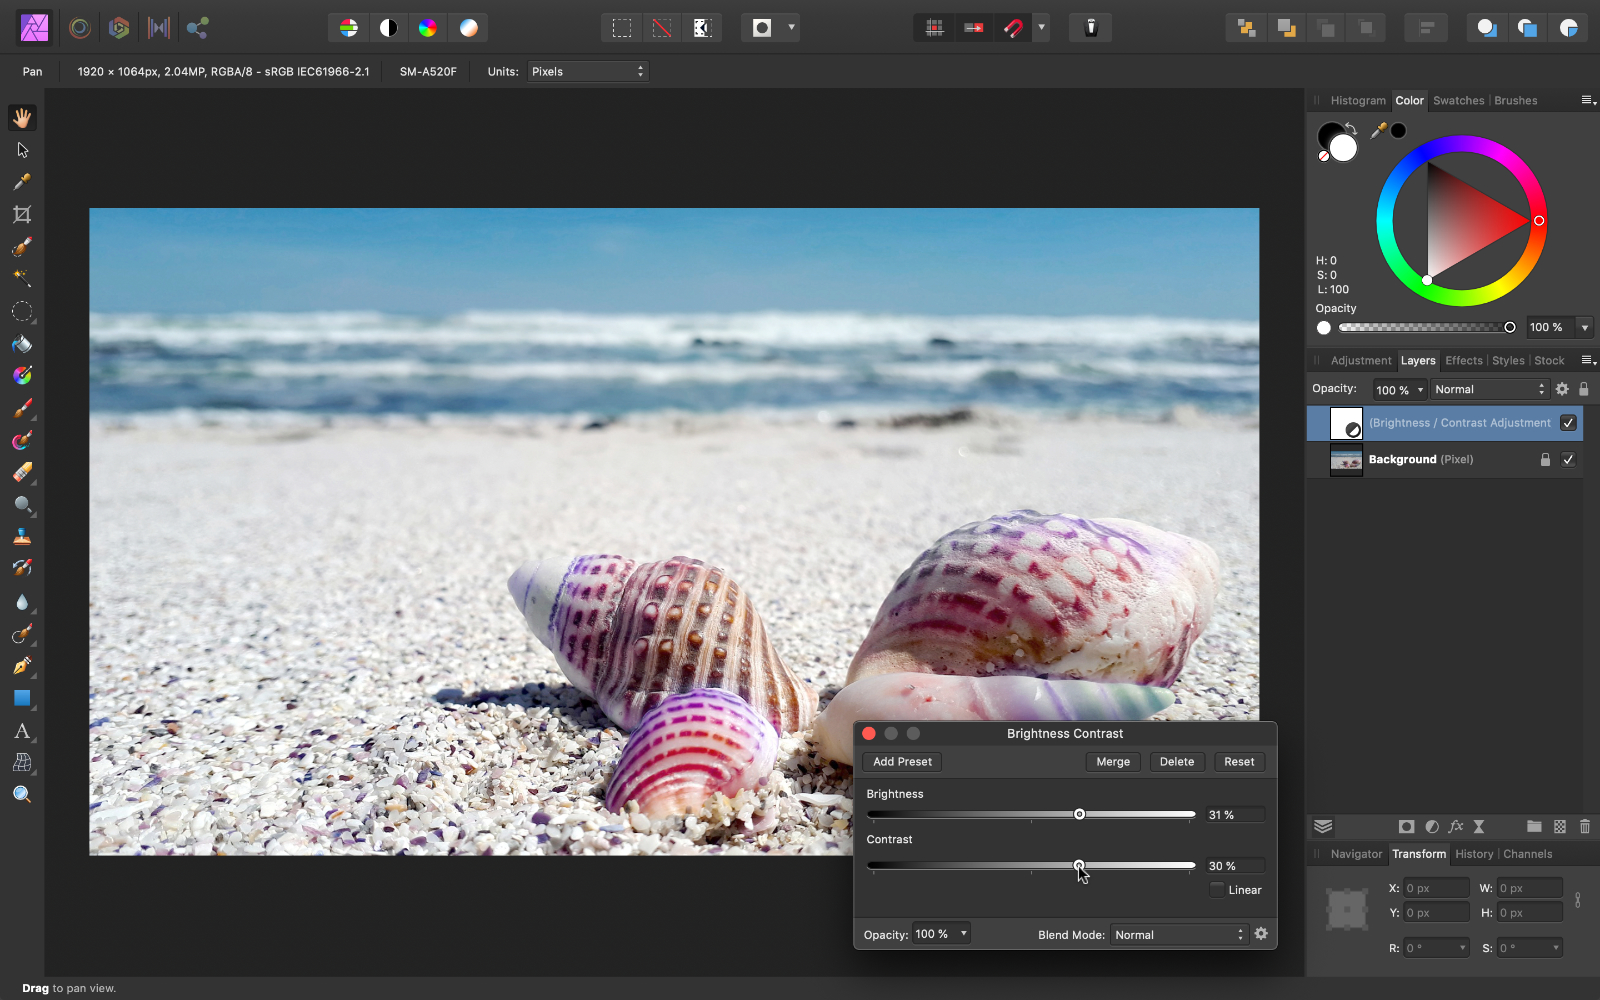
Now when we look at the earlier and afterward, we can come across that the adjustment is looking much ameliorate.


Beginners similar to over edit their images, making them look fake. The more subtle your changes are, the better your editing volition become.
Endeavor to make multiple small changes to your pictures, rather than one big change.
As a final example, printing on the Adjustment icon.

Employ an HSL Adjustment.

With an HSL Adjustment, we tin can increase the saturation of the colors in our image.
Increase the Saturation slider.

Now we can run across how the HSL Aligning is improving our photo.


If we want, we can see a full before and after by belongings down Shift, and then pressing on the other adjustment layer. At present if we turn them both off at the same time, we can see a before and after.


There are many other adjustments that we could apply to heighten our photograph, but we won't become over all of them here. If you'd similar to learn more about adjustments, cheque out our complete beginner course, where we spend an unabridged chapter exploring the adjustments within of Affinity Photo.
Masks
A mask hides or reveals parts of a layer. Masks are very useful, because they allow you to use adjustments to specific parts of an prototype, rather than having the adjustment affect all of the photo.

A white mask means the layer is visible, while a black mask means the layer is invisible.
Start, permit'south learn the basics of how masks work.
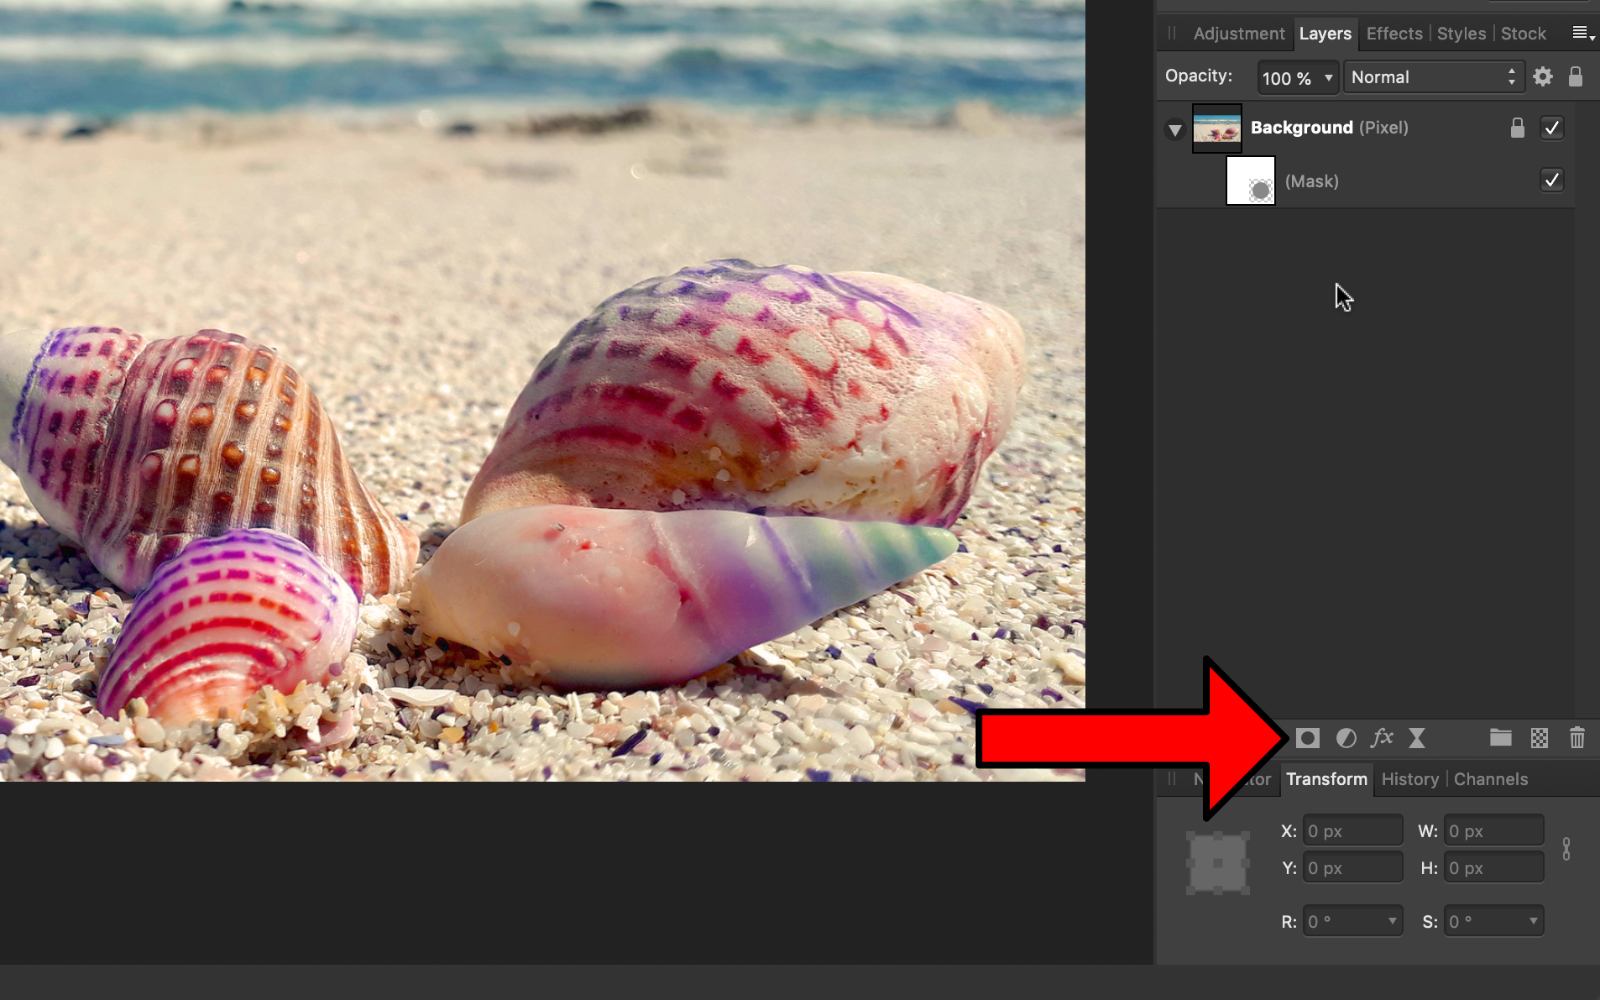
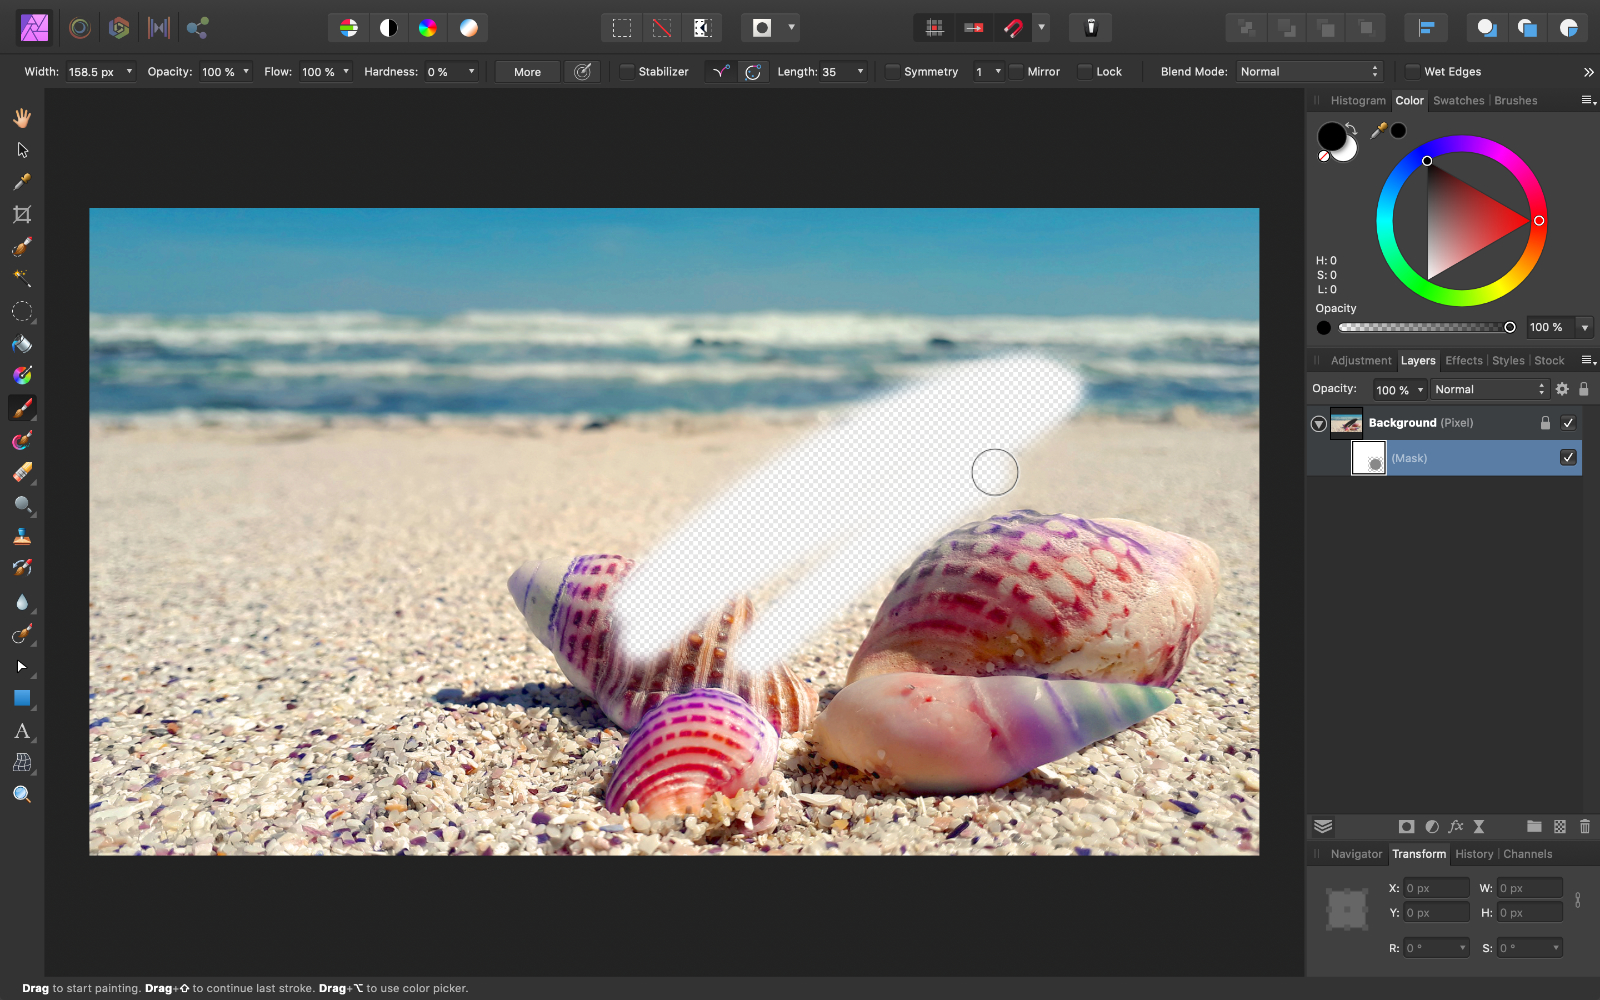
With the image layer selected, press the Mask icon in the Layers Panel.
We tin see that a white mask has been applied to the photograph. Because of this, the layer is visible. If we pigment on the mask in black, then the parts where we paint will become invisible.
Click on the Mask layer icon in the Layers Panel to select it.

Select the Paint Brush Tool.
In the Color Panel, make sure the color is ready to black.
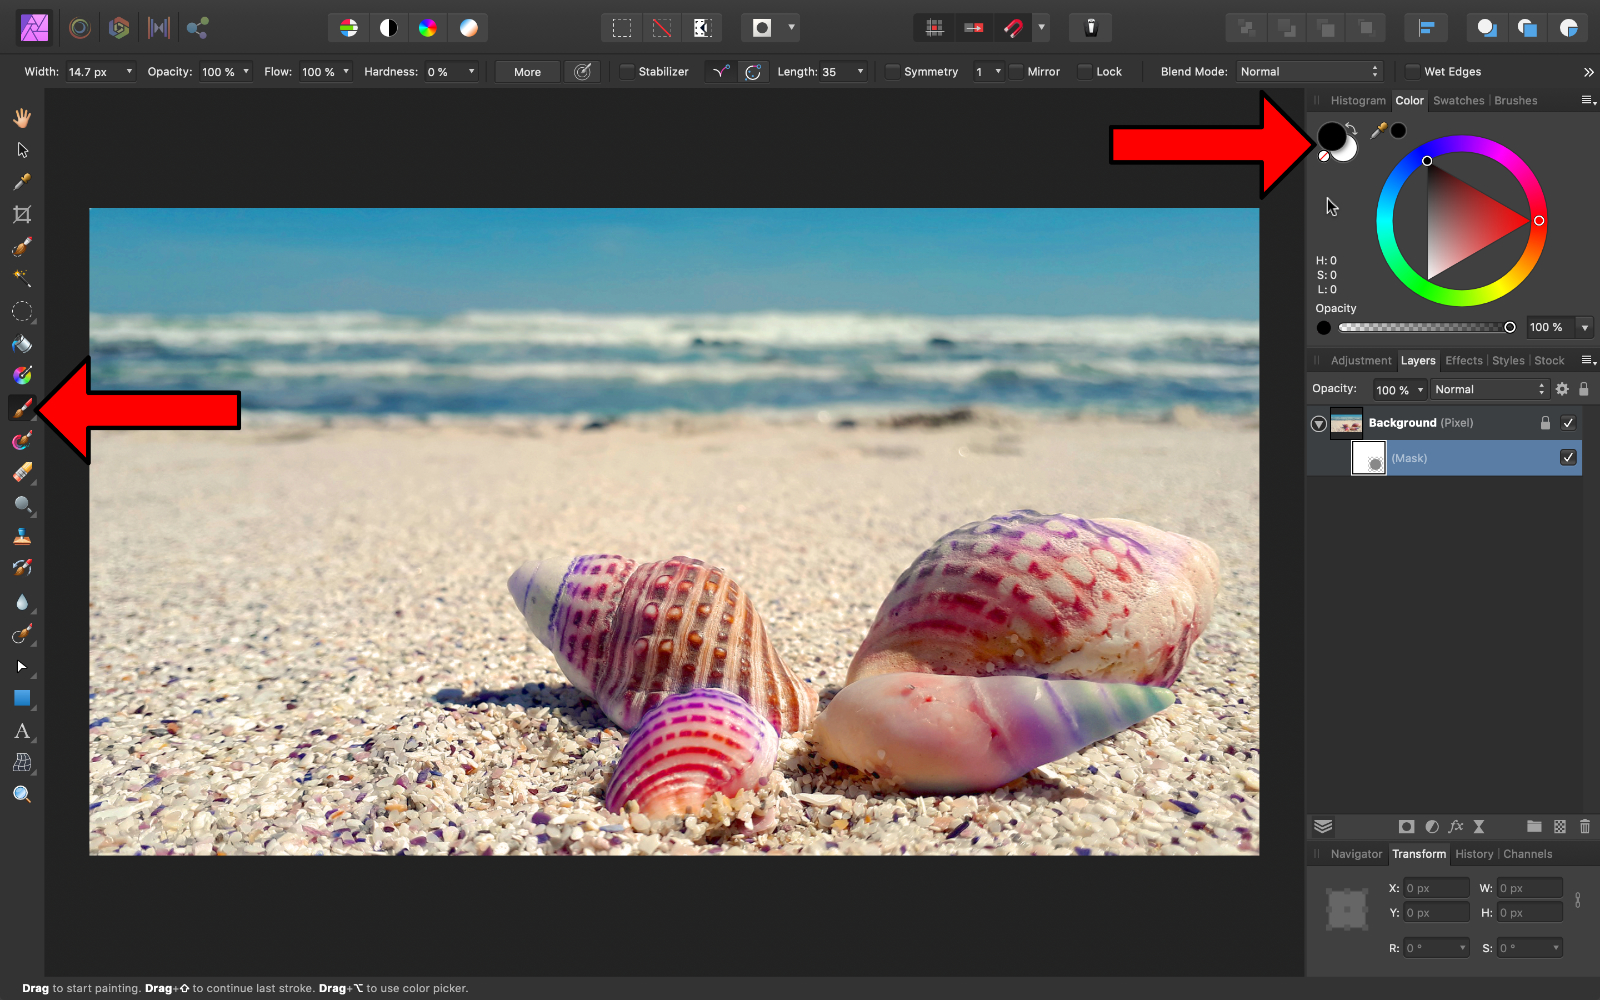
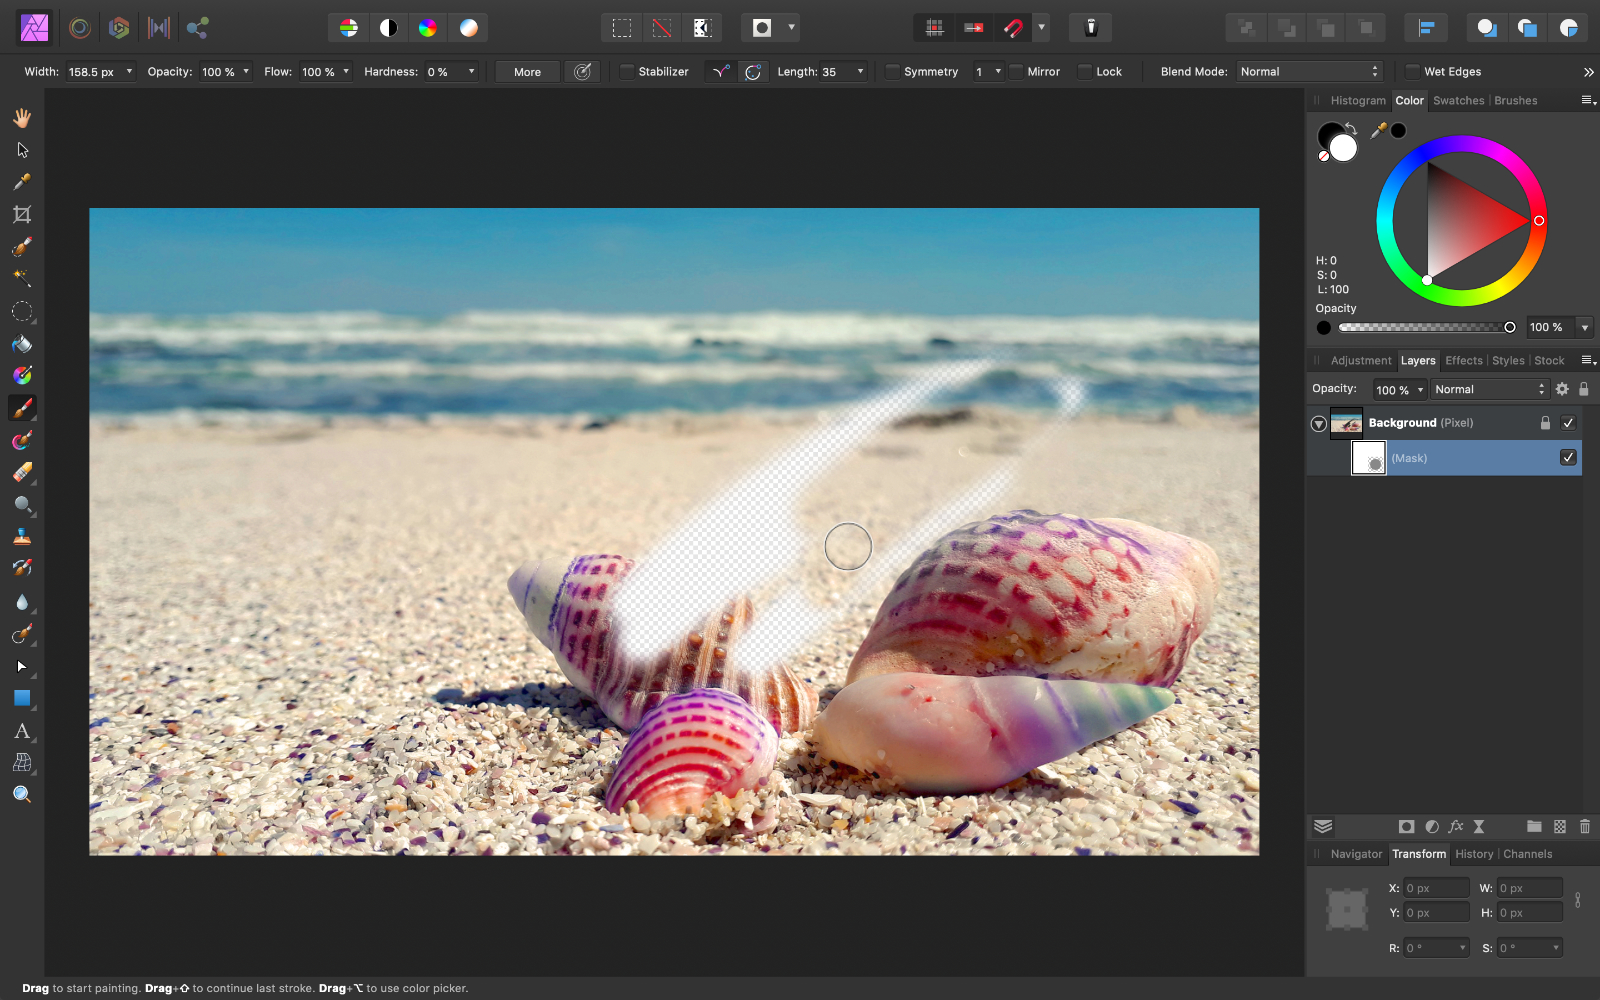
The checkered background means that the image is non visible where we painted. Painting in black fabricated the layer invisible.
Fortunately, we tin paint in white at whatsoever time to reveal the layer again. Switch the color to white, and paint some of the layer back on.
Nosotros can see that as we pigment in white, the picture is revealed again.
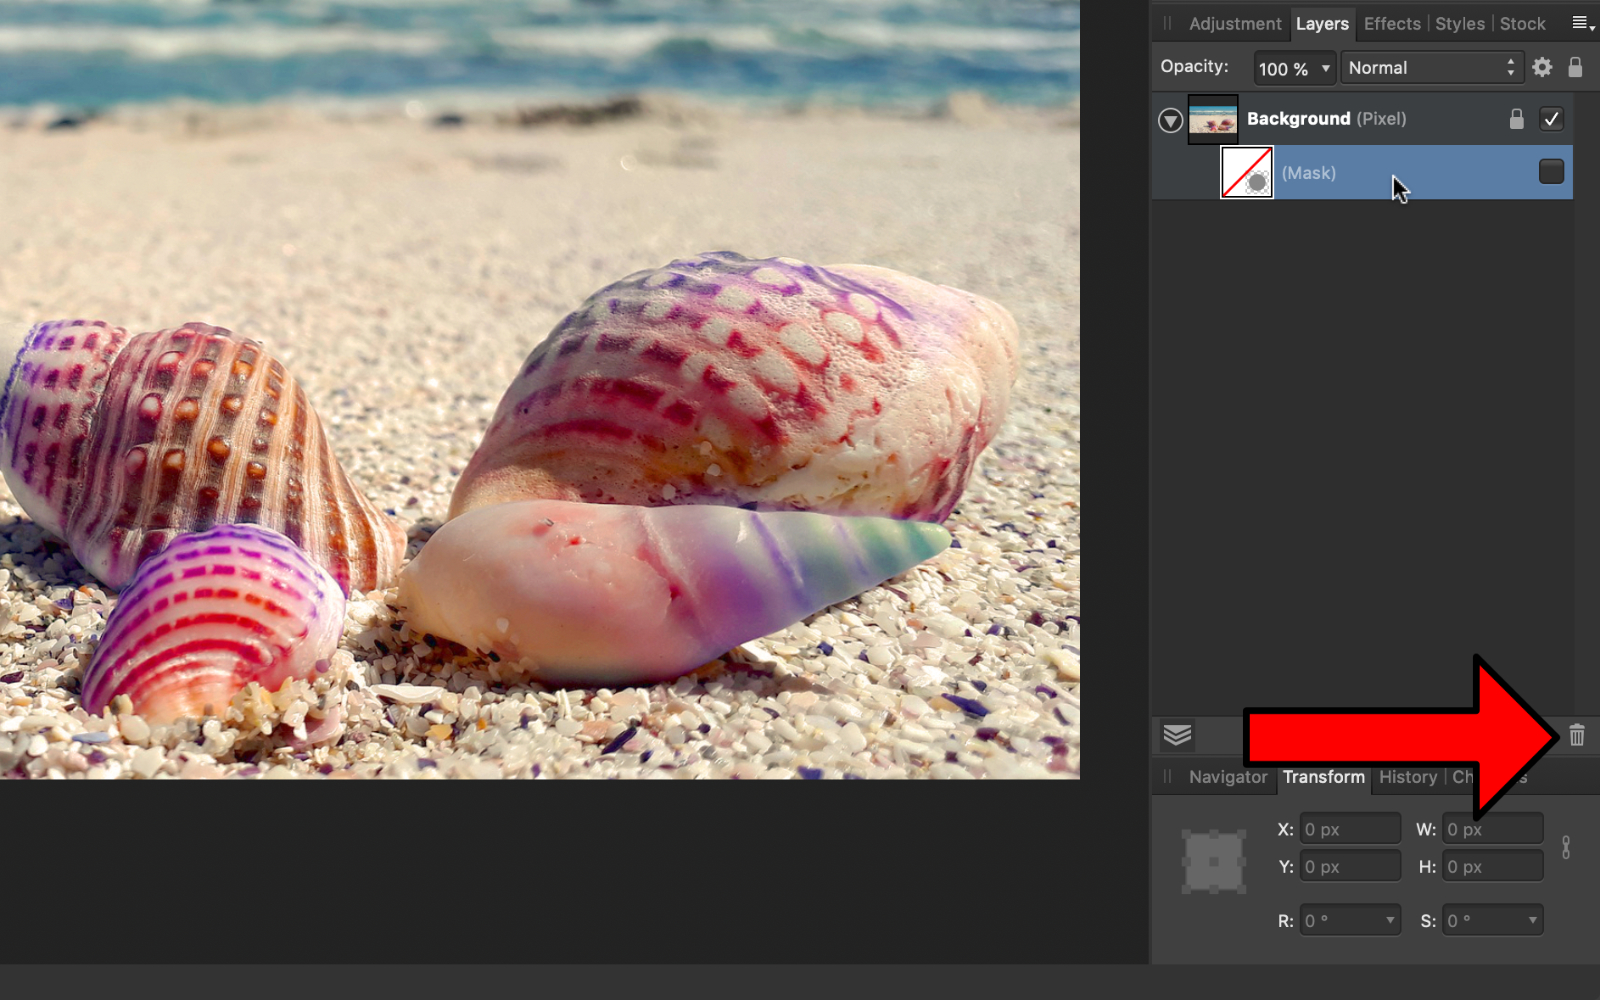
Just like whatsoever other layer, we can plough the Mask layer on and off.
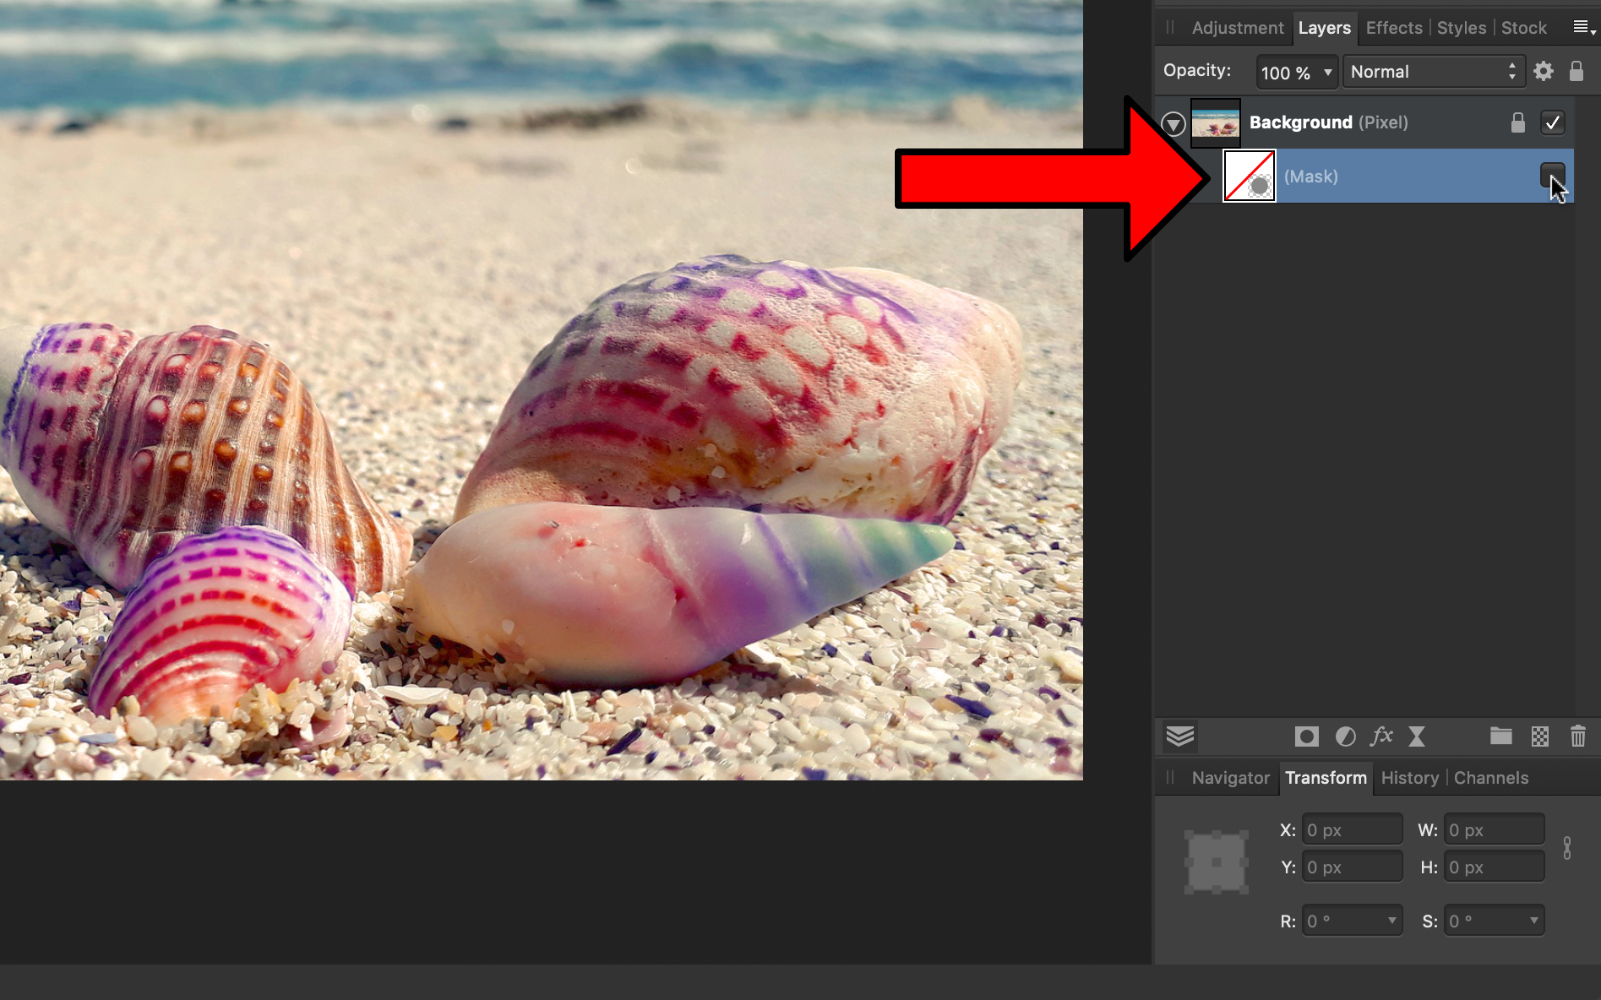
I no longer desire the Mask layer, and so I'll click and drag it to the Trash Tin icon.
Now that we understand the basics of masks, let's see how they apply to aligning layers.
Press the Adjustments icon.
Apply a Black and White Adjustment.

The great thing about aligning layers is that they come up with a pre-built masks. This means that we can pigment in black or white to reveal or hide our adjustments.
Select the Paint Brush Tool, and so paint in blackness across the beat.
The Black and White Adjustment is invisible where I painted in black. Because of that, all of the color in the original image is now visible.
If you ever paint away too much, you can always switch your color to white, and paint to reveal the Blackness and White Adjustment once more.
I would likewise advise that you lower the Hardness in the Context Toolbar to 0%. If you pigment with 100% Hardness, so there will be very defined edges wherever you lot pigment, making it look unrealistic.
Because we accept the Black and White Aligning layer selected in the Layers Panel, when nosotros paint in blackness and white, we are removing and revealing the Blackness and White Aligning.
If we take the image layer selected, and we paint in blackness or white, then we are merely adding white and black paint to the layer.
One of the most common mistakes that beginners to Affinity Photo make is having the wrong layer selected. So brand certain yous accept the right layer selected before you begin painting. 🙂
Selections
Selections are very important in Affinity Photo. They allow you lot to target specific areas of a film.
The easiest way to brand selections is to utilise the Pick Brush Tool. With this tool, merely paint beyond the part of the picture that you lot want to select. As you lot paint, Analogousness volition automatically detect the object that yous're trying to select.
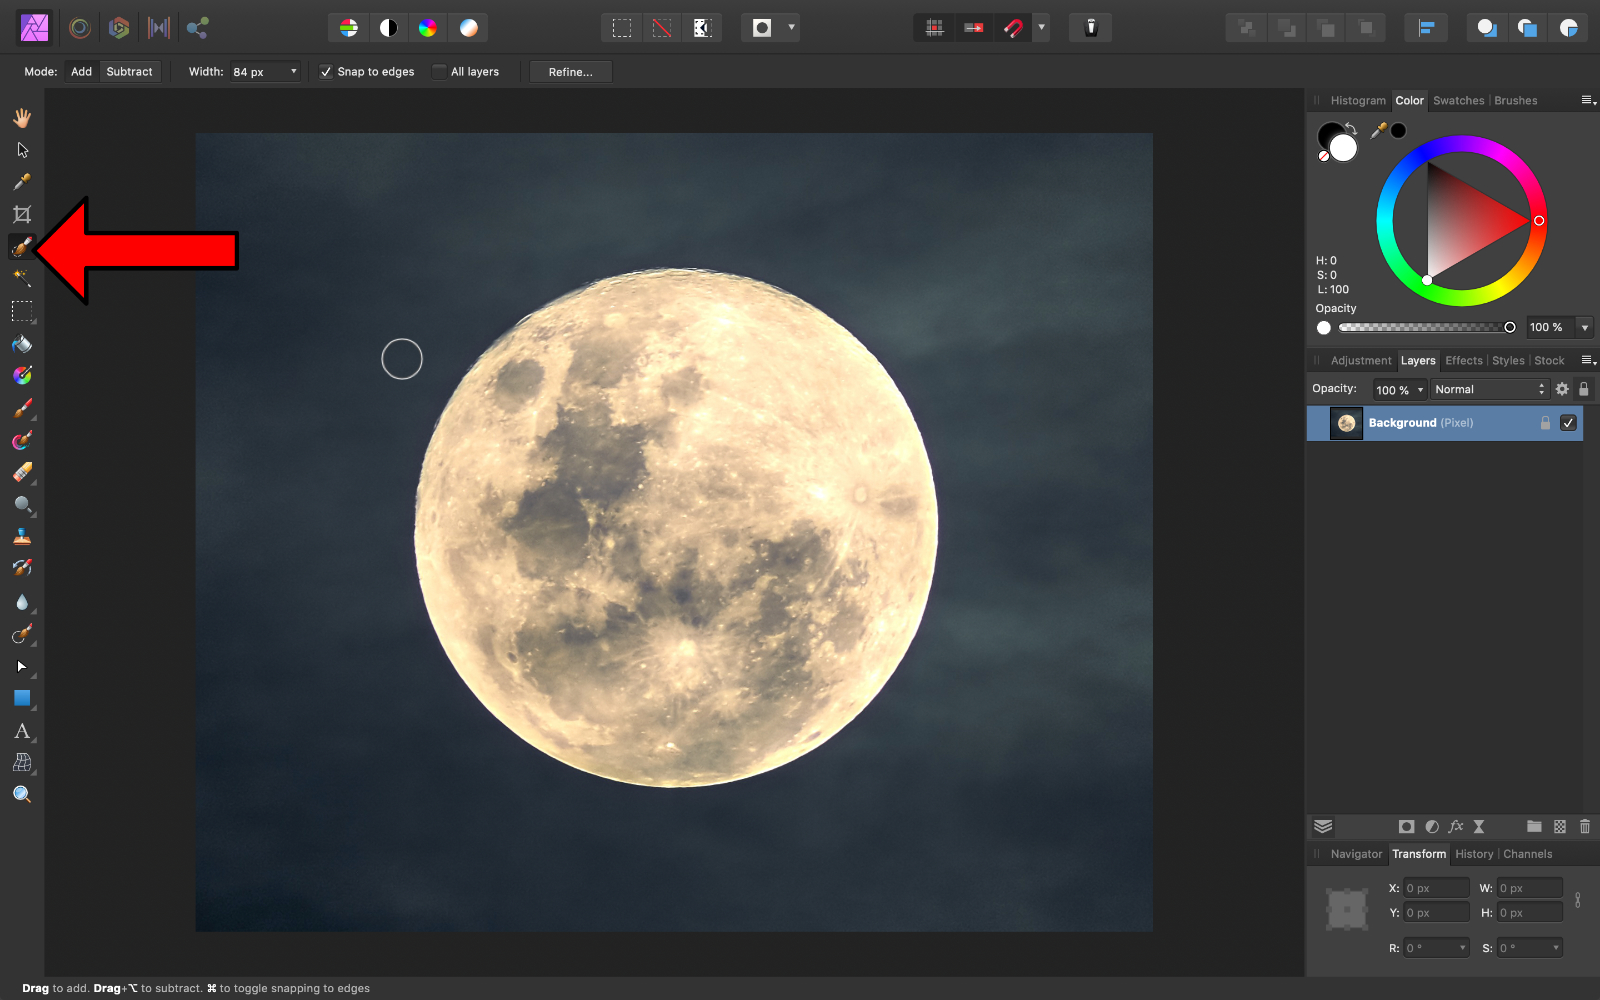
Paint across the moon to meet how this works.
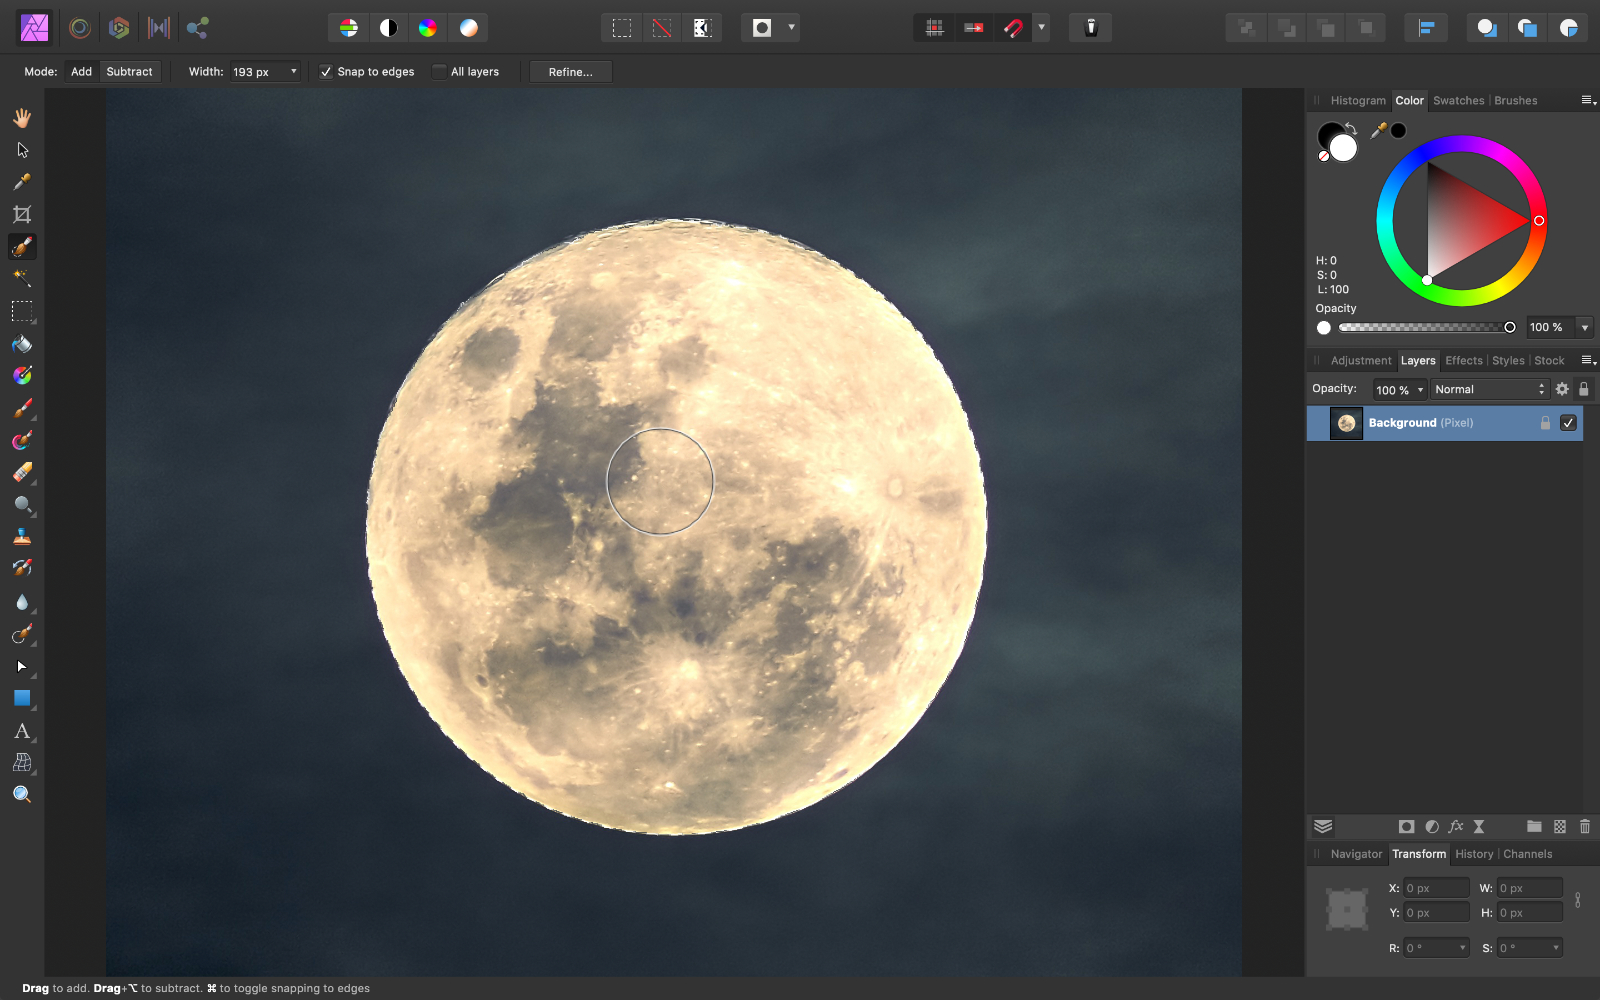
If you ever select too much, you lot tin always change the Mode from Add to Subtract in the Context Toolbar. By irresolute the Mode to Subtract, anything that you paint volition exist removed from your selection.

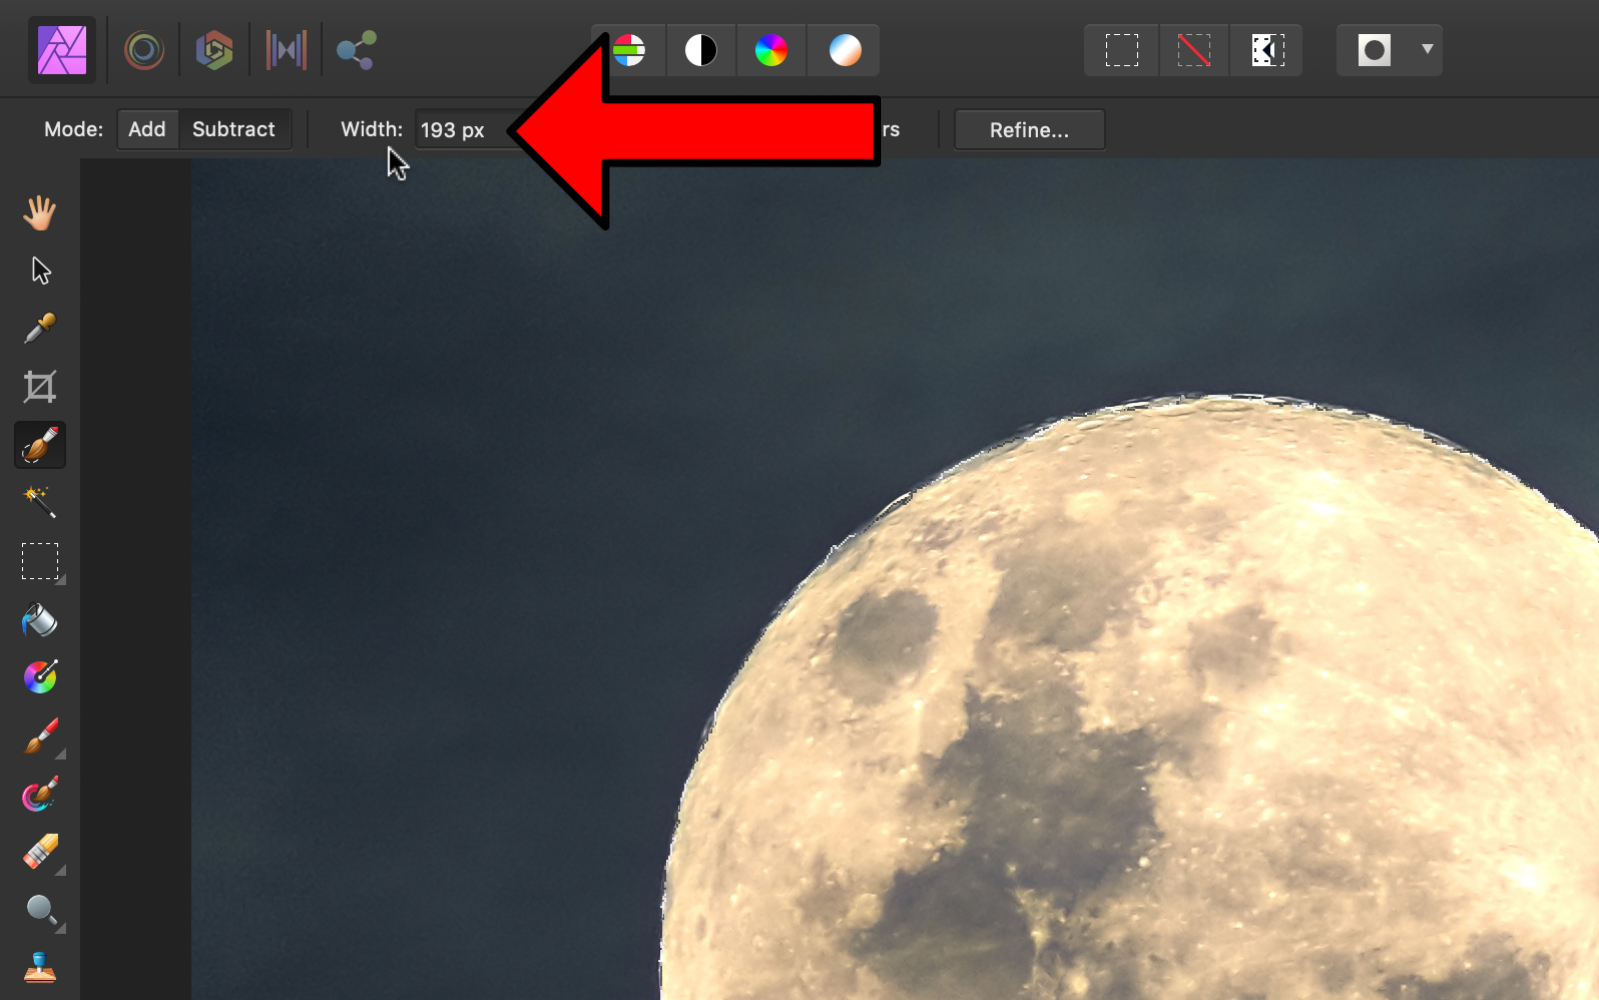
You tin likewise change the Width in the Context Toolbar, depending if you want to select a bigger or smaller object.
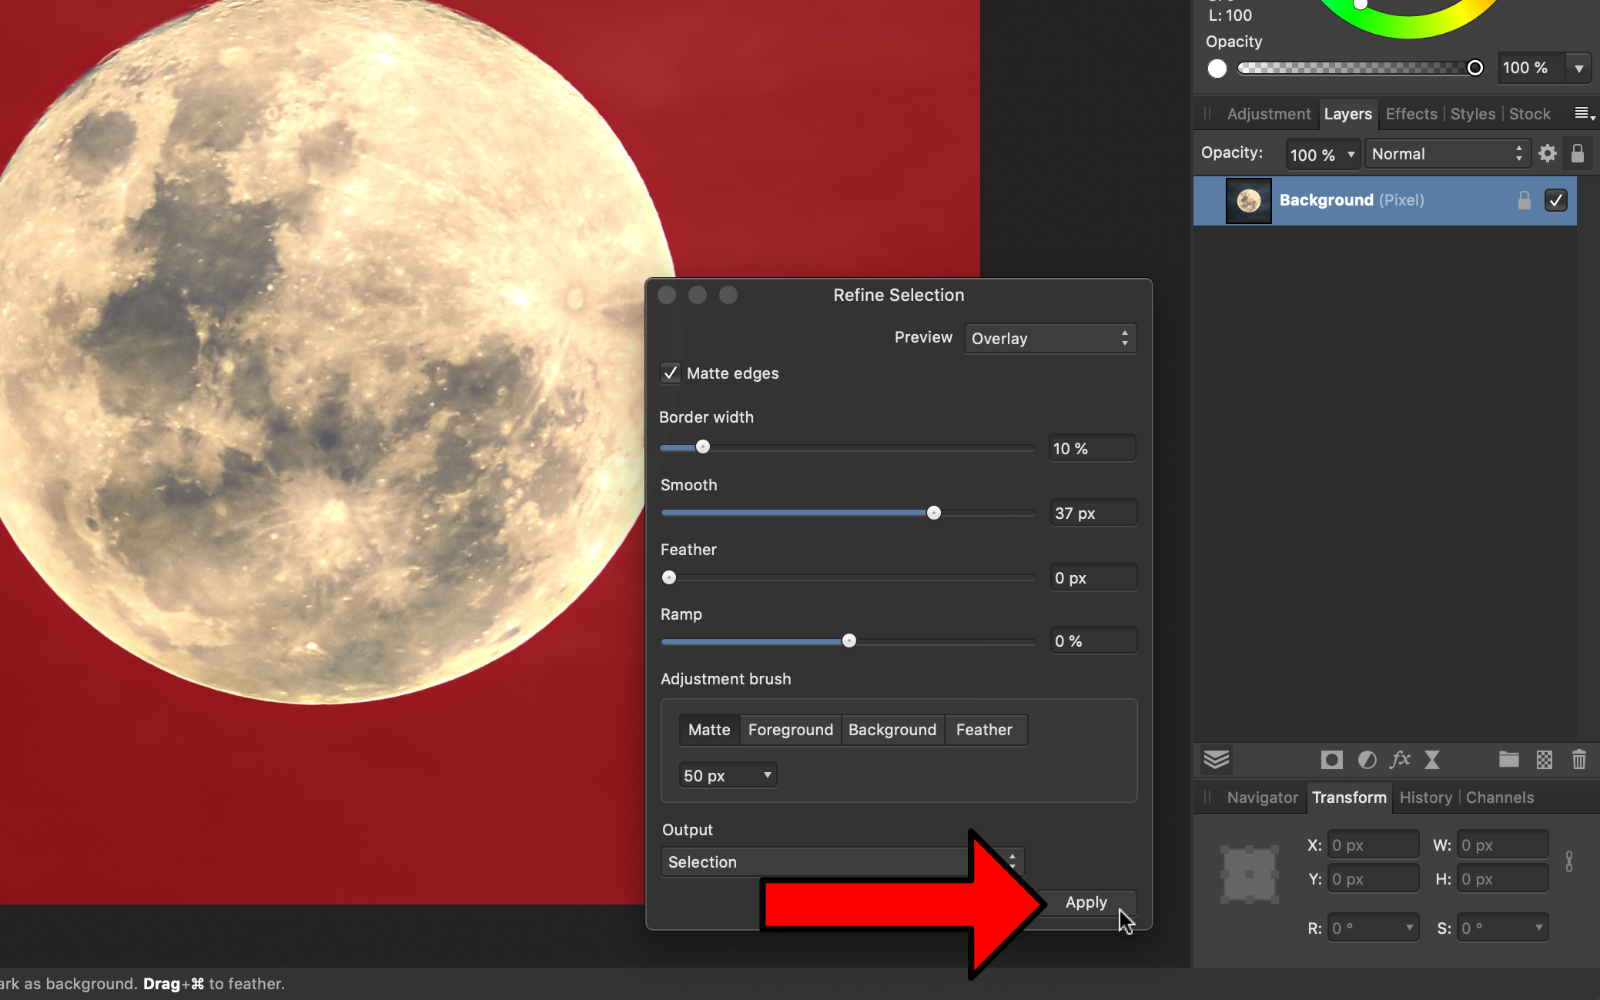
When zooming into the photo, yous'll find that the option is not perfect. Yous can see that it looks jagged along the border of the moon. 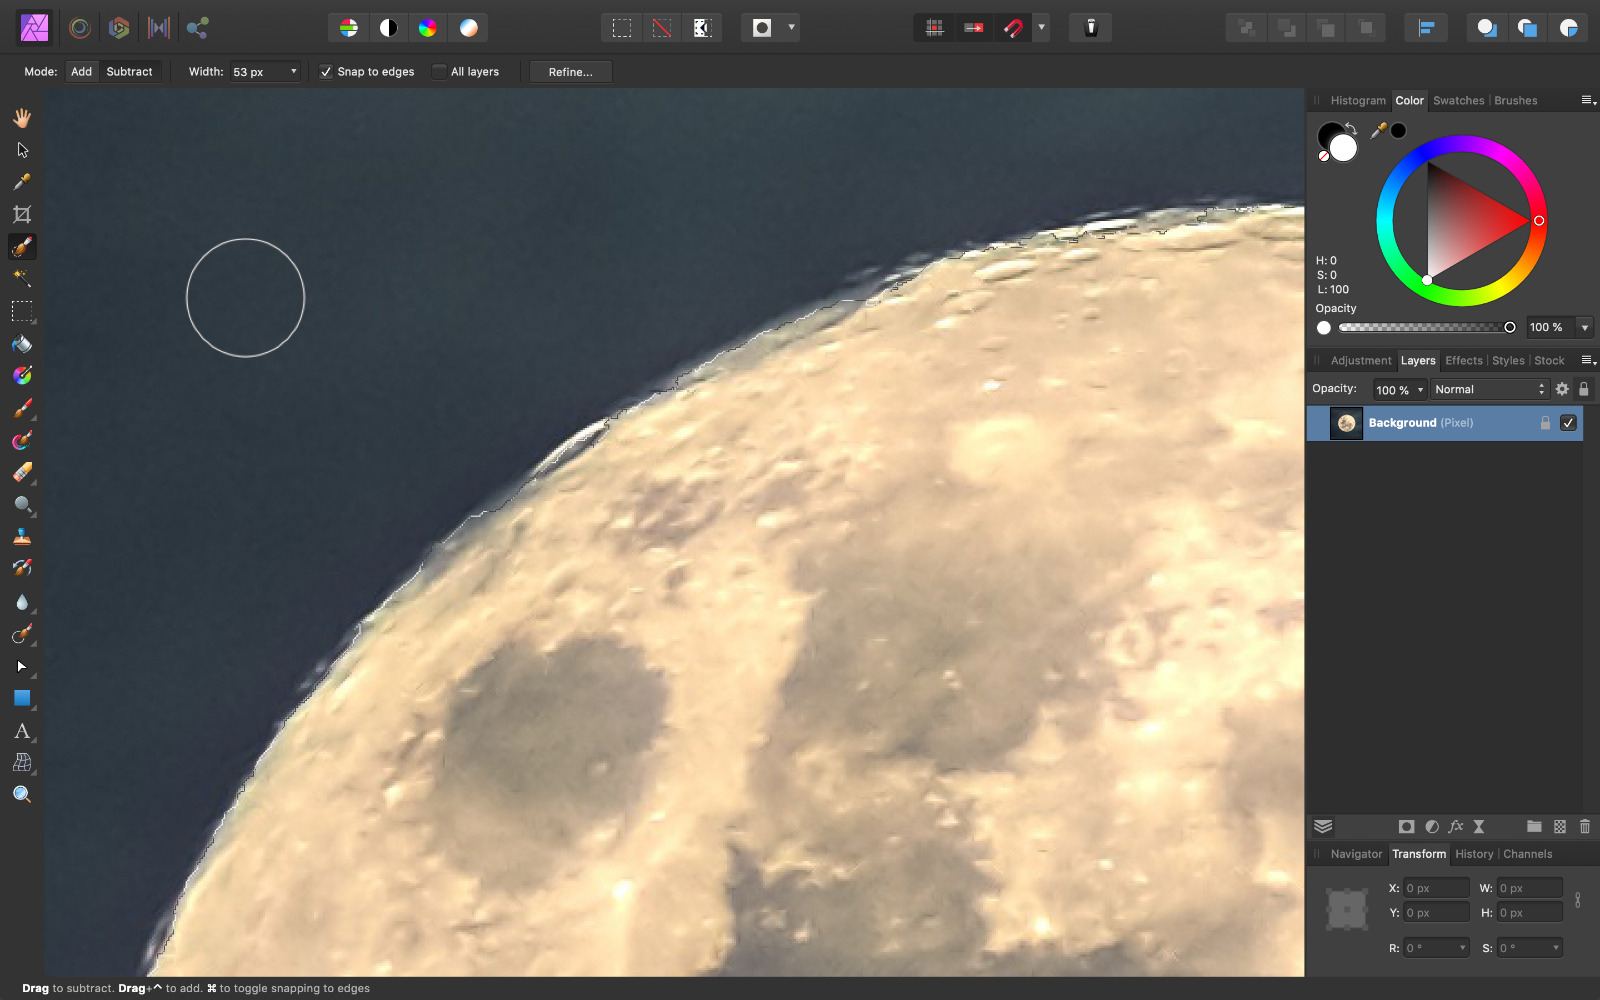
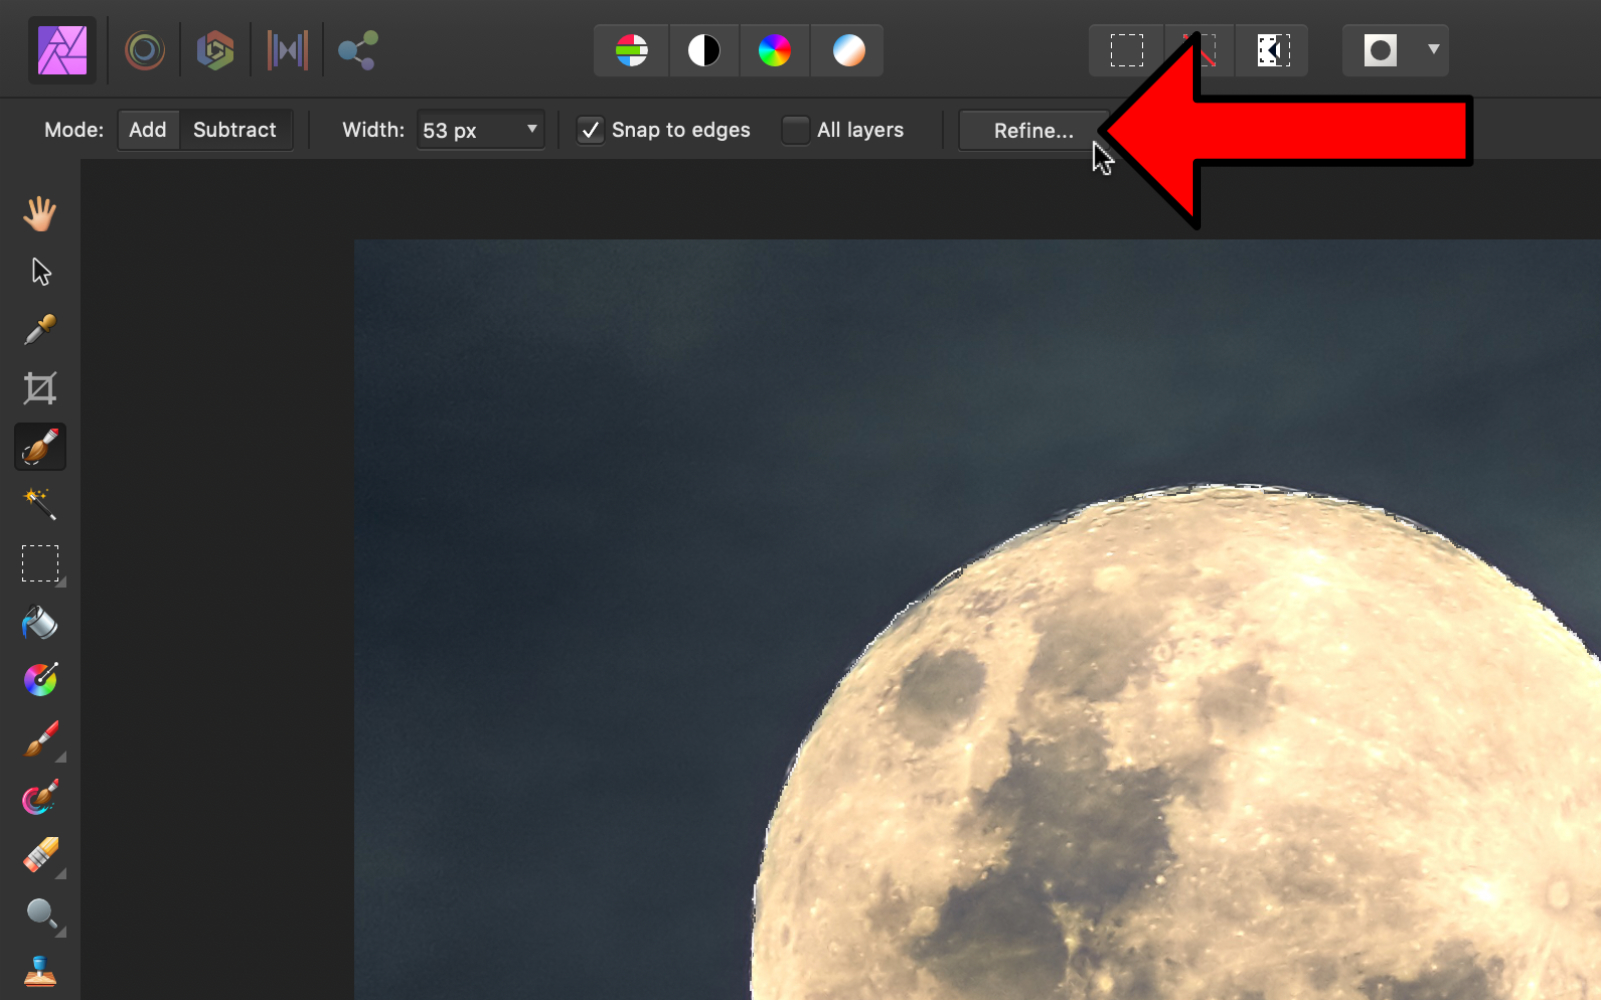
Now that we've seen that the selection isn't perfect, nosotros tin refine the selection by pressing Refine in the Context Toolbar.
Equally yous can run into, nosotros have quite a few options in the Dialog Box.
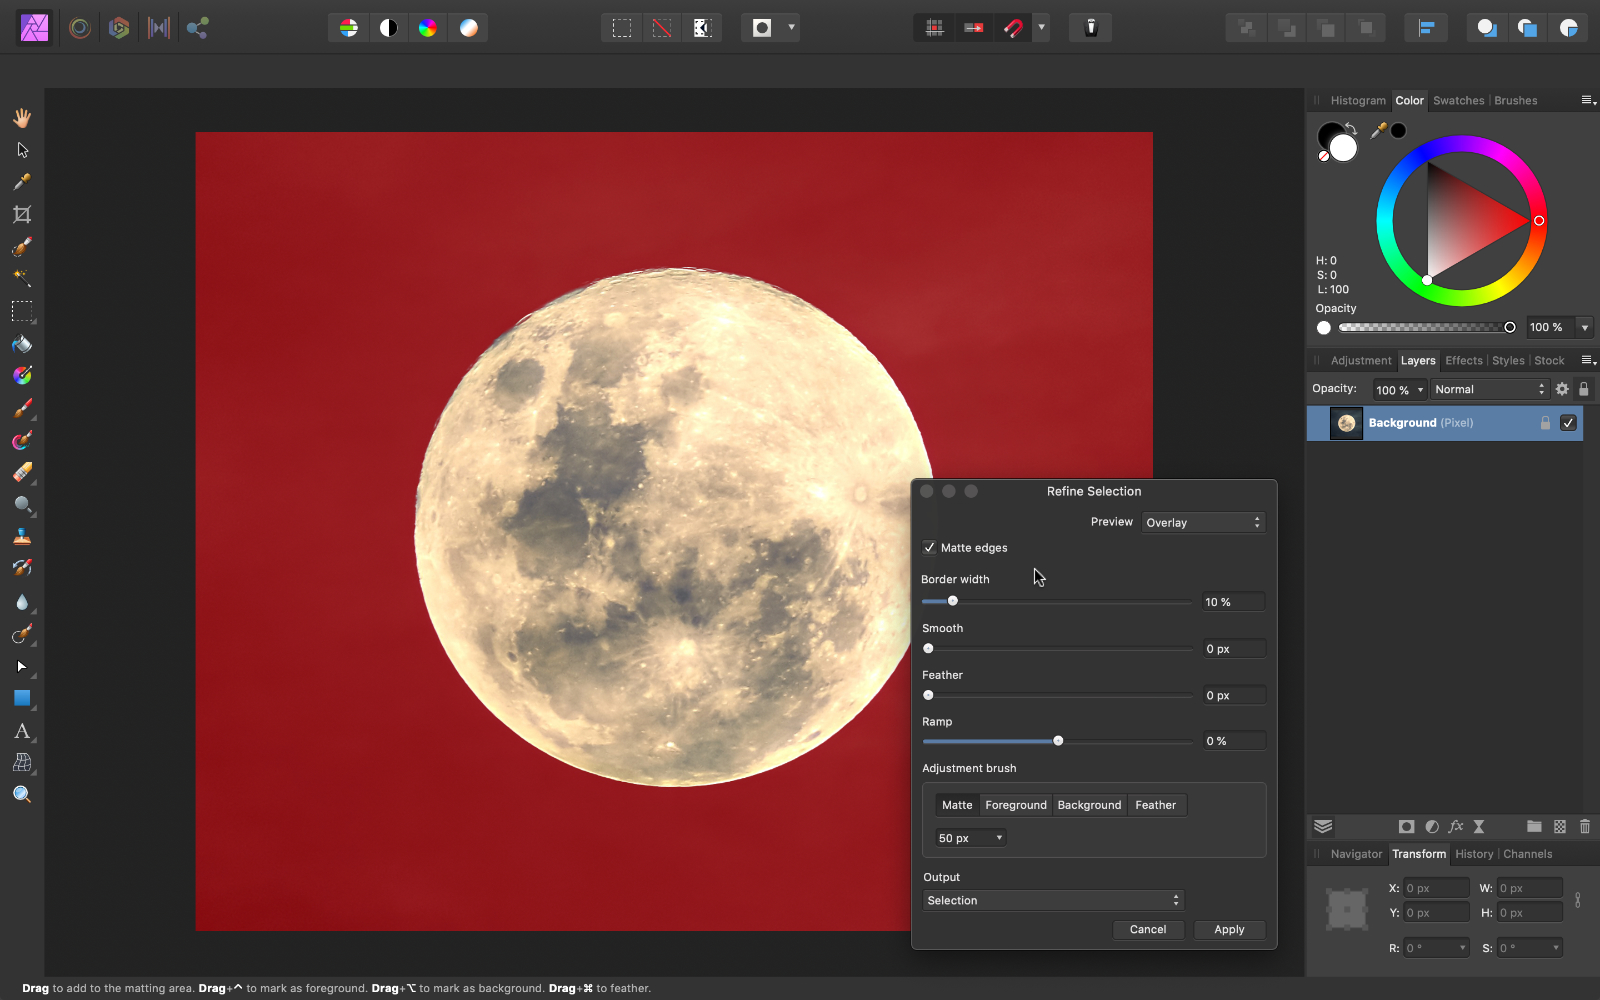
With this selection, we tin increase the Smooth slider to remove the jagged edges from the selection.
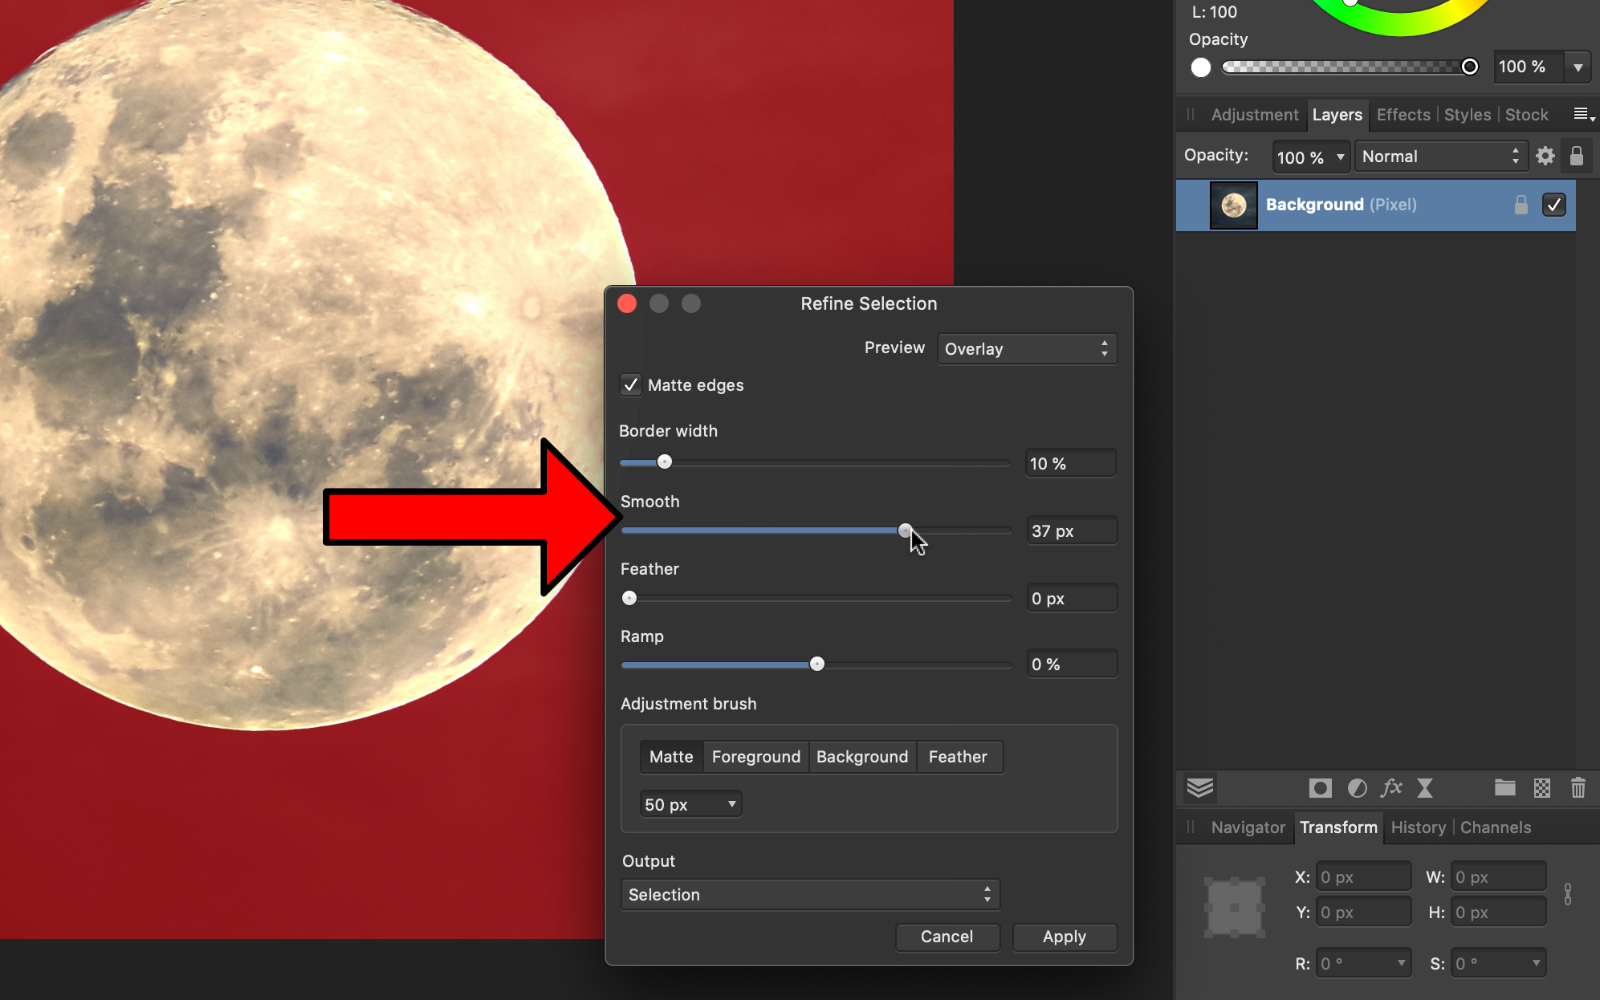
Now we have a nice polish selection going around the moon. When you are satisfied with your selection, you can press Apply.
Now nosotros can use an aligning layer, and it will only bear upon the office of the picture we accept selected.
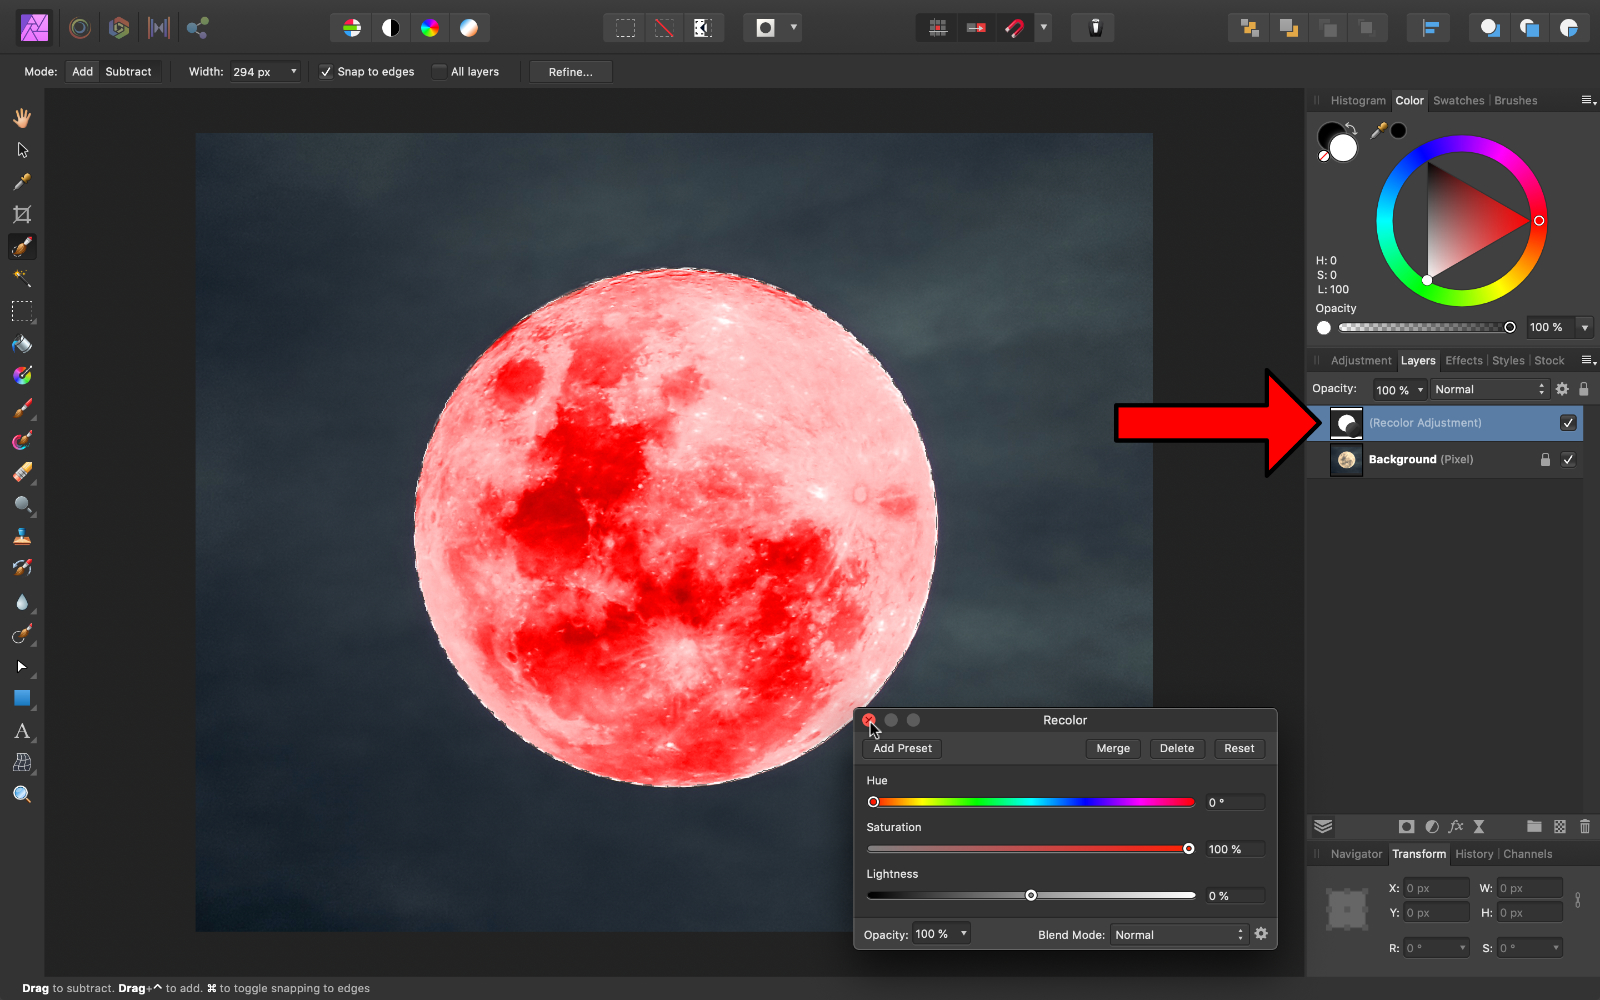
Press the Adjustment icon.
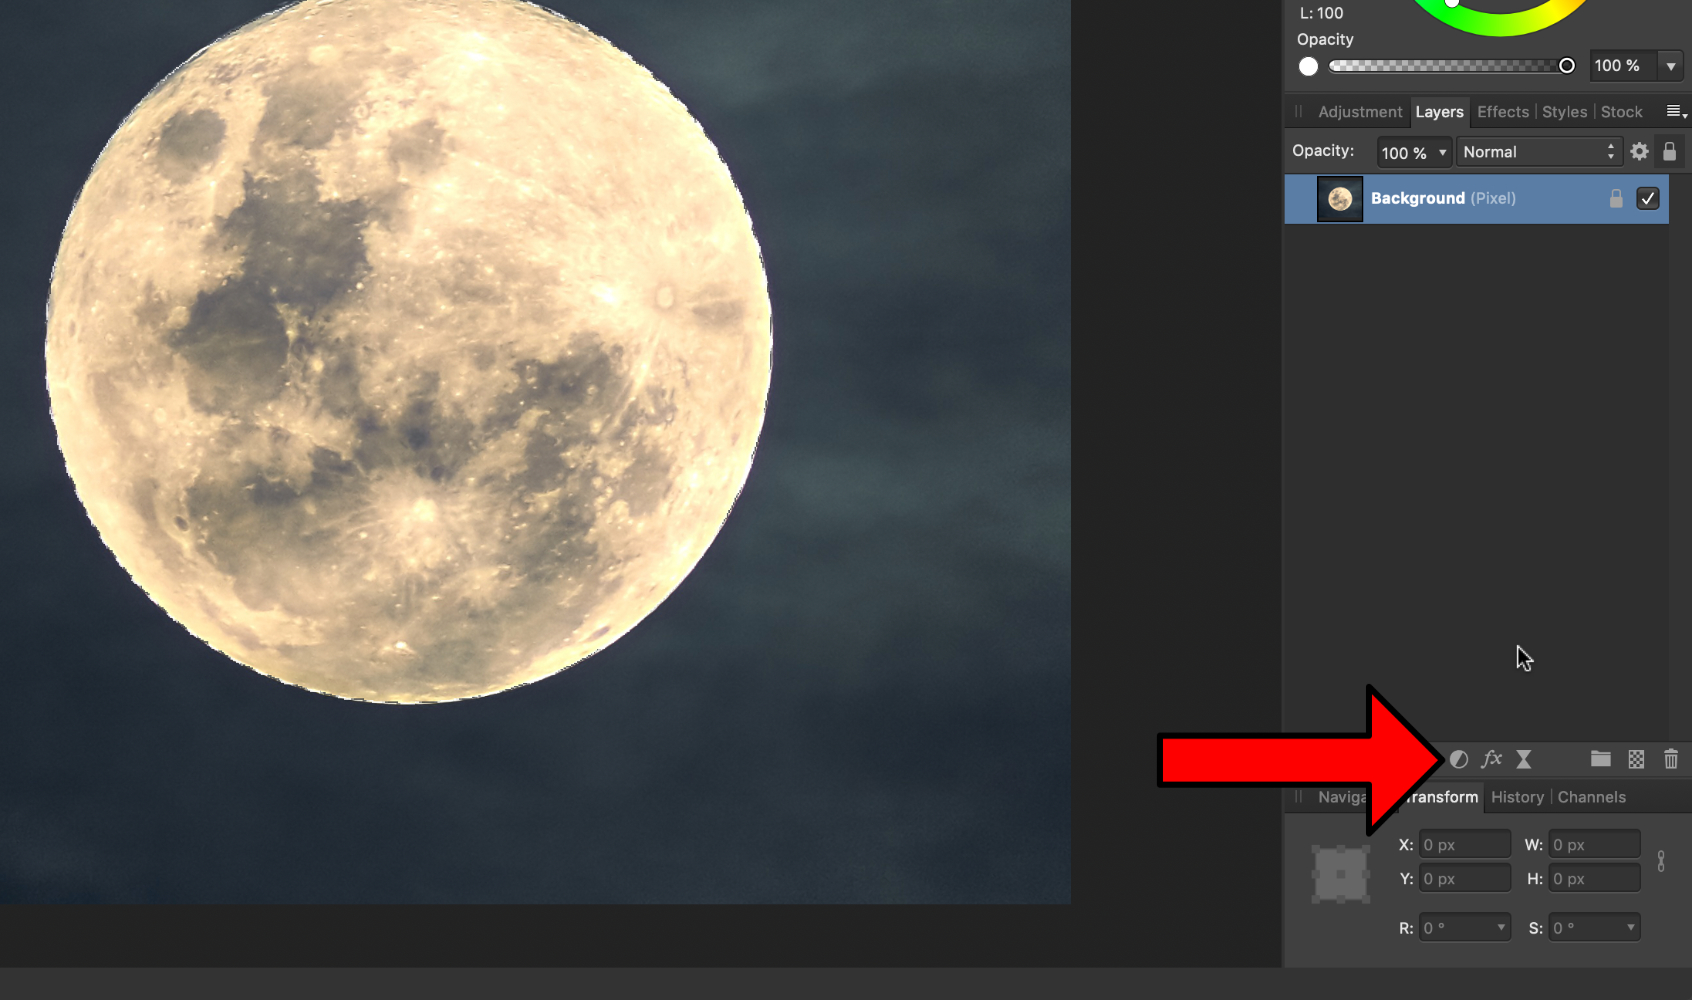
Apply a Recolor Adjustment.

The Recolor Adjustment is only beingness applied to where our selection was. This is because a mask was applied to the aligning layer, right where our choice was. We can see this by looking at the Layers Console.
The adjustment's mask is white in the expanse nosotros had selected, and black wherever we did non take selected.
We tin exit from the Dialog Box.
To de-select the moon, press Command D (Mac) or Control D (PC).

Because our adjustment has been applied using a mask, nosotros can apply the Paint Brush Tool to go along to refine the aligning.
Press B for the Pigment Brush Tool.
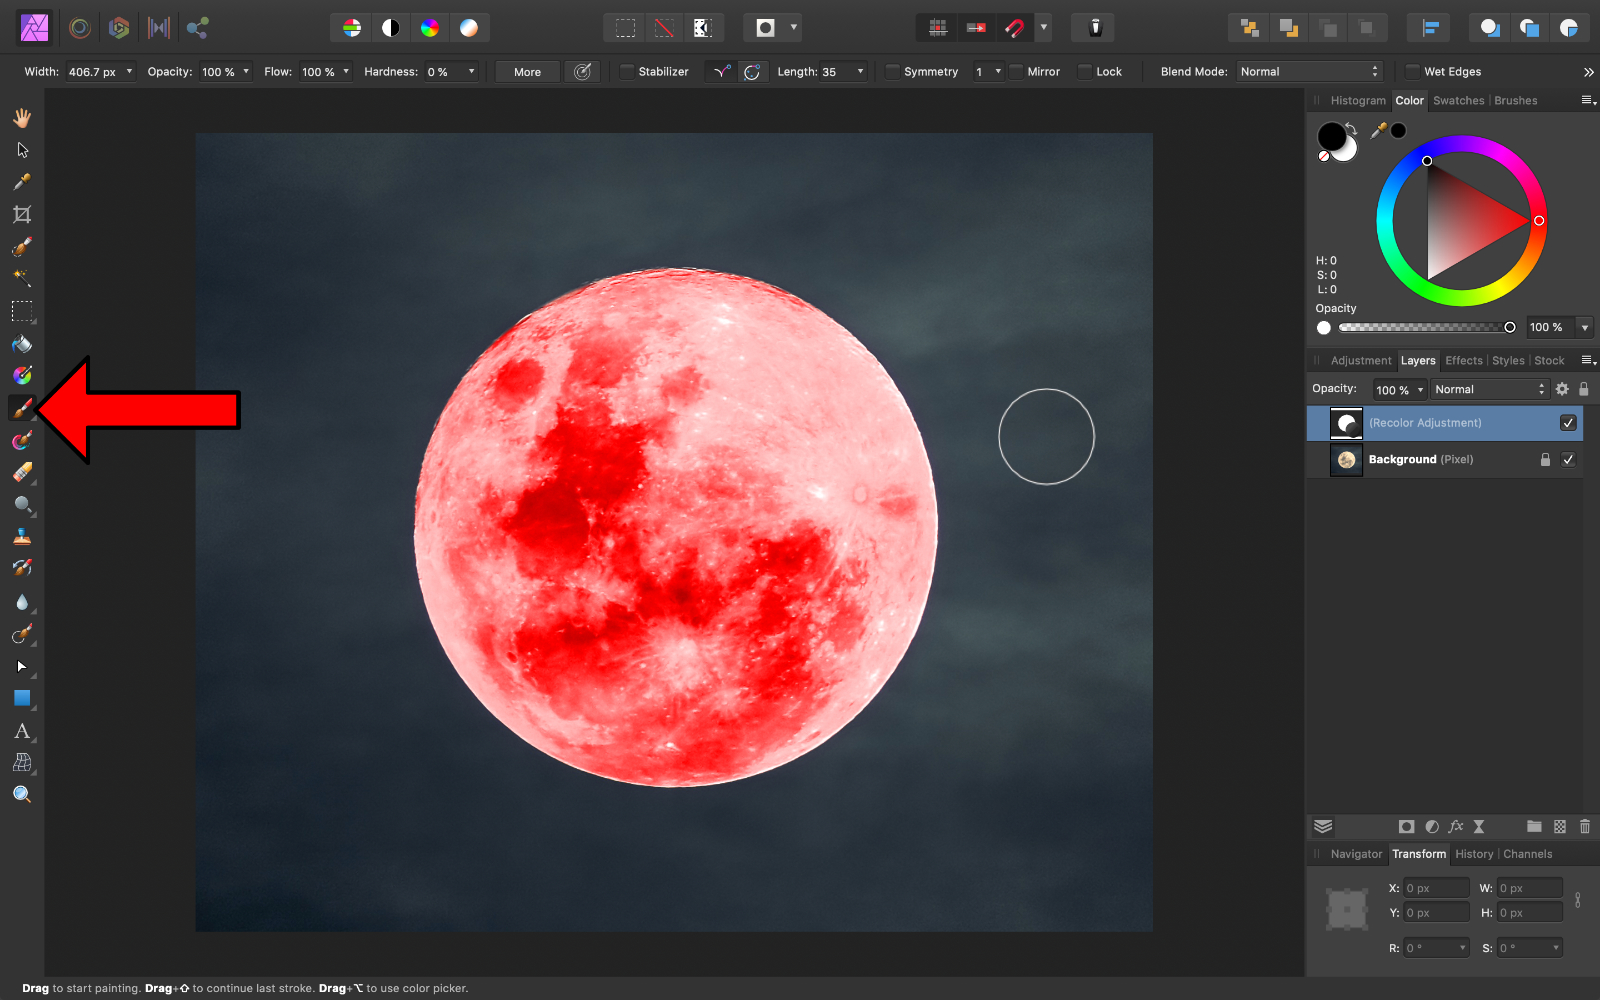
Anywhere that is painted in white, the adjustment layer volition be applied.
By using selections and the Pigment Castor Tool, you can be very precise in the areas that a mask is applied.
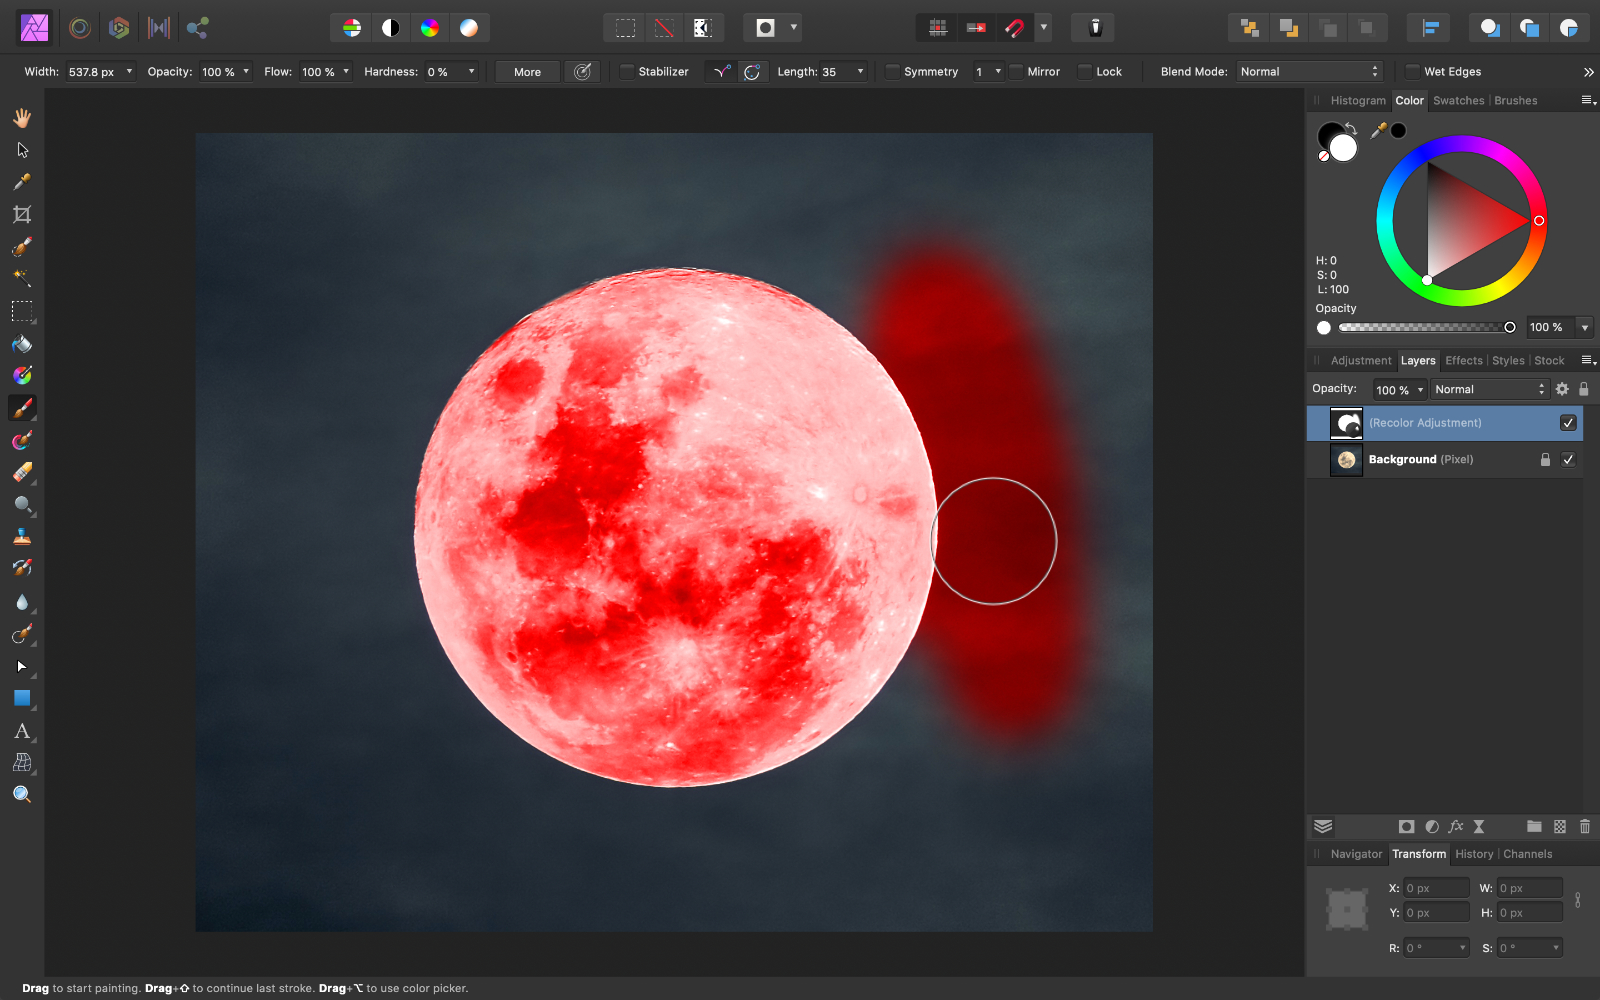
The mask was already looking swell though, then I'll undo this pigment stroke by pressing Command Z (Mac) or Control Z (PC).

Irresolute the Background

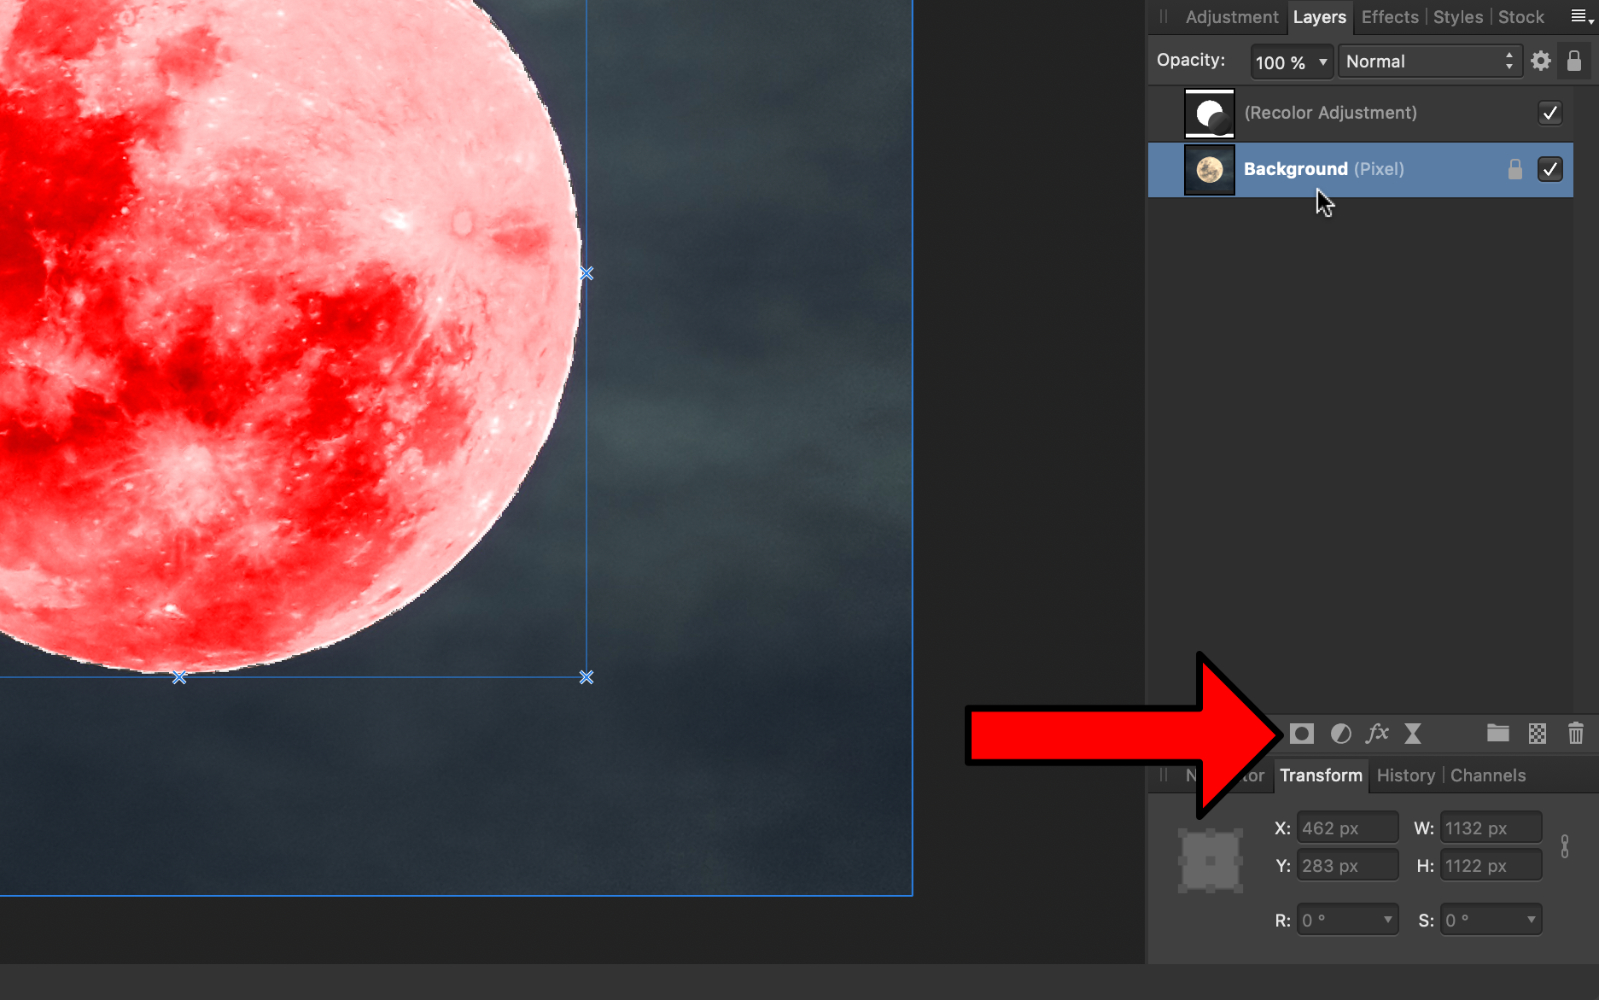
Changing the background of a photo is another quick edit that beginners desire to know how to do. To change the background, we first need to make a pick of the part of the flick that nosotros desire to go on.

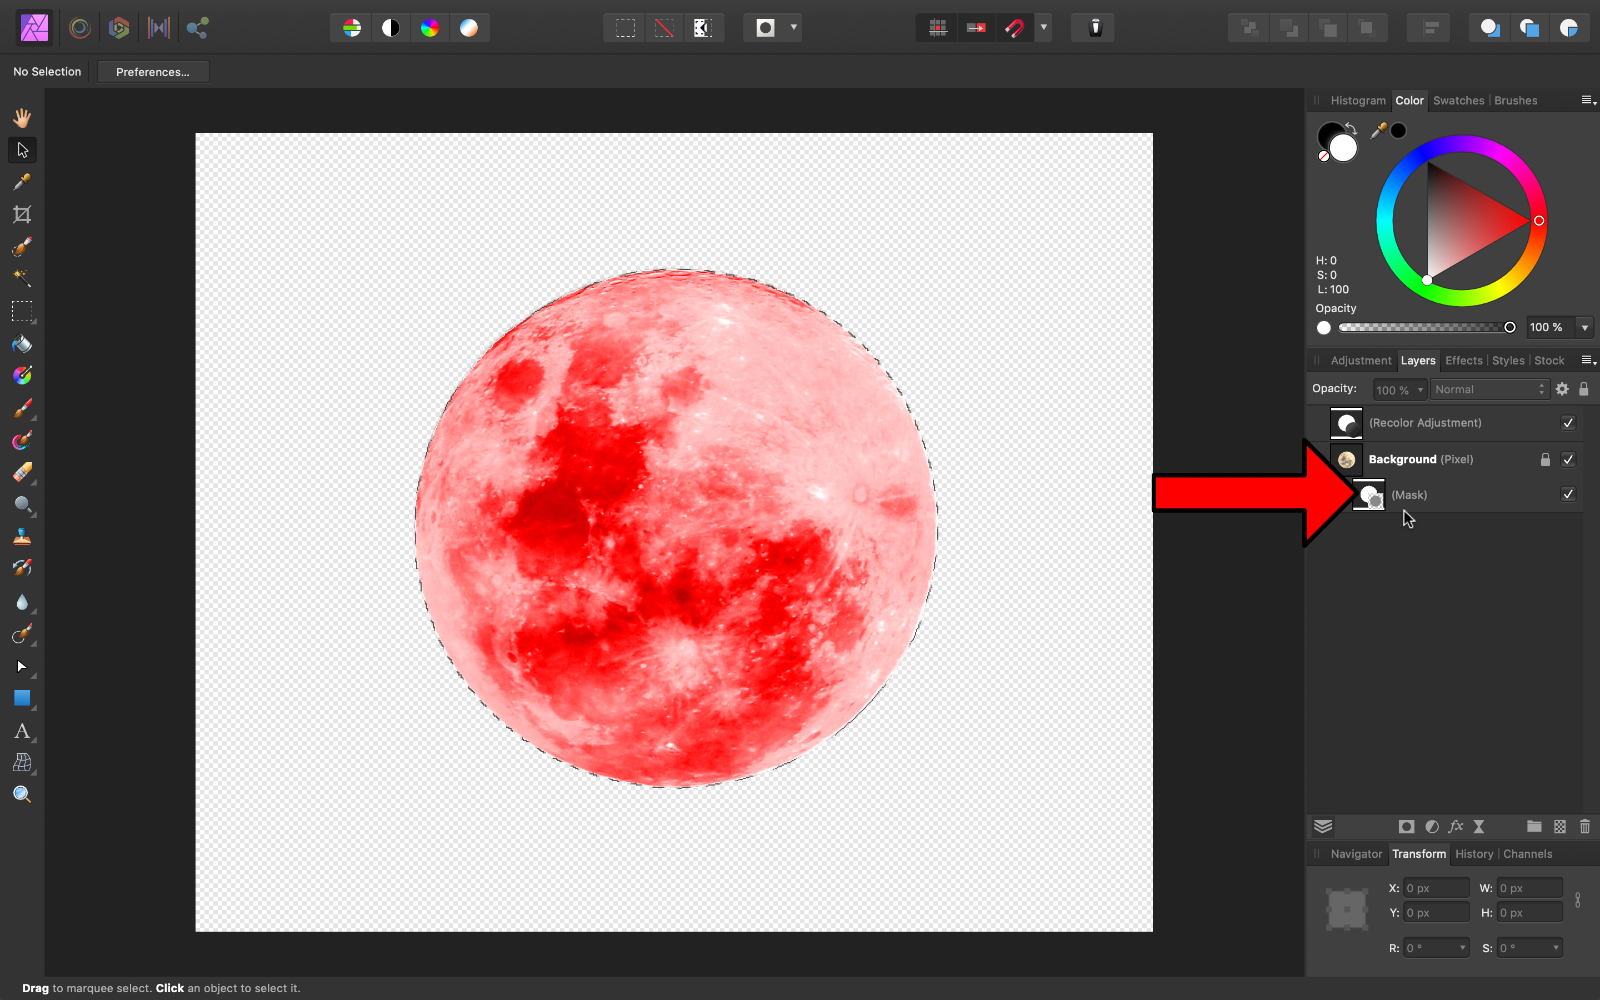
We could make another selection of the moon, or we could use a shortcut to reload our previous selection. At anytime, you tin create a choice from a mask.
Simply hold downwards Command (Mac) or Control (PC), and so printing on a mask icon. In this example, press on the Adjustment layer icon in the Layers Console, since the aligning layer has a mask built into it.
This is a very useful shortcut to recollect.

Now that we have our selection fabricated, we can apply a mask to our photo. Nosotros need to accept the correct layer selected (in this case, the Background layer), and and then press the Mask icon.
Just as before, our mask has become white where our selection was, and black everywhere else. Now we can press Command D (Mac) or Control D (PC) to deselect.
If all you desire to do is remove the background, then you lot're done!
Simply use a selection of whatever you want to go on, and then utilize a mask.
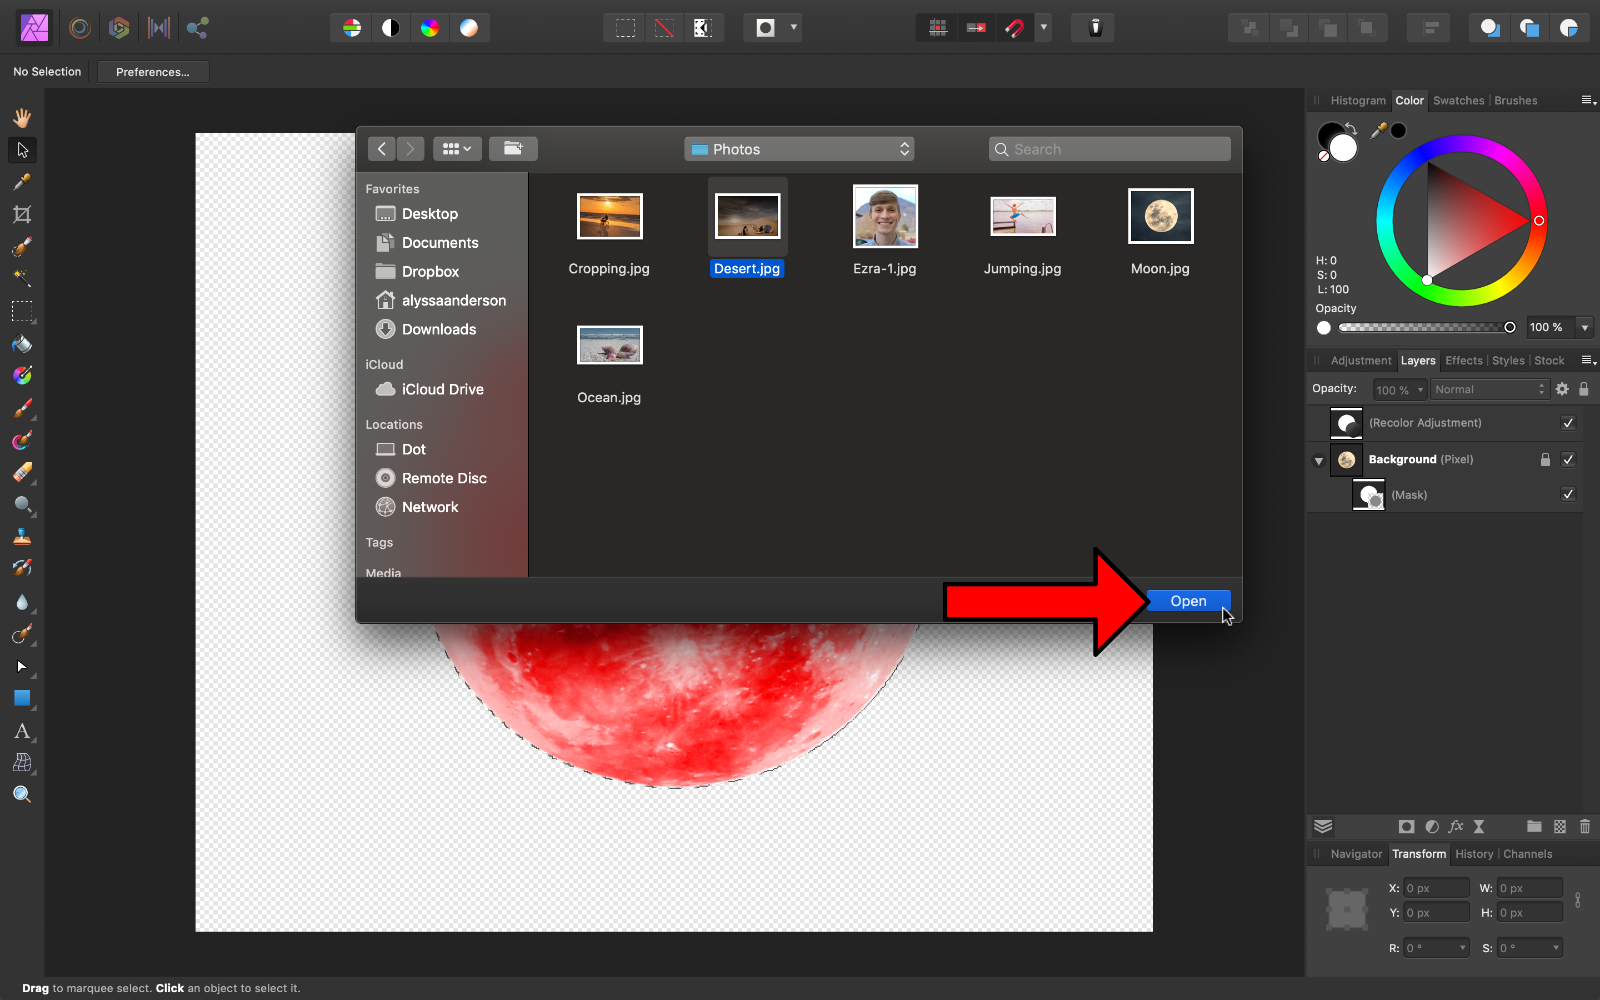
If you want to give your picture a new background, we tin re-create and paste this image into a new moving-picture show.
Kickoff, open up a new picture. We can use the shortcut Command O (Mac) or Command O (PC) to open up a new film.
Select the desert photo, then press Open.
With our desert picture open, information technology's fourth dimension to bring in the moon.
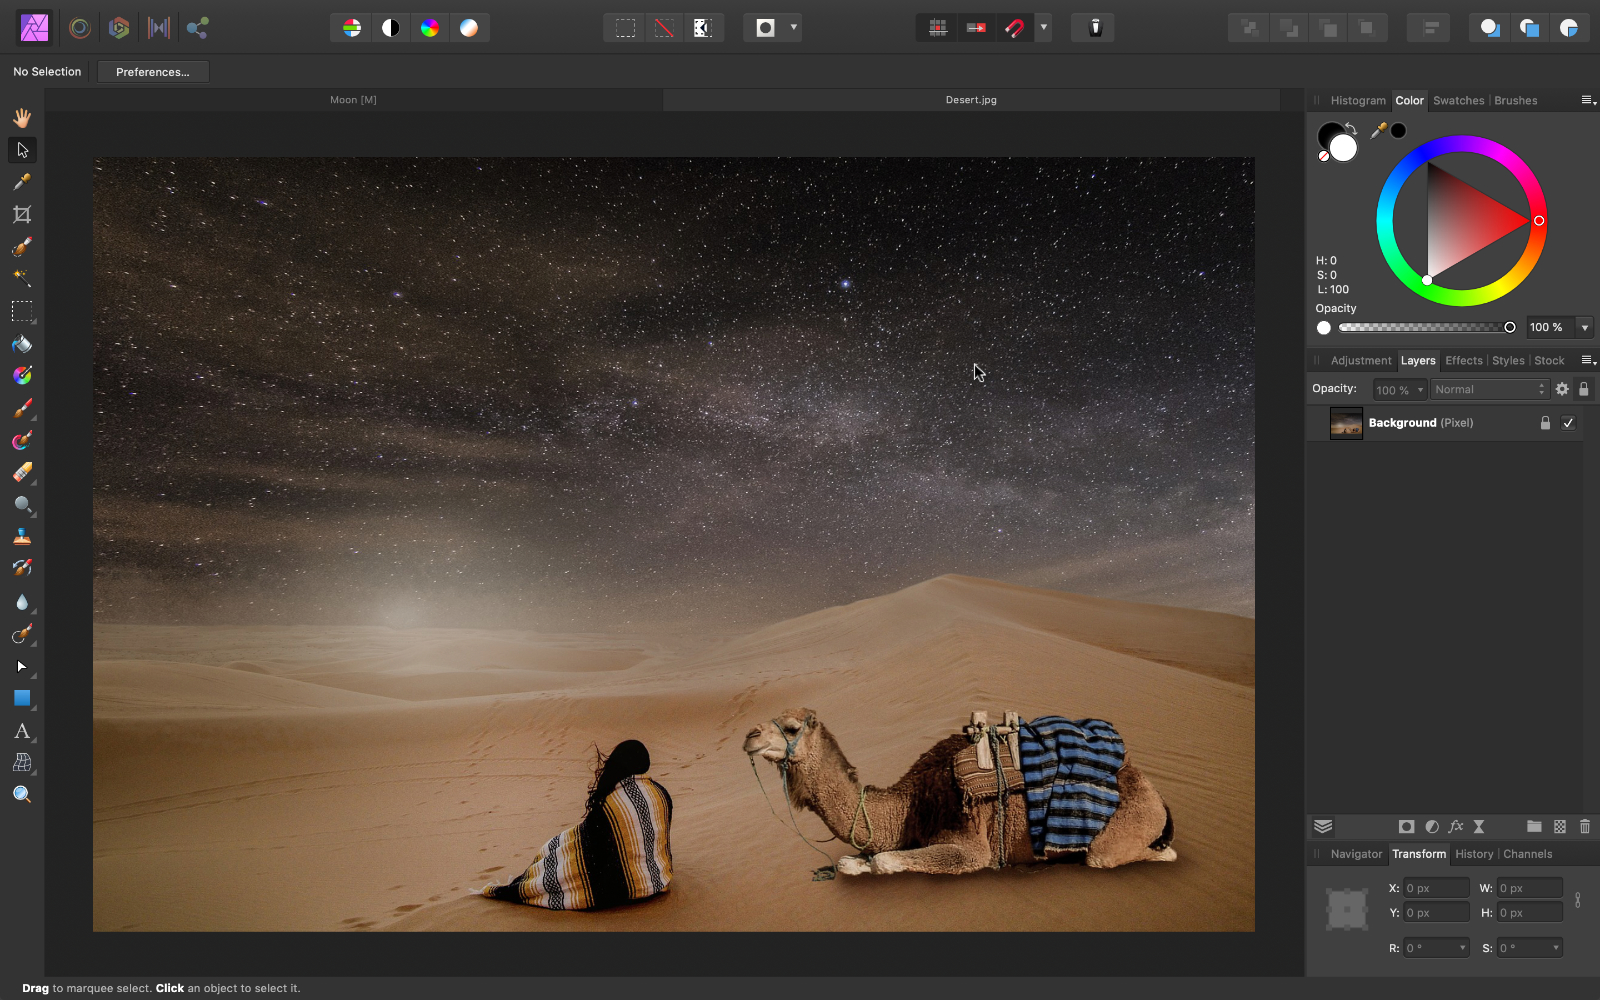
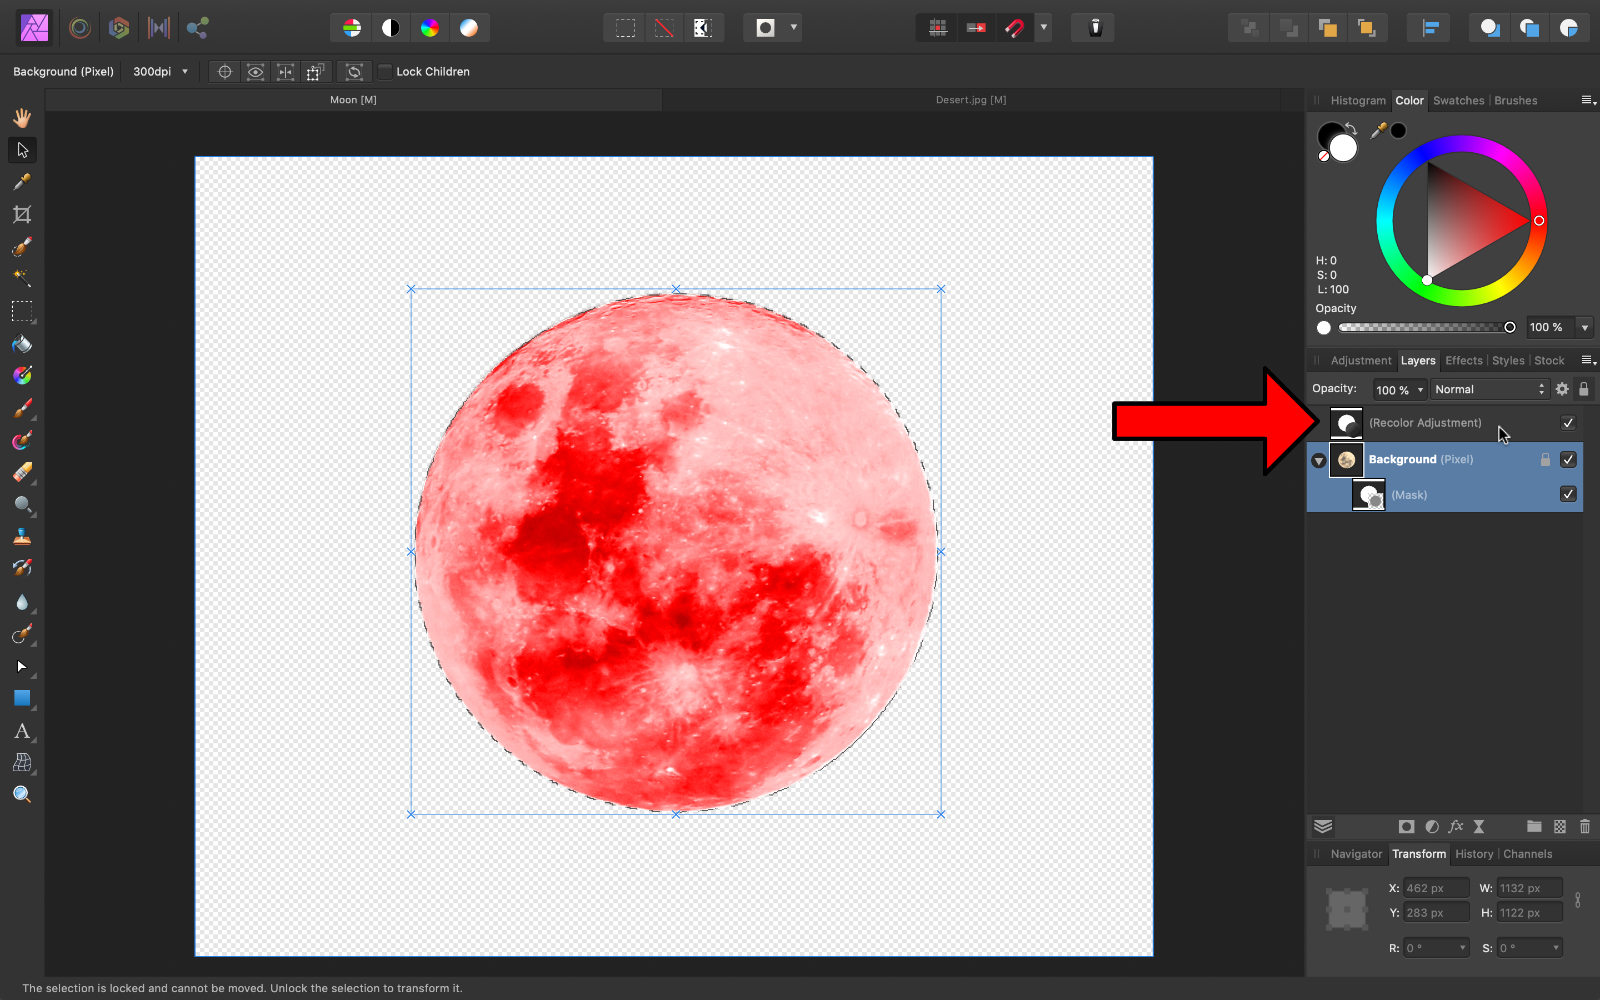
Return to the moon tab, and then select the moon layer.
Press Command C (Mac) or Command C (PC) to copy.

Go to the desert tab, then press Command V (Mac) or Command V (PC) to paste.

Find that we just copied the moon, non the aligning layer. If nosotros wanted to copy the aligning layer as well, then we would need to have had that layer selected every bit well when we copied the moon.
Now we can motility and resize the moon layer by using the Move Tool. You can find the Move Tool in the Tool Panel, or press V on your keyboard.
You can use the blueish handles to resize the moon. You tin also click and drag on the moon to move it around.
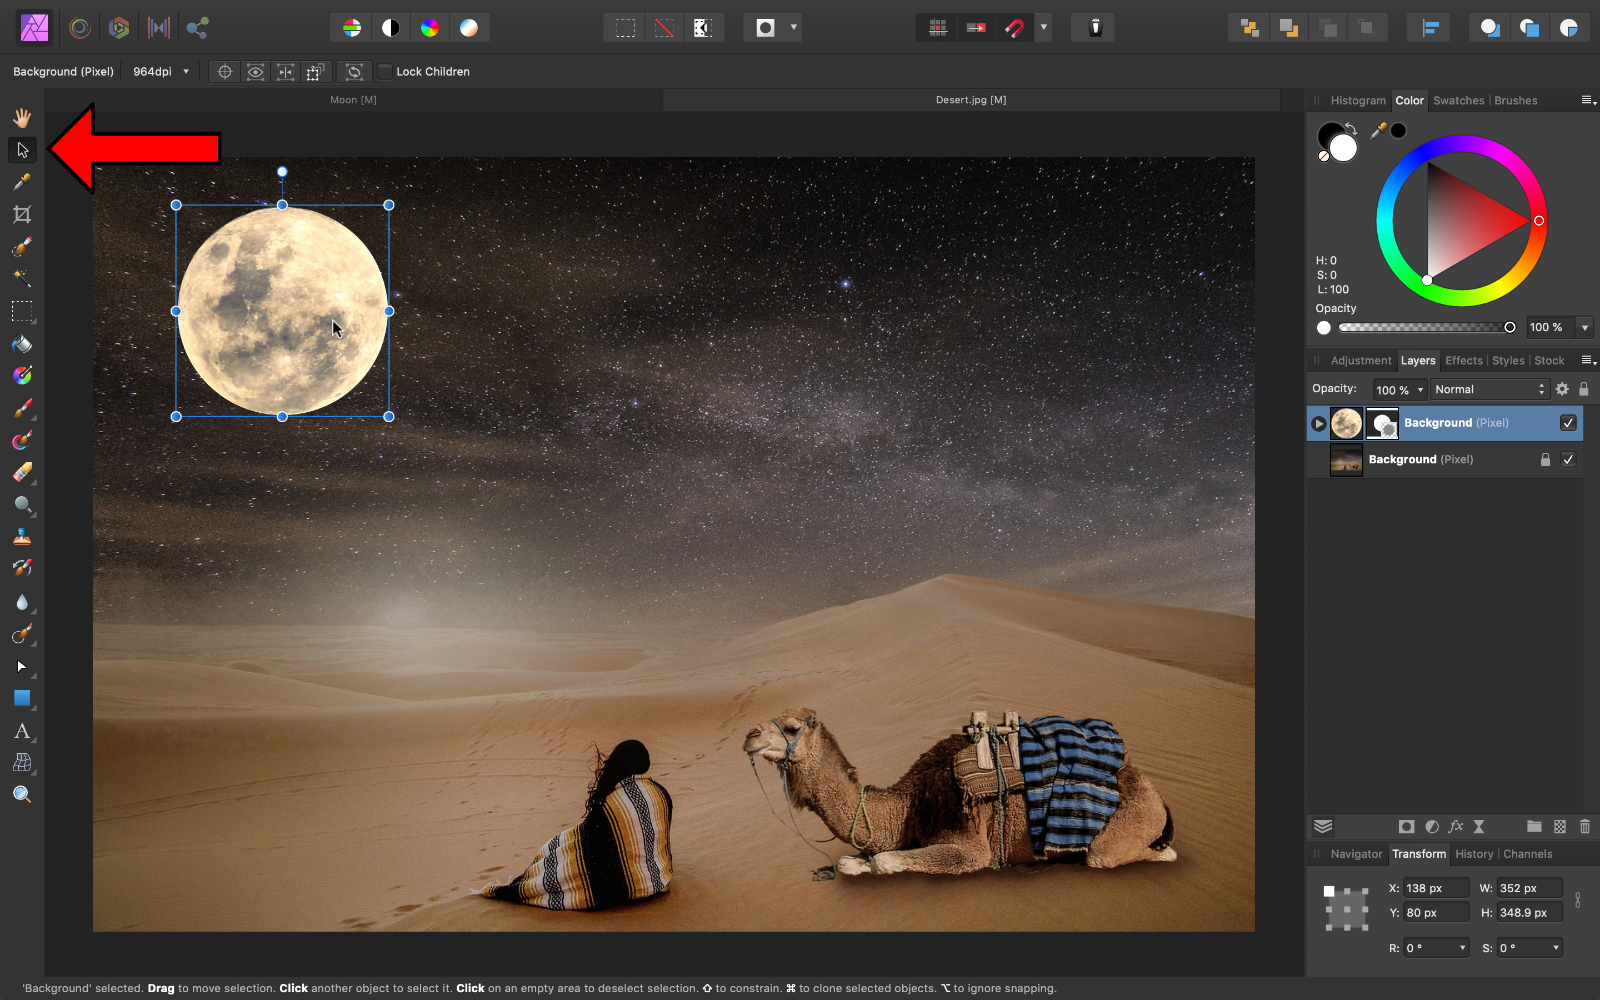
If you desire the pick box to disappear, you tin can click anywhere exterior of the box.
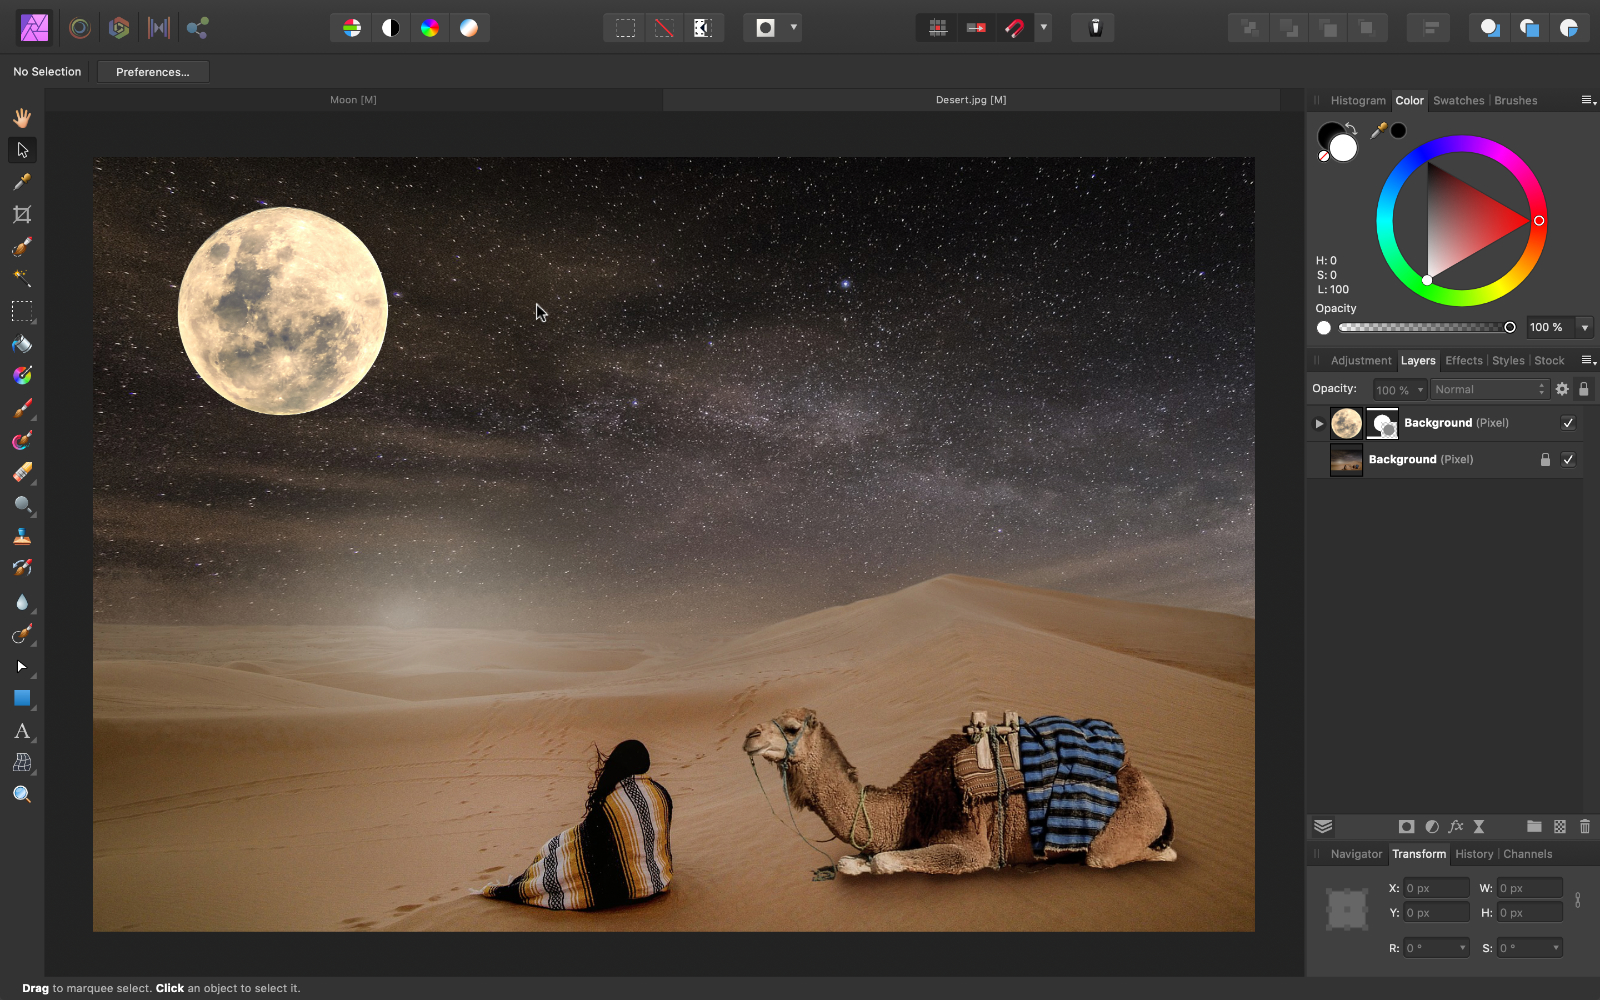
We've now successfully added the moon to the desert photograph.
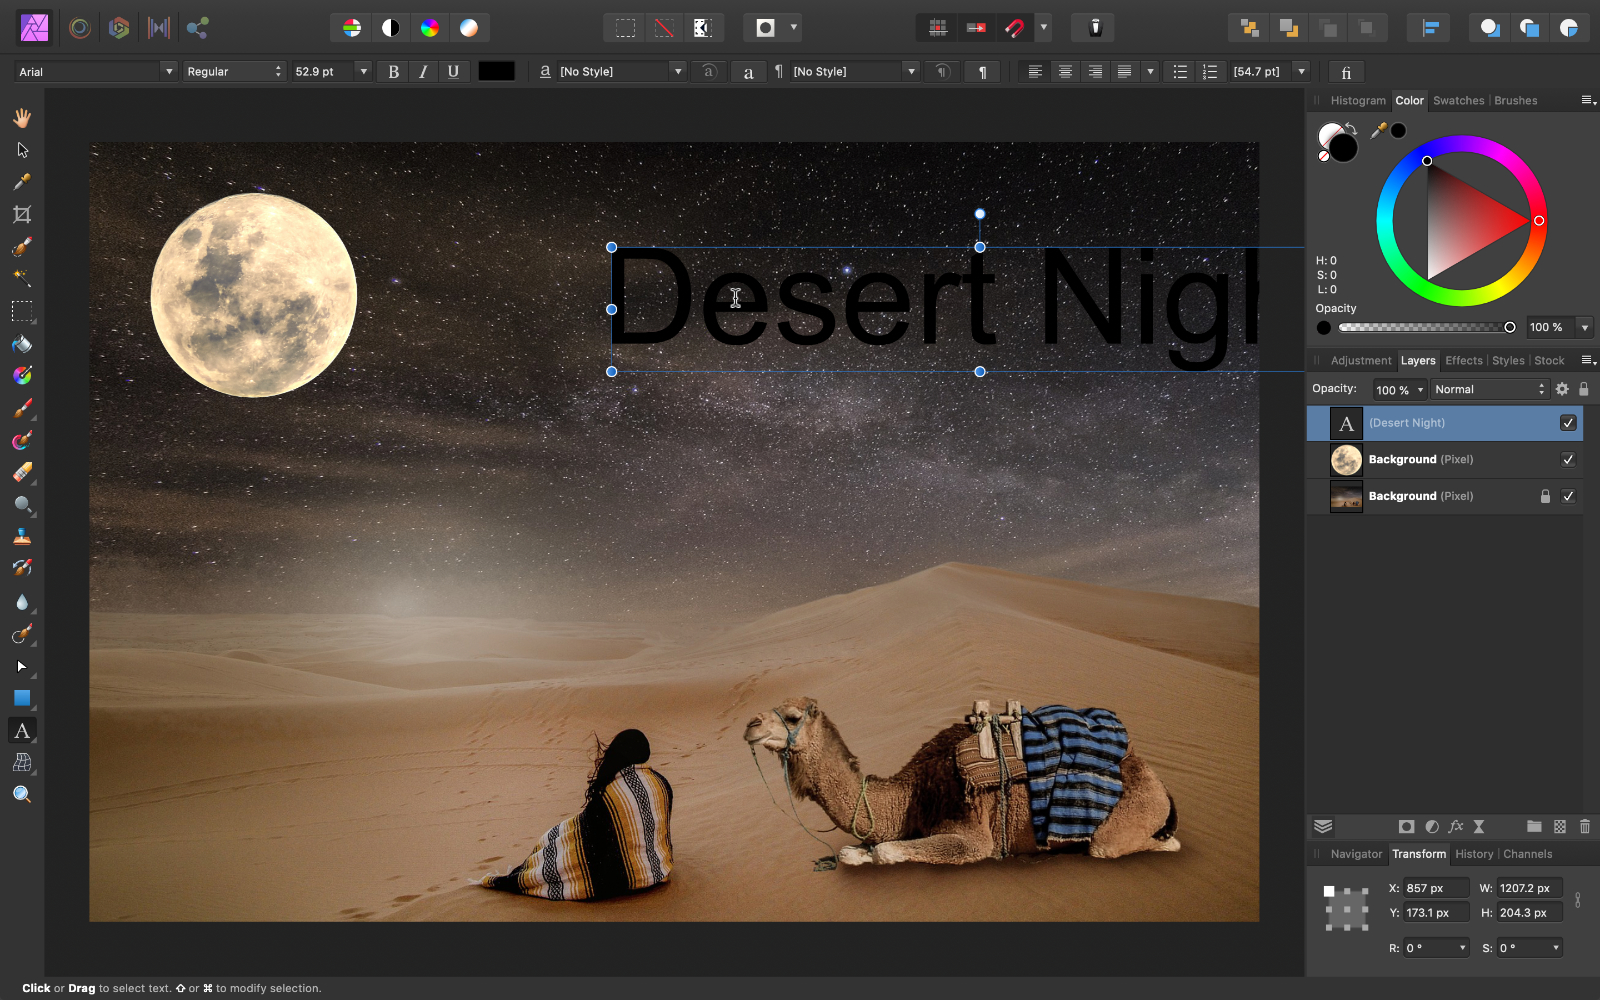
Adding Text

Adding text is very easy in Affinity Photograph. All nosotros need to do is select the Creative Text Tool. The keyboard shortcut is T.
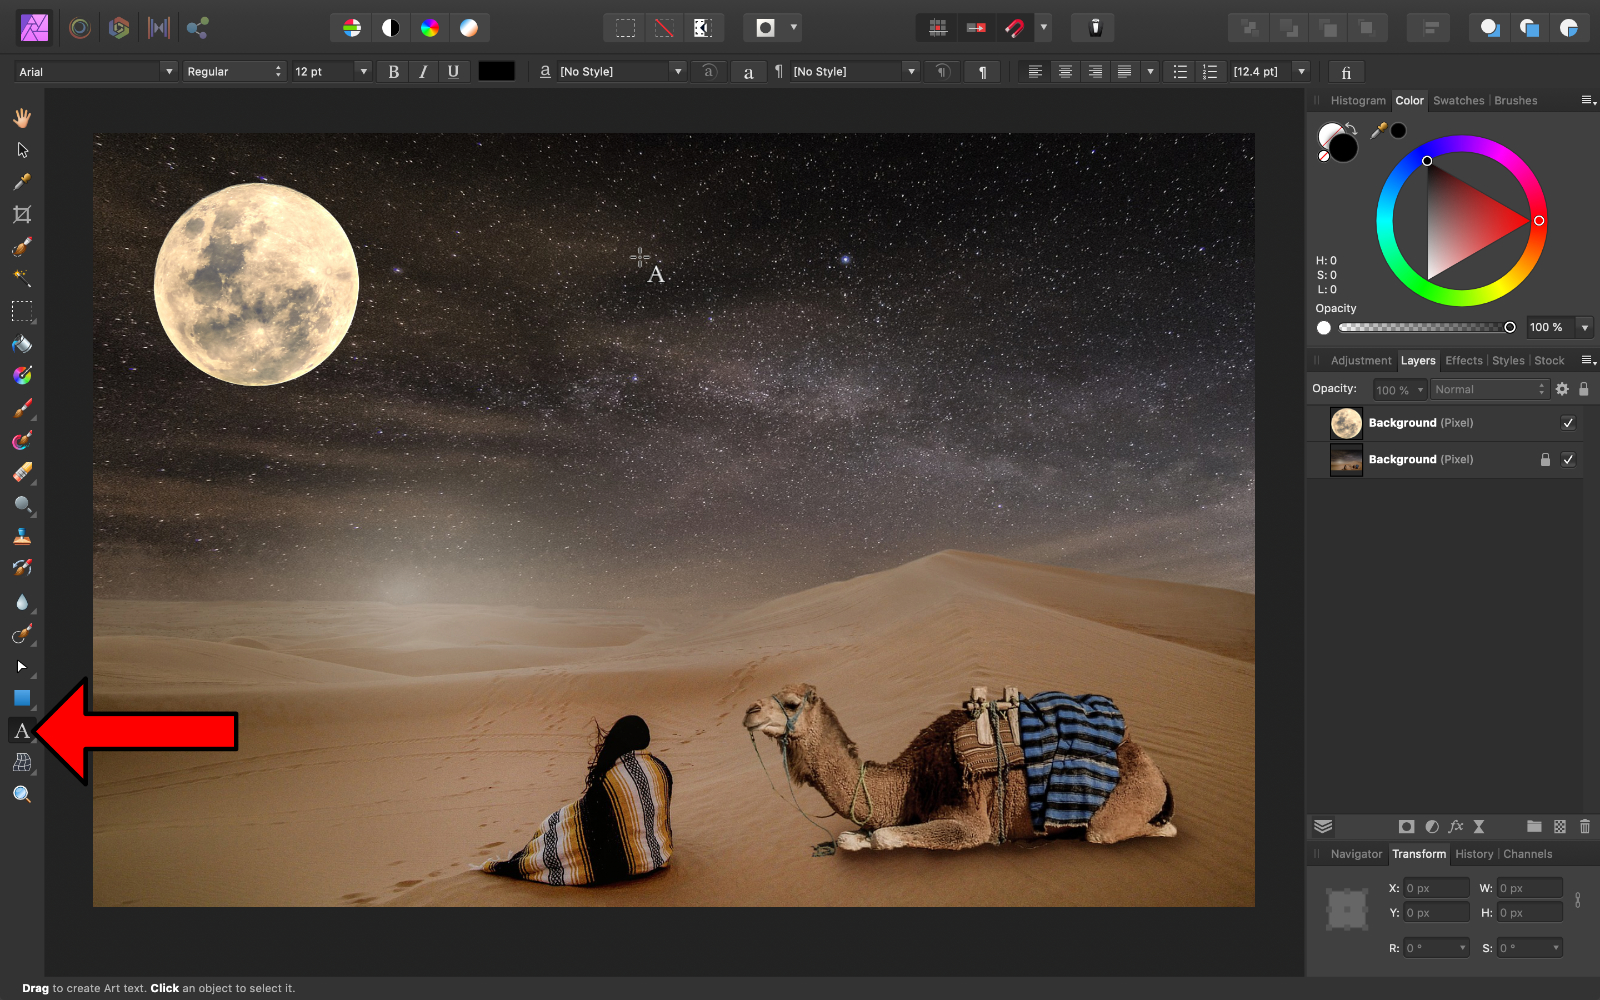
With the tool selected, click and drag to specify how big you would like the text to be.
At present you can begin typing.
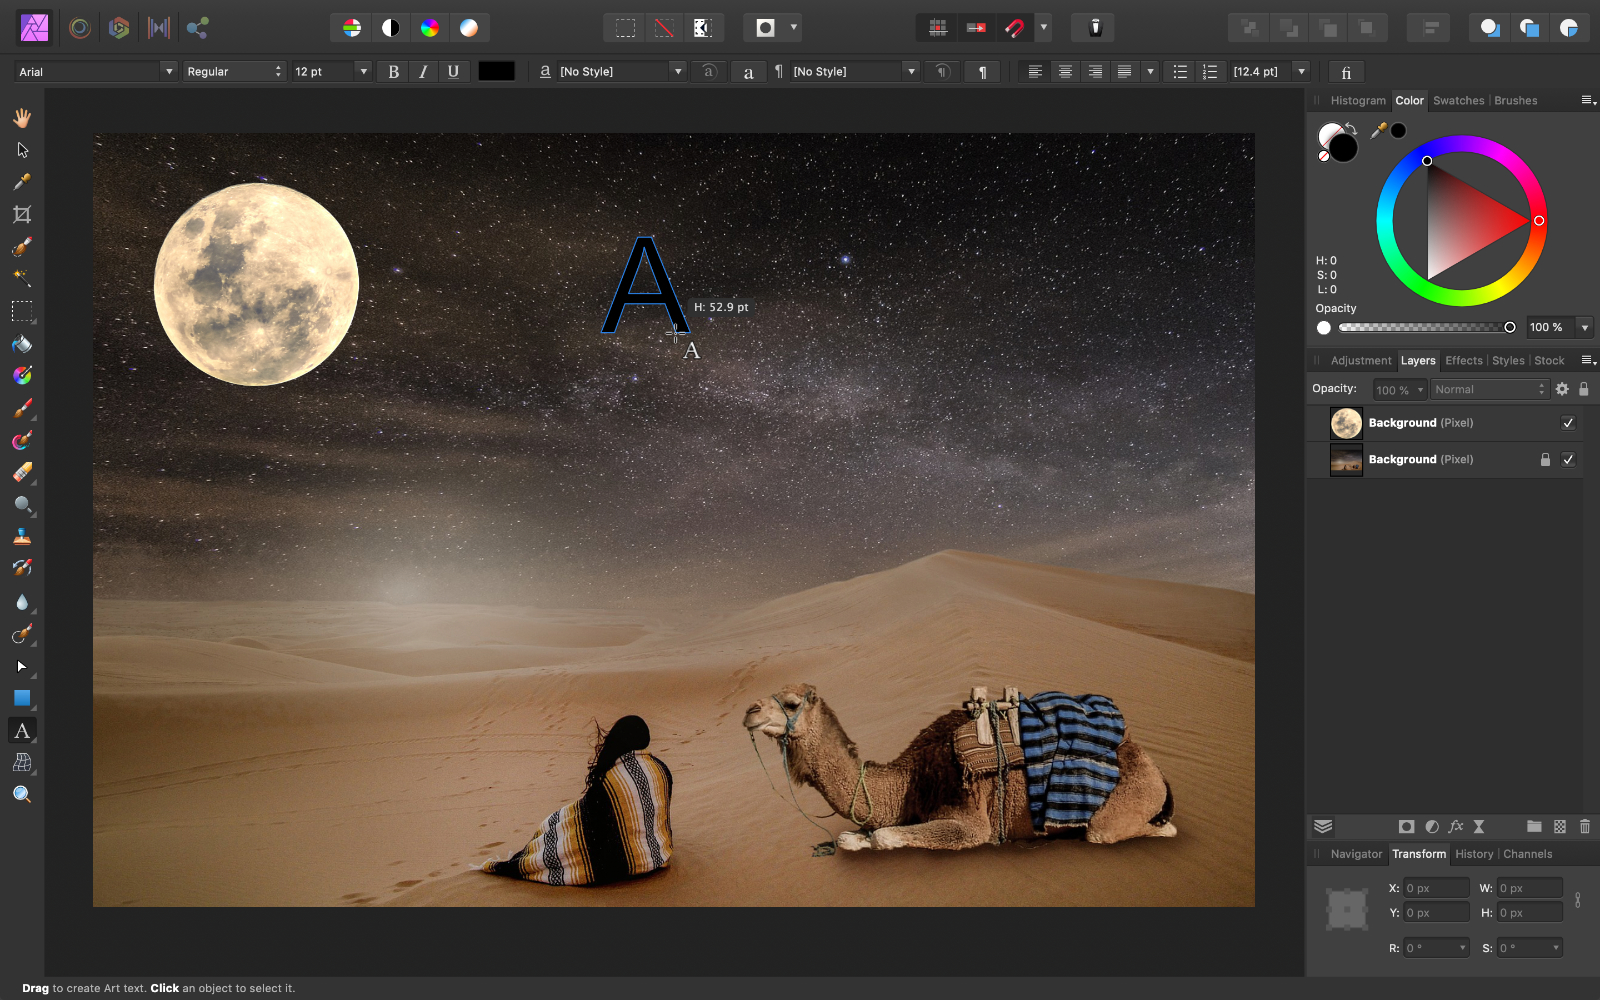
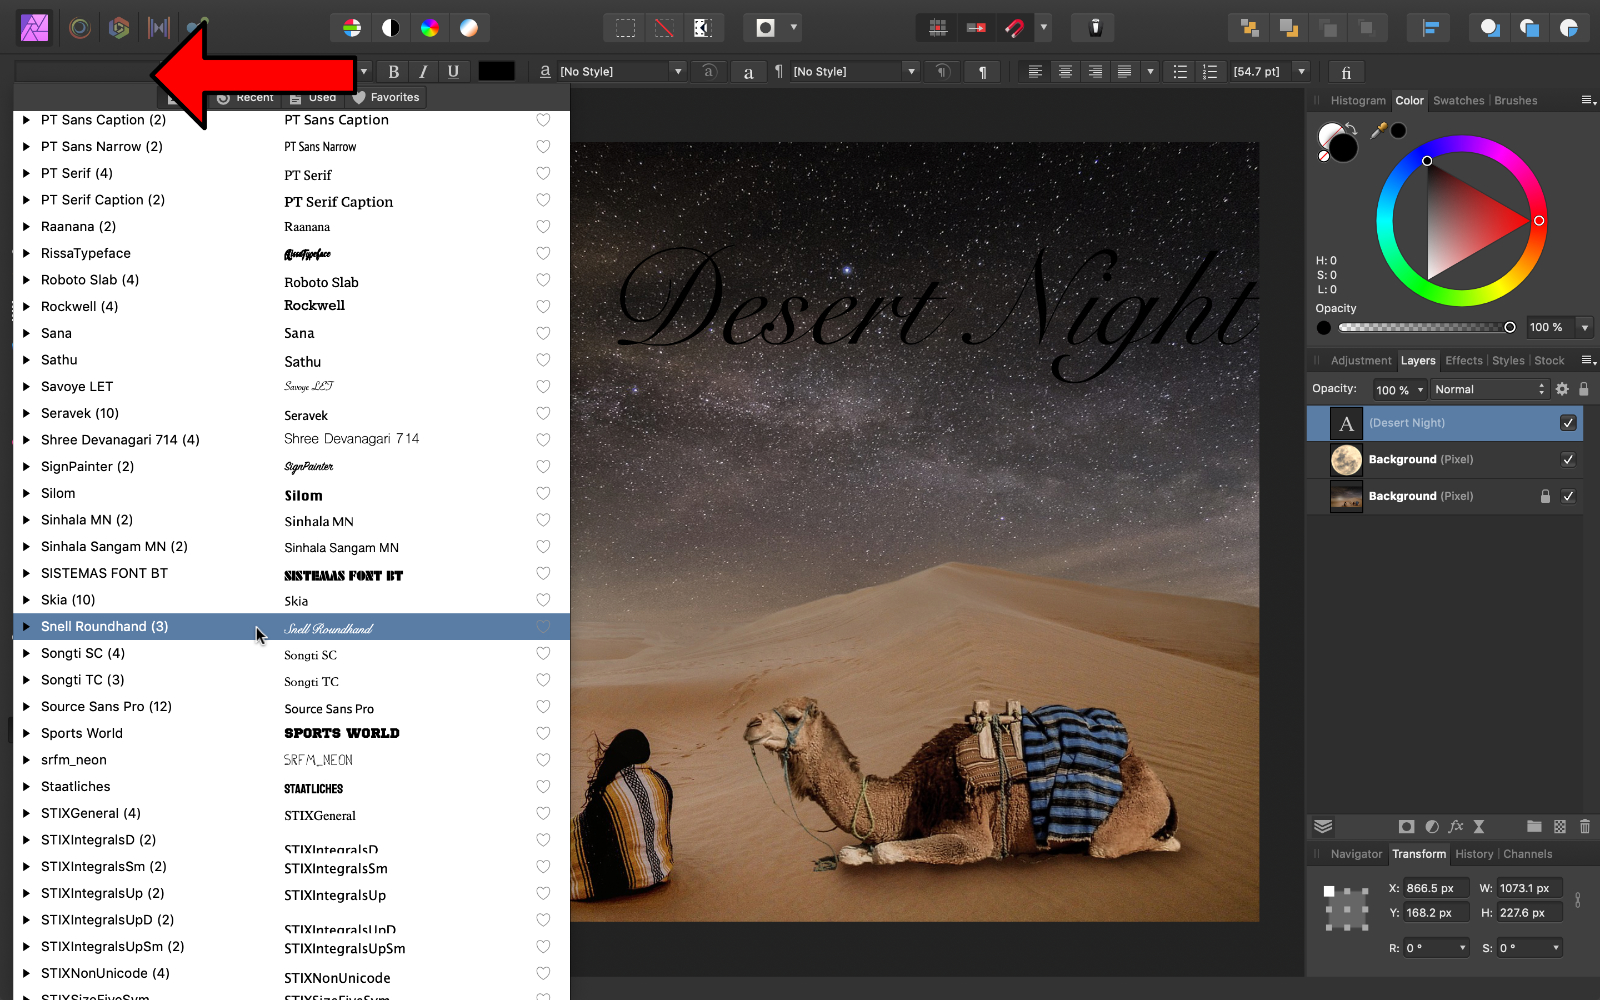
If you would like to modify your text, first, printing Escape to go out type mode. With the text box still selected, nosotros can use the Context Toolbar to alter the text.
We tin can alter the Font to whatever we want.
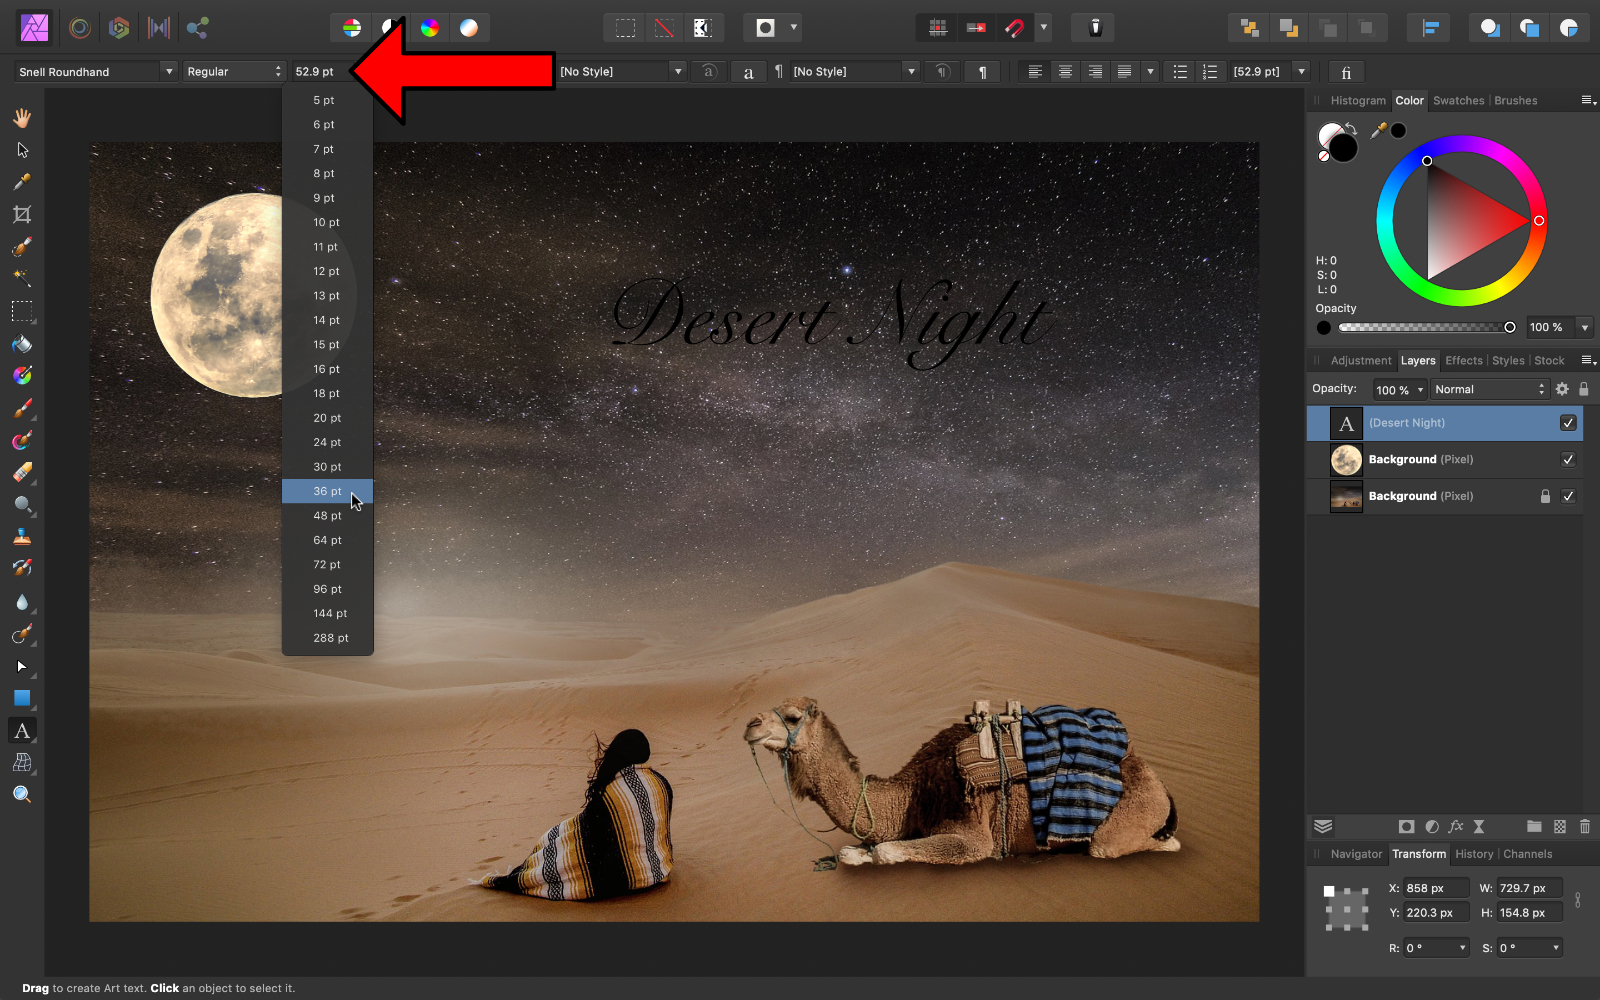
We can change the text size likewise.
In the Context Toolbar, we can brand our text Bold, Italicized, or Underlined.
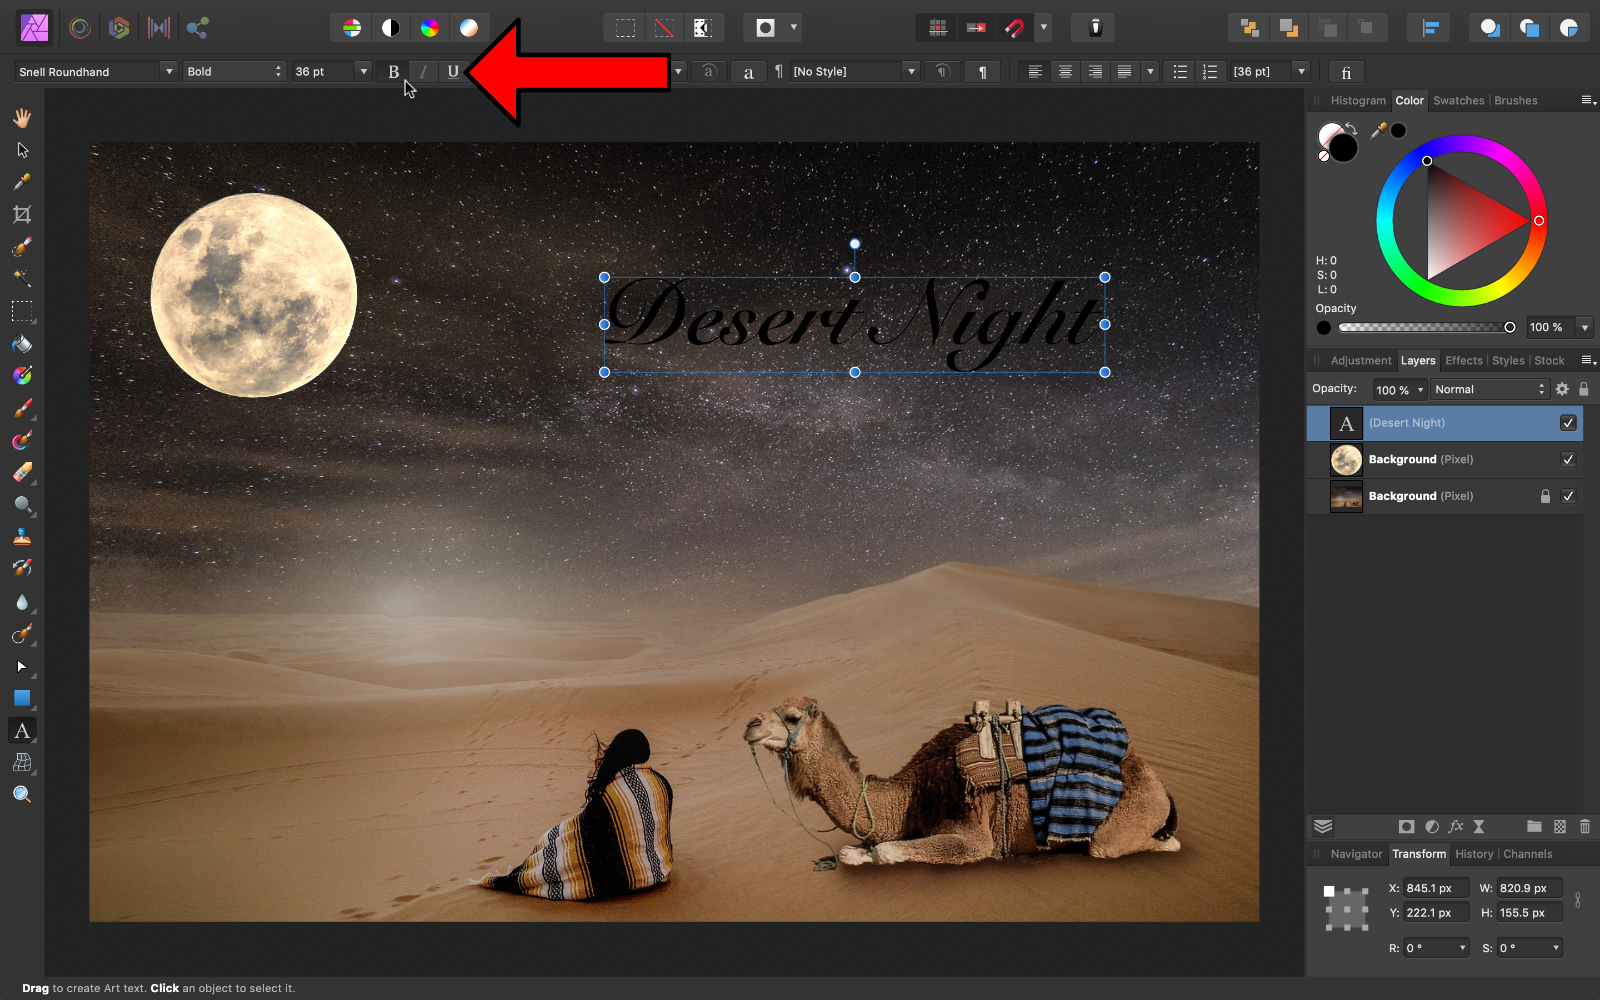
In the Color Panel, nosotros can alter the color of our text.
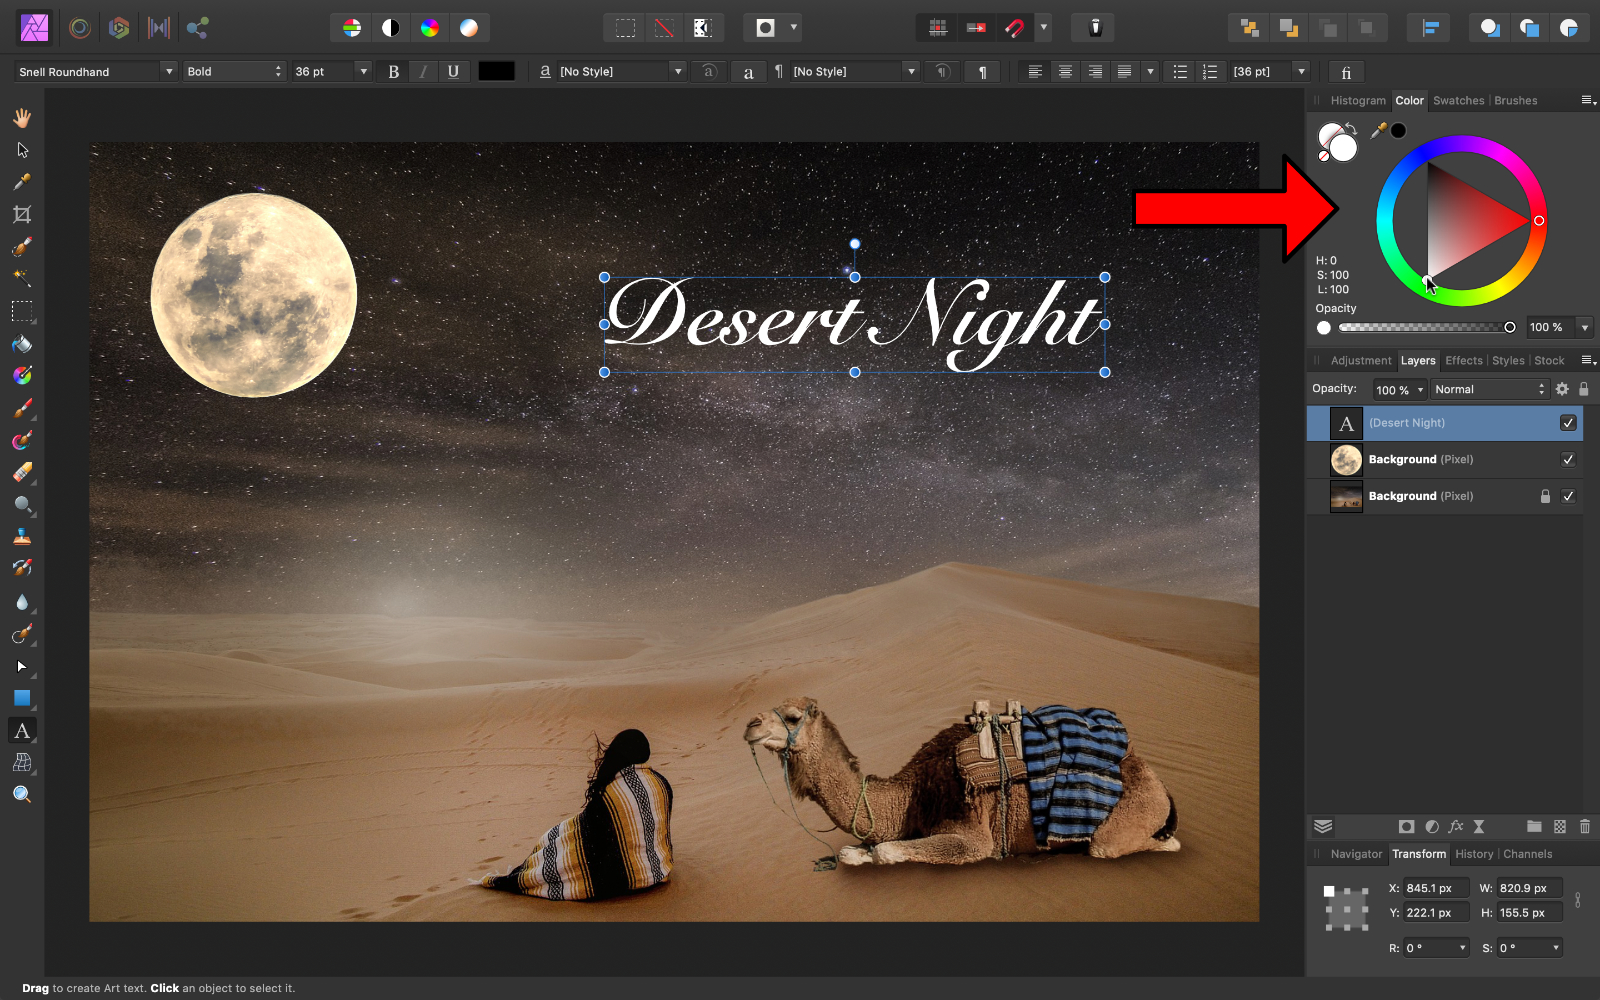
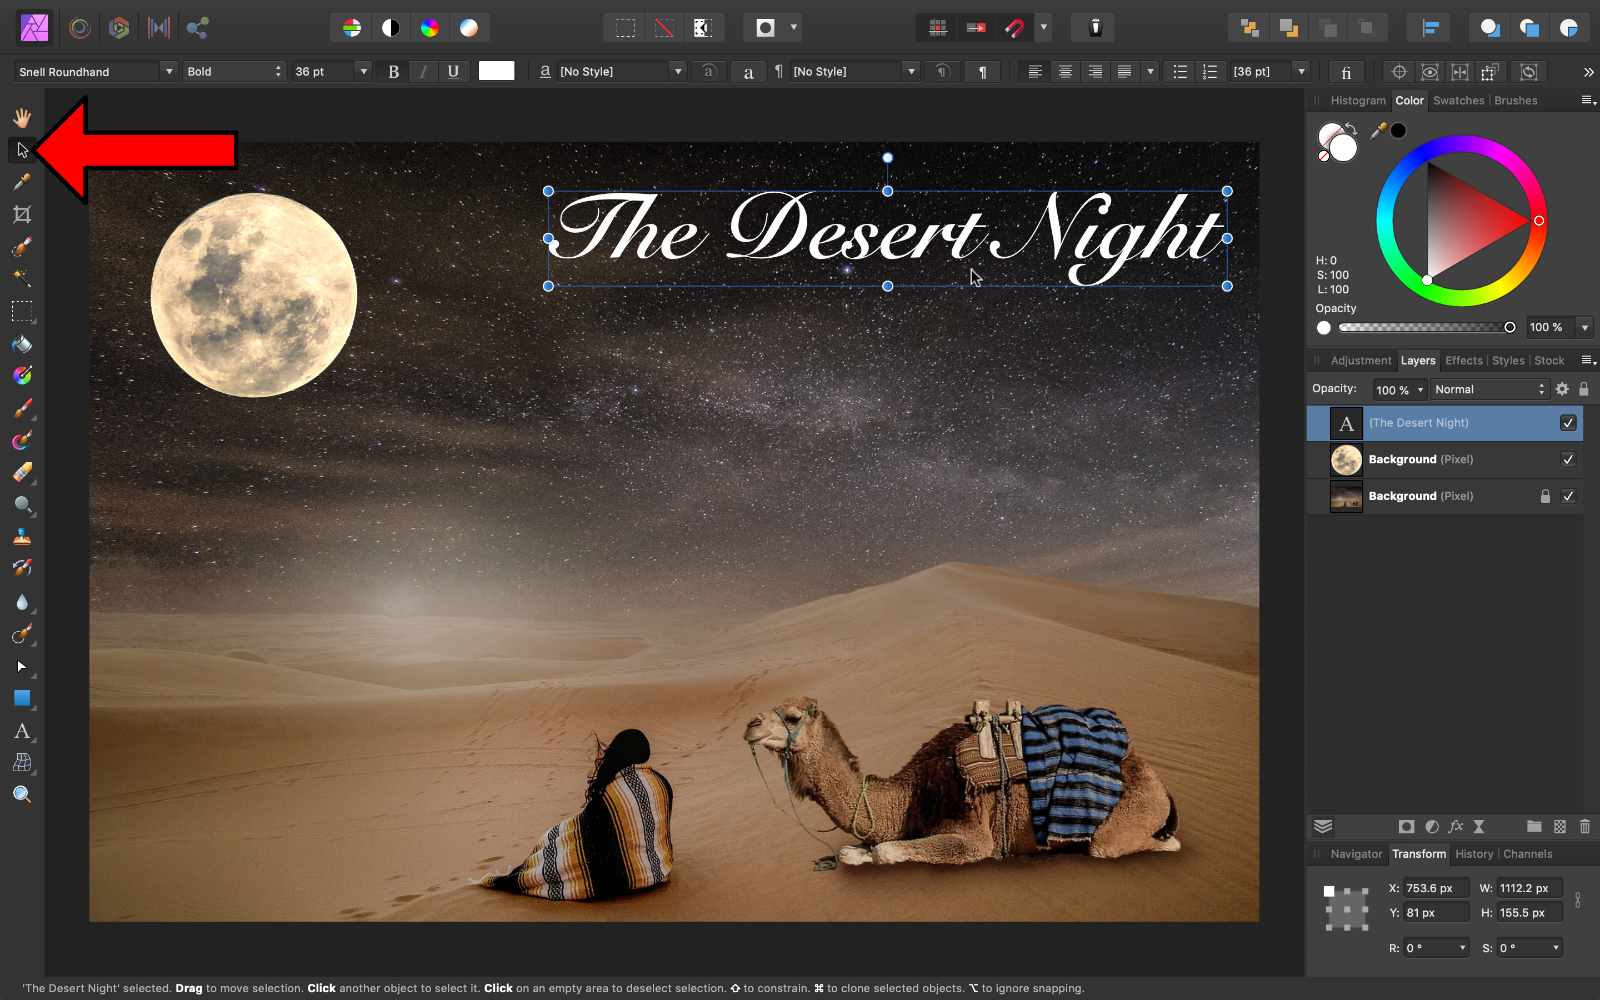
With the Movement Tool, we can resize and position the text.
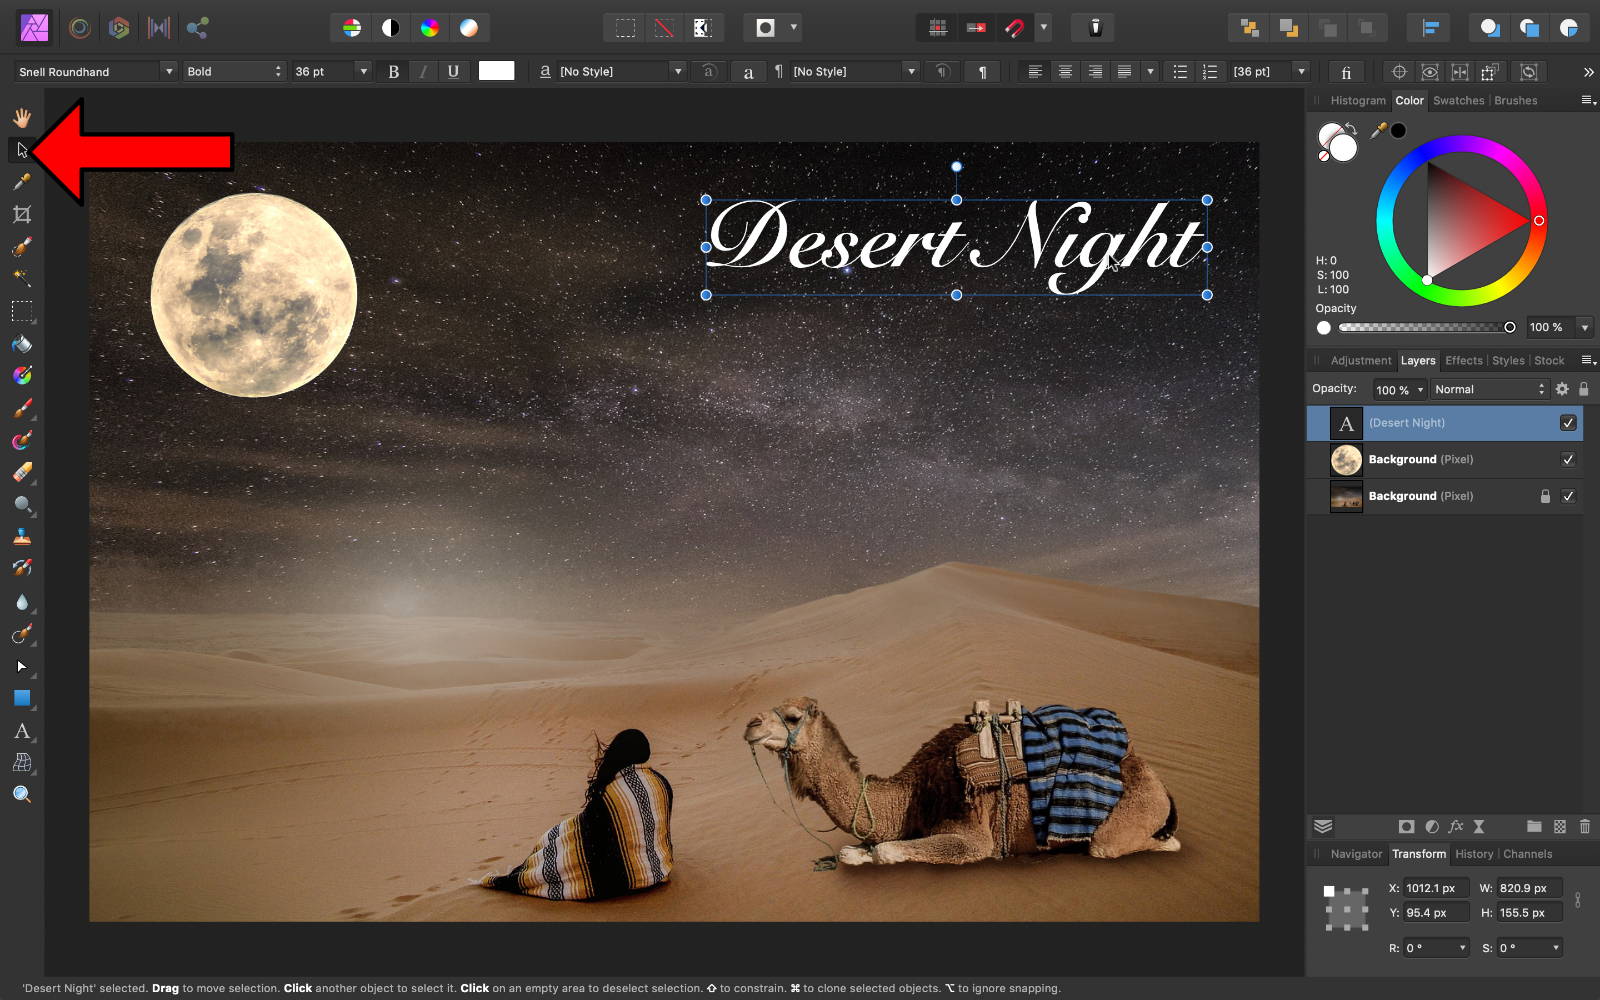
If you ever want to continue typing, select the Artistic Text Tool again, then click inside of the text box. So you can continue typing.
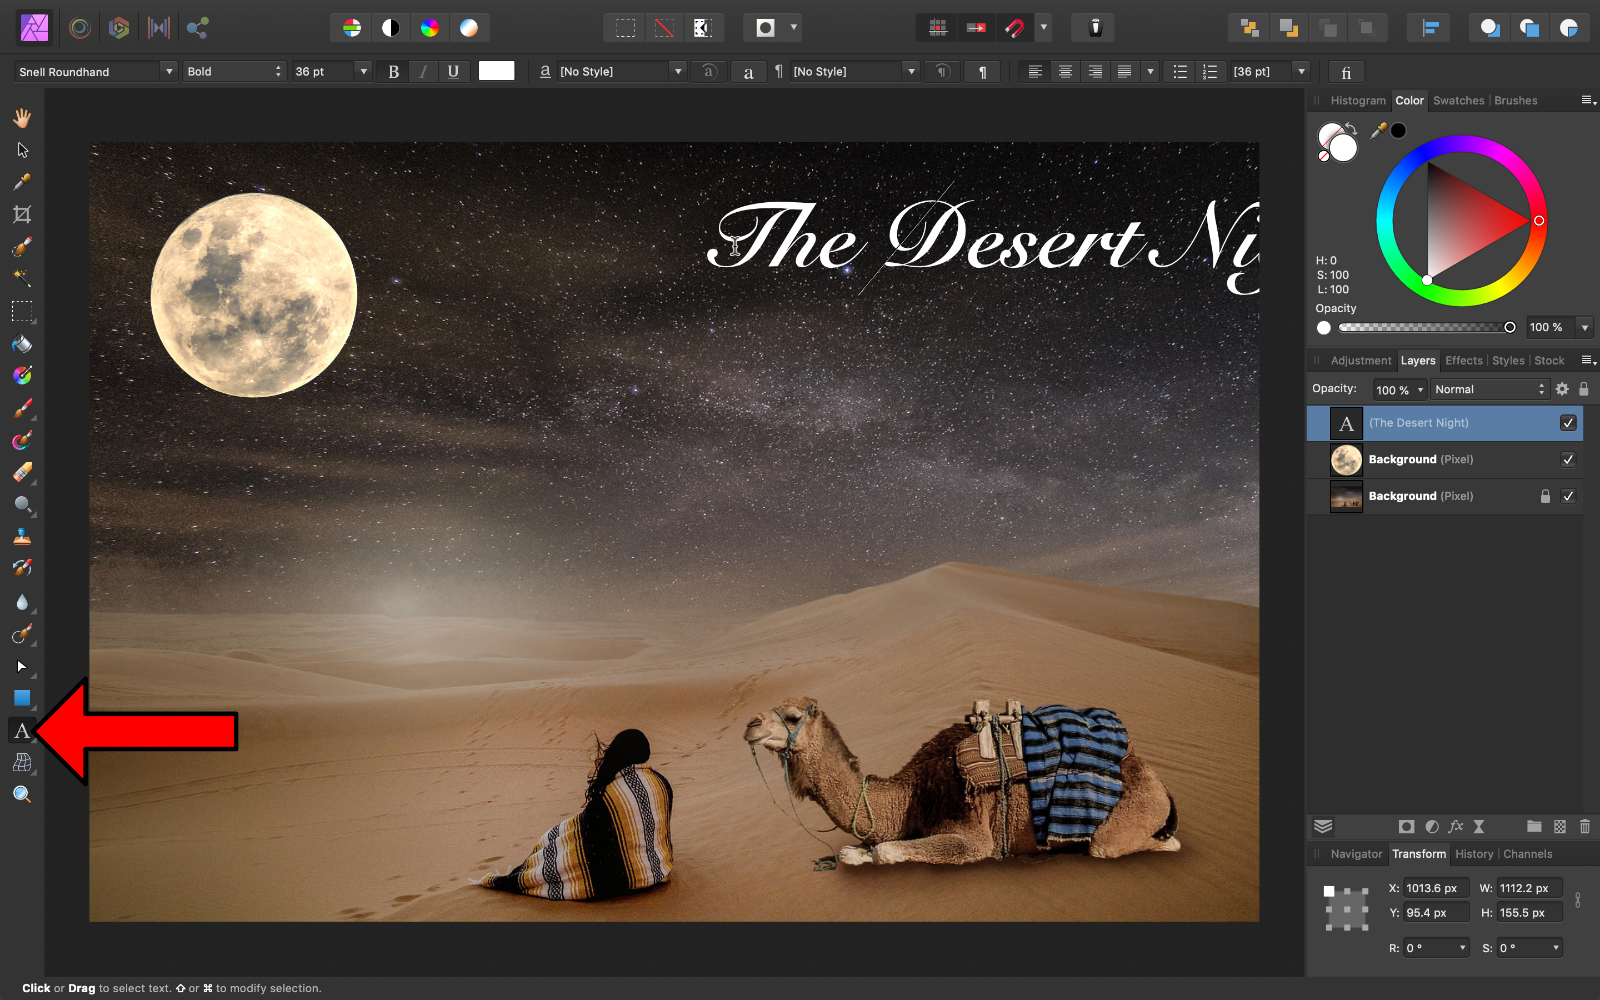
After typing some more, y'all might need to get the Move Tool back out, and reposition the text box over again.
Saving and Exporting

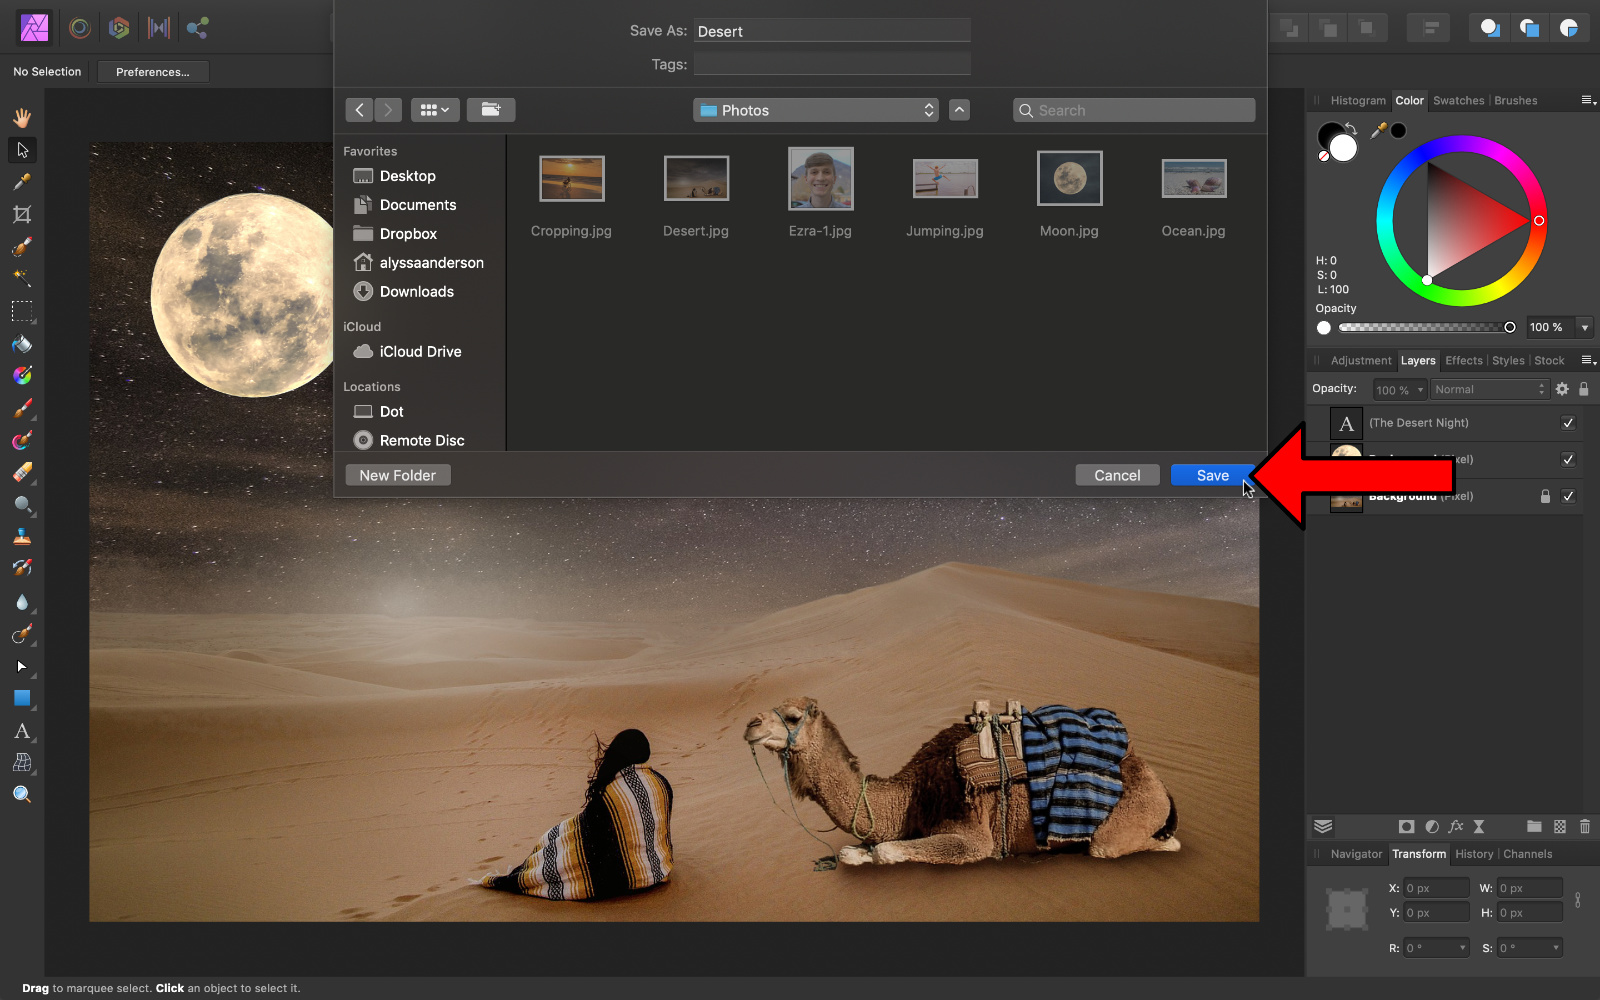
If you want to save a file so that you can keep working on it later, go to the meridian fo the screen to File, and then Save As. This volition salvage your document as an Affinity Photo file, so all of your layers and adjustments will be editable.
Any photos y'all've placed in the file will be saved as part of the Affinity Photo file, and so you tin can keep to employ them in your certificate, even if you delete the photos from your figurer.

If you are completely done with your picture, and want to export information technology, coil downwardly and click Export.
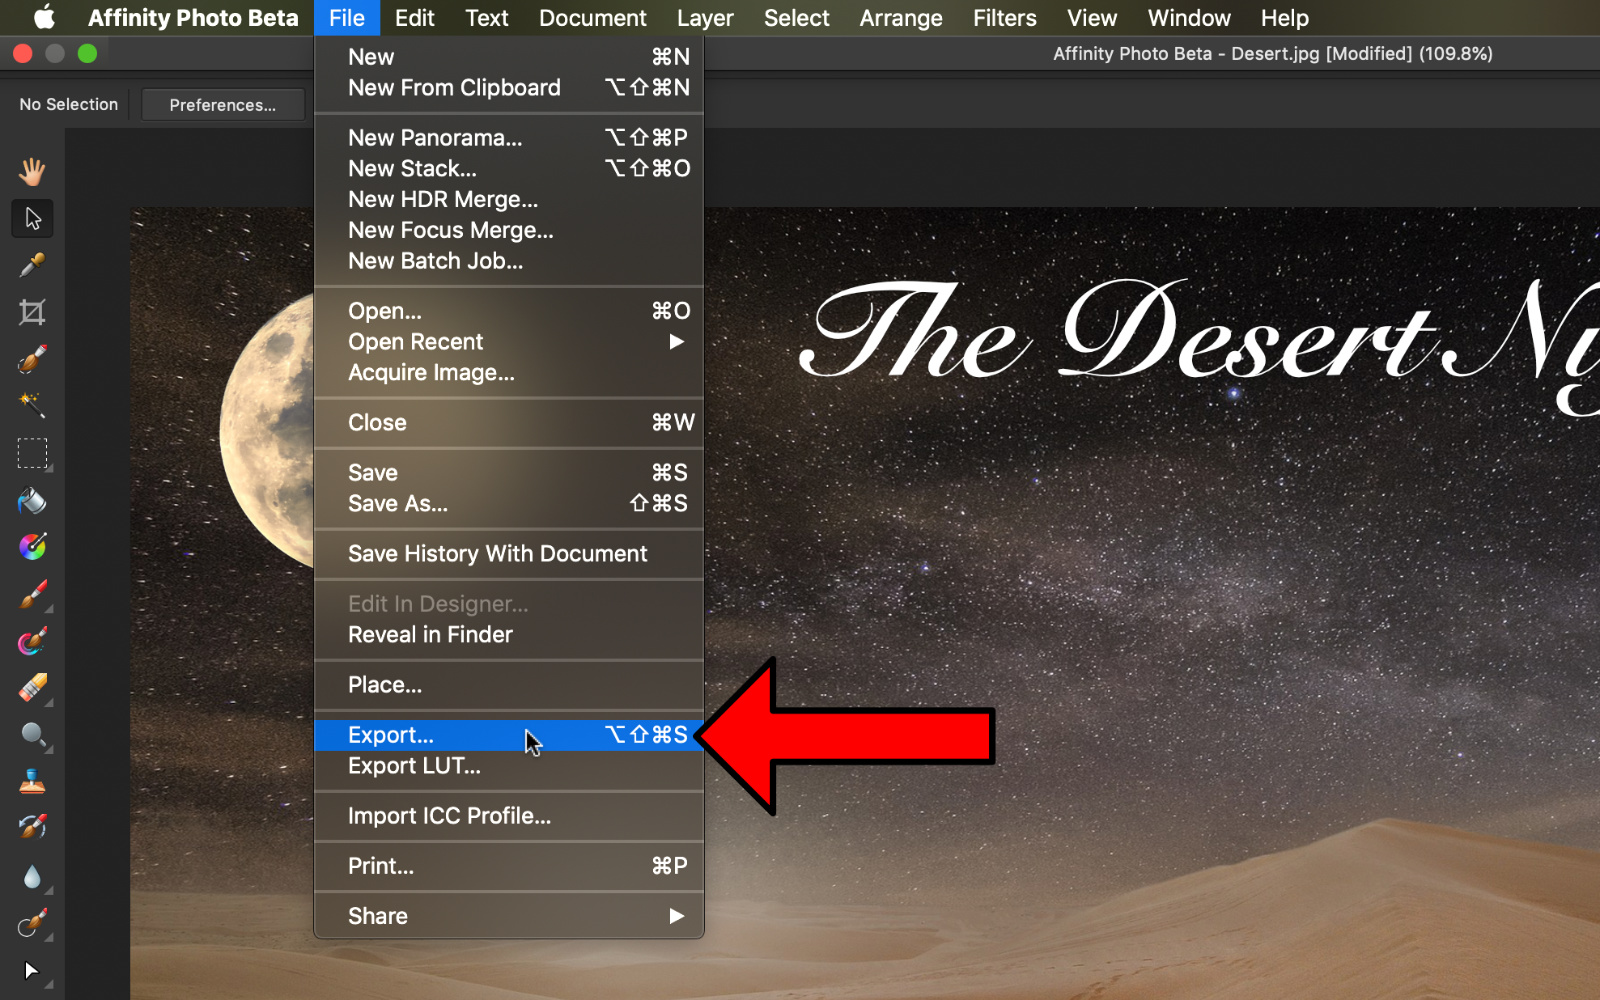
Affinity has a wide range of formats for you to export your work. The two most mutual formats are PNG and JPEG.
JPEG is useful considering it will export your movie to a small file size. PNG is useful because it allows you to preserve a transparent background.
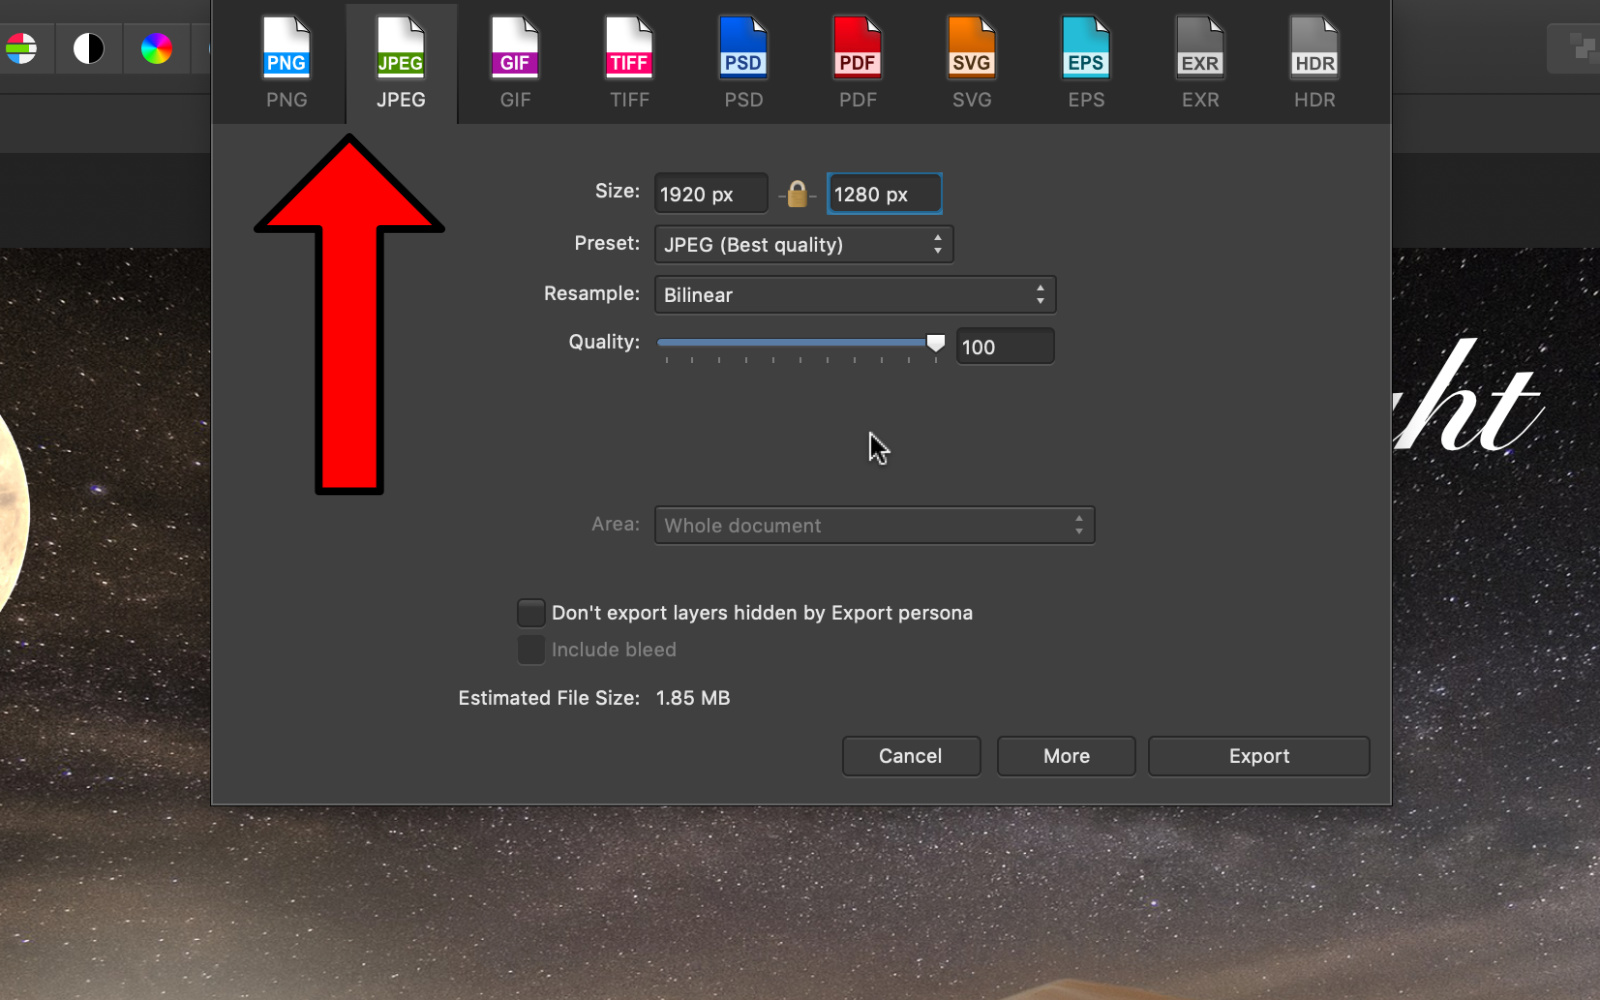
Since this film doesn't have a transparent background, let's export it every bit a JPEG.
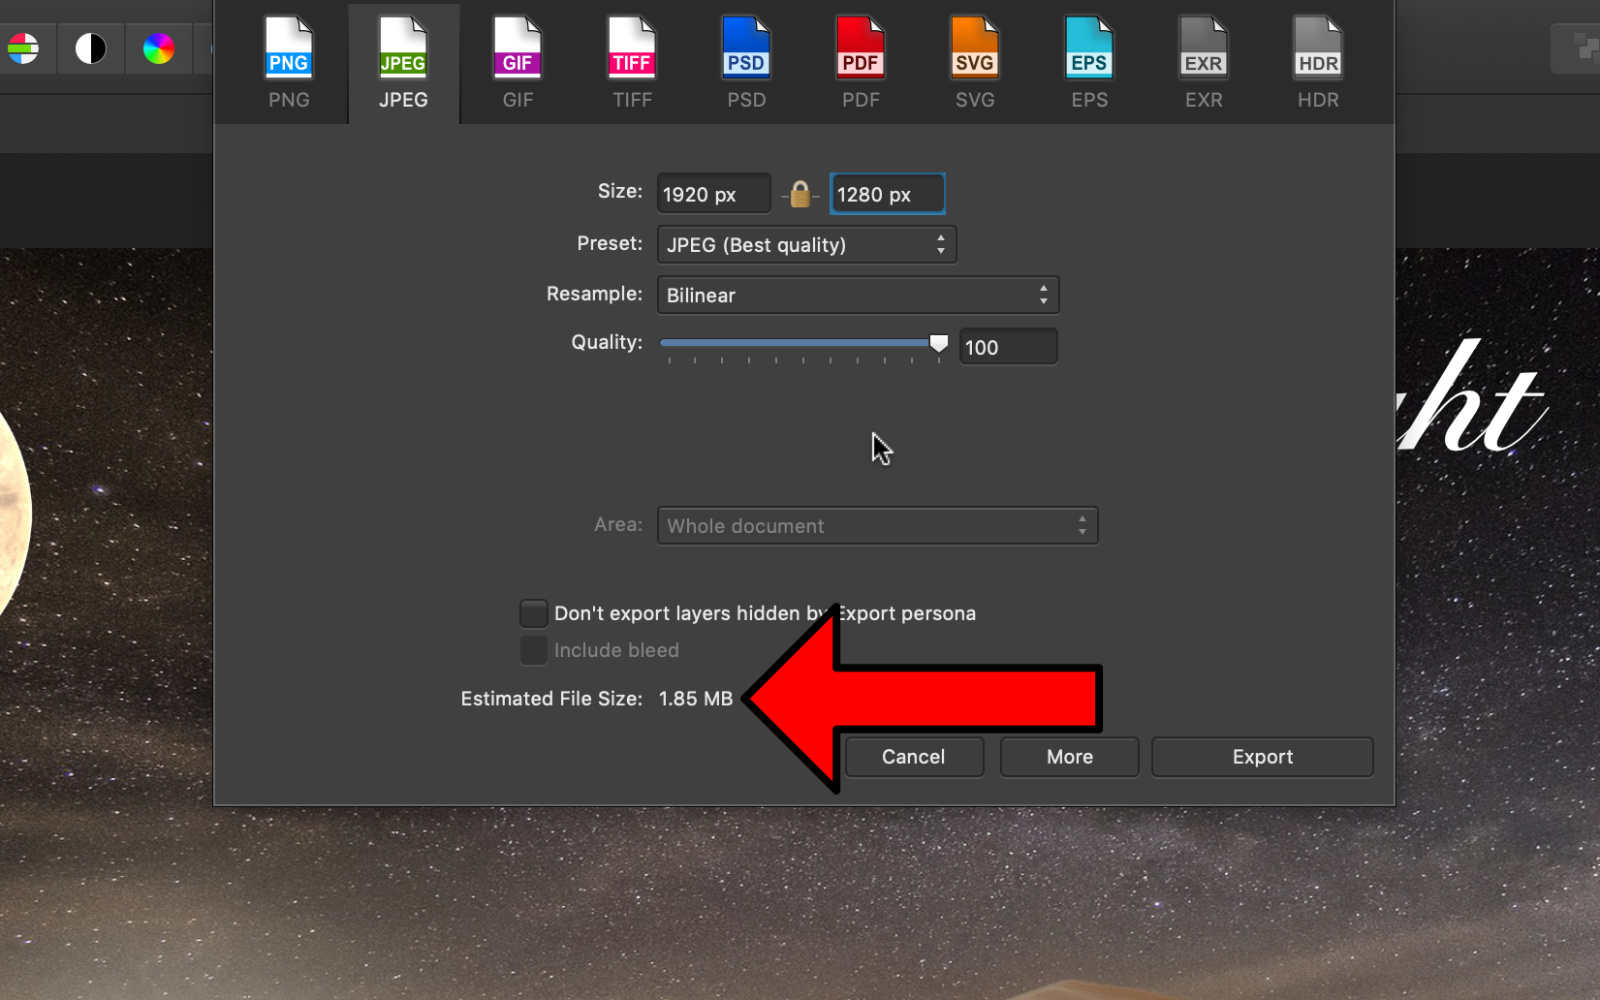
Right now, you can come across the Estimated File Size is 1.85 MB. If we wanted to, we could modify the Size at the meridian of the Dialog Box, or lower the Quality.
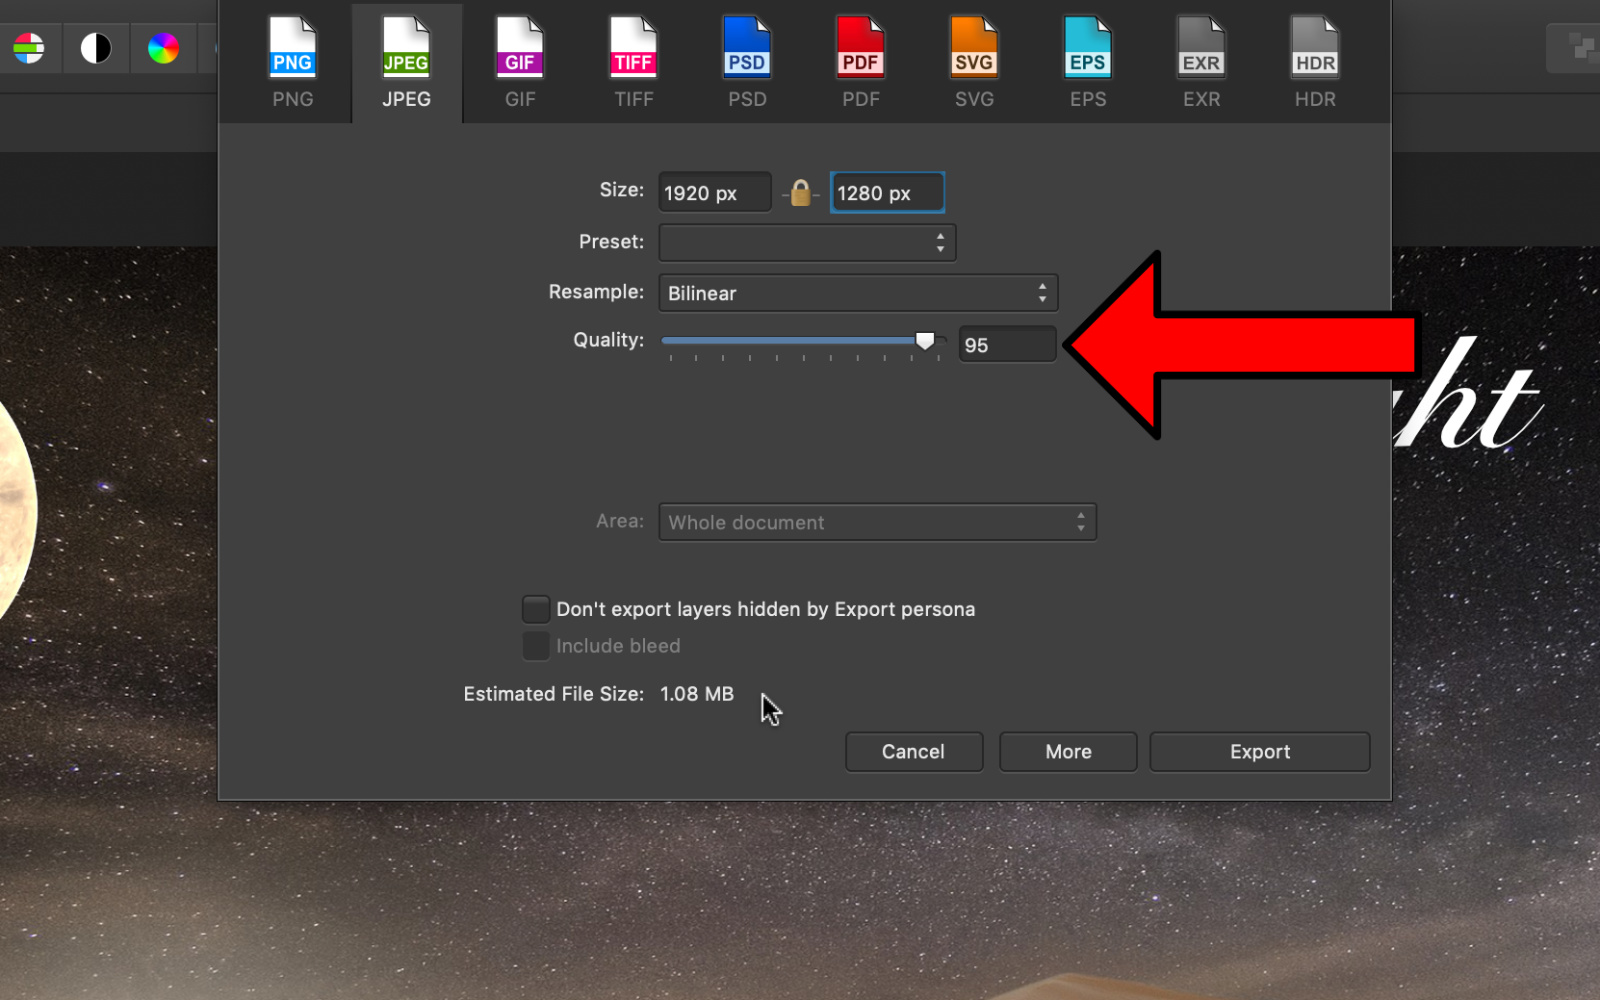
By lowering the Quality just a fiddling flake, yous can dramatically lower the file size. Lower the Quality to 95%.
The File Size has almost been cutting in half.
At present that we take a small file size, we can press Export.
Give your picture a name, and choose where you desire information technology to be saved. Then printing the Salvage push to export your file.
Whew! You lot made it! I hope you learned a lot from this overview of Affinity Photo.
If you'd like to larn even more, be certain to check out our complete beginner's guide to Affinity Photograph. We cover everything you need to know about photo editing in much greater depth.
Happy editing! 🙂


Source: https://affinityrevolution.com/affinity-photo-for-beginners-tutorial/
Posted by: doranspold1936.blogspot.com
0 Response to "How To Draw In Affinity Photo"
Post a Comment